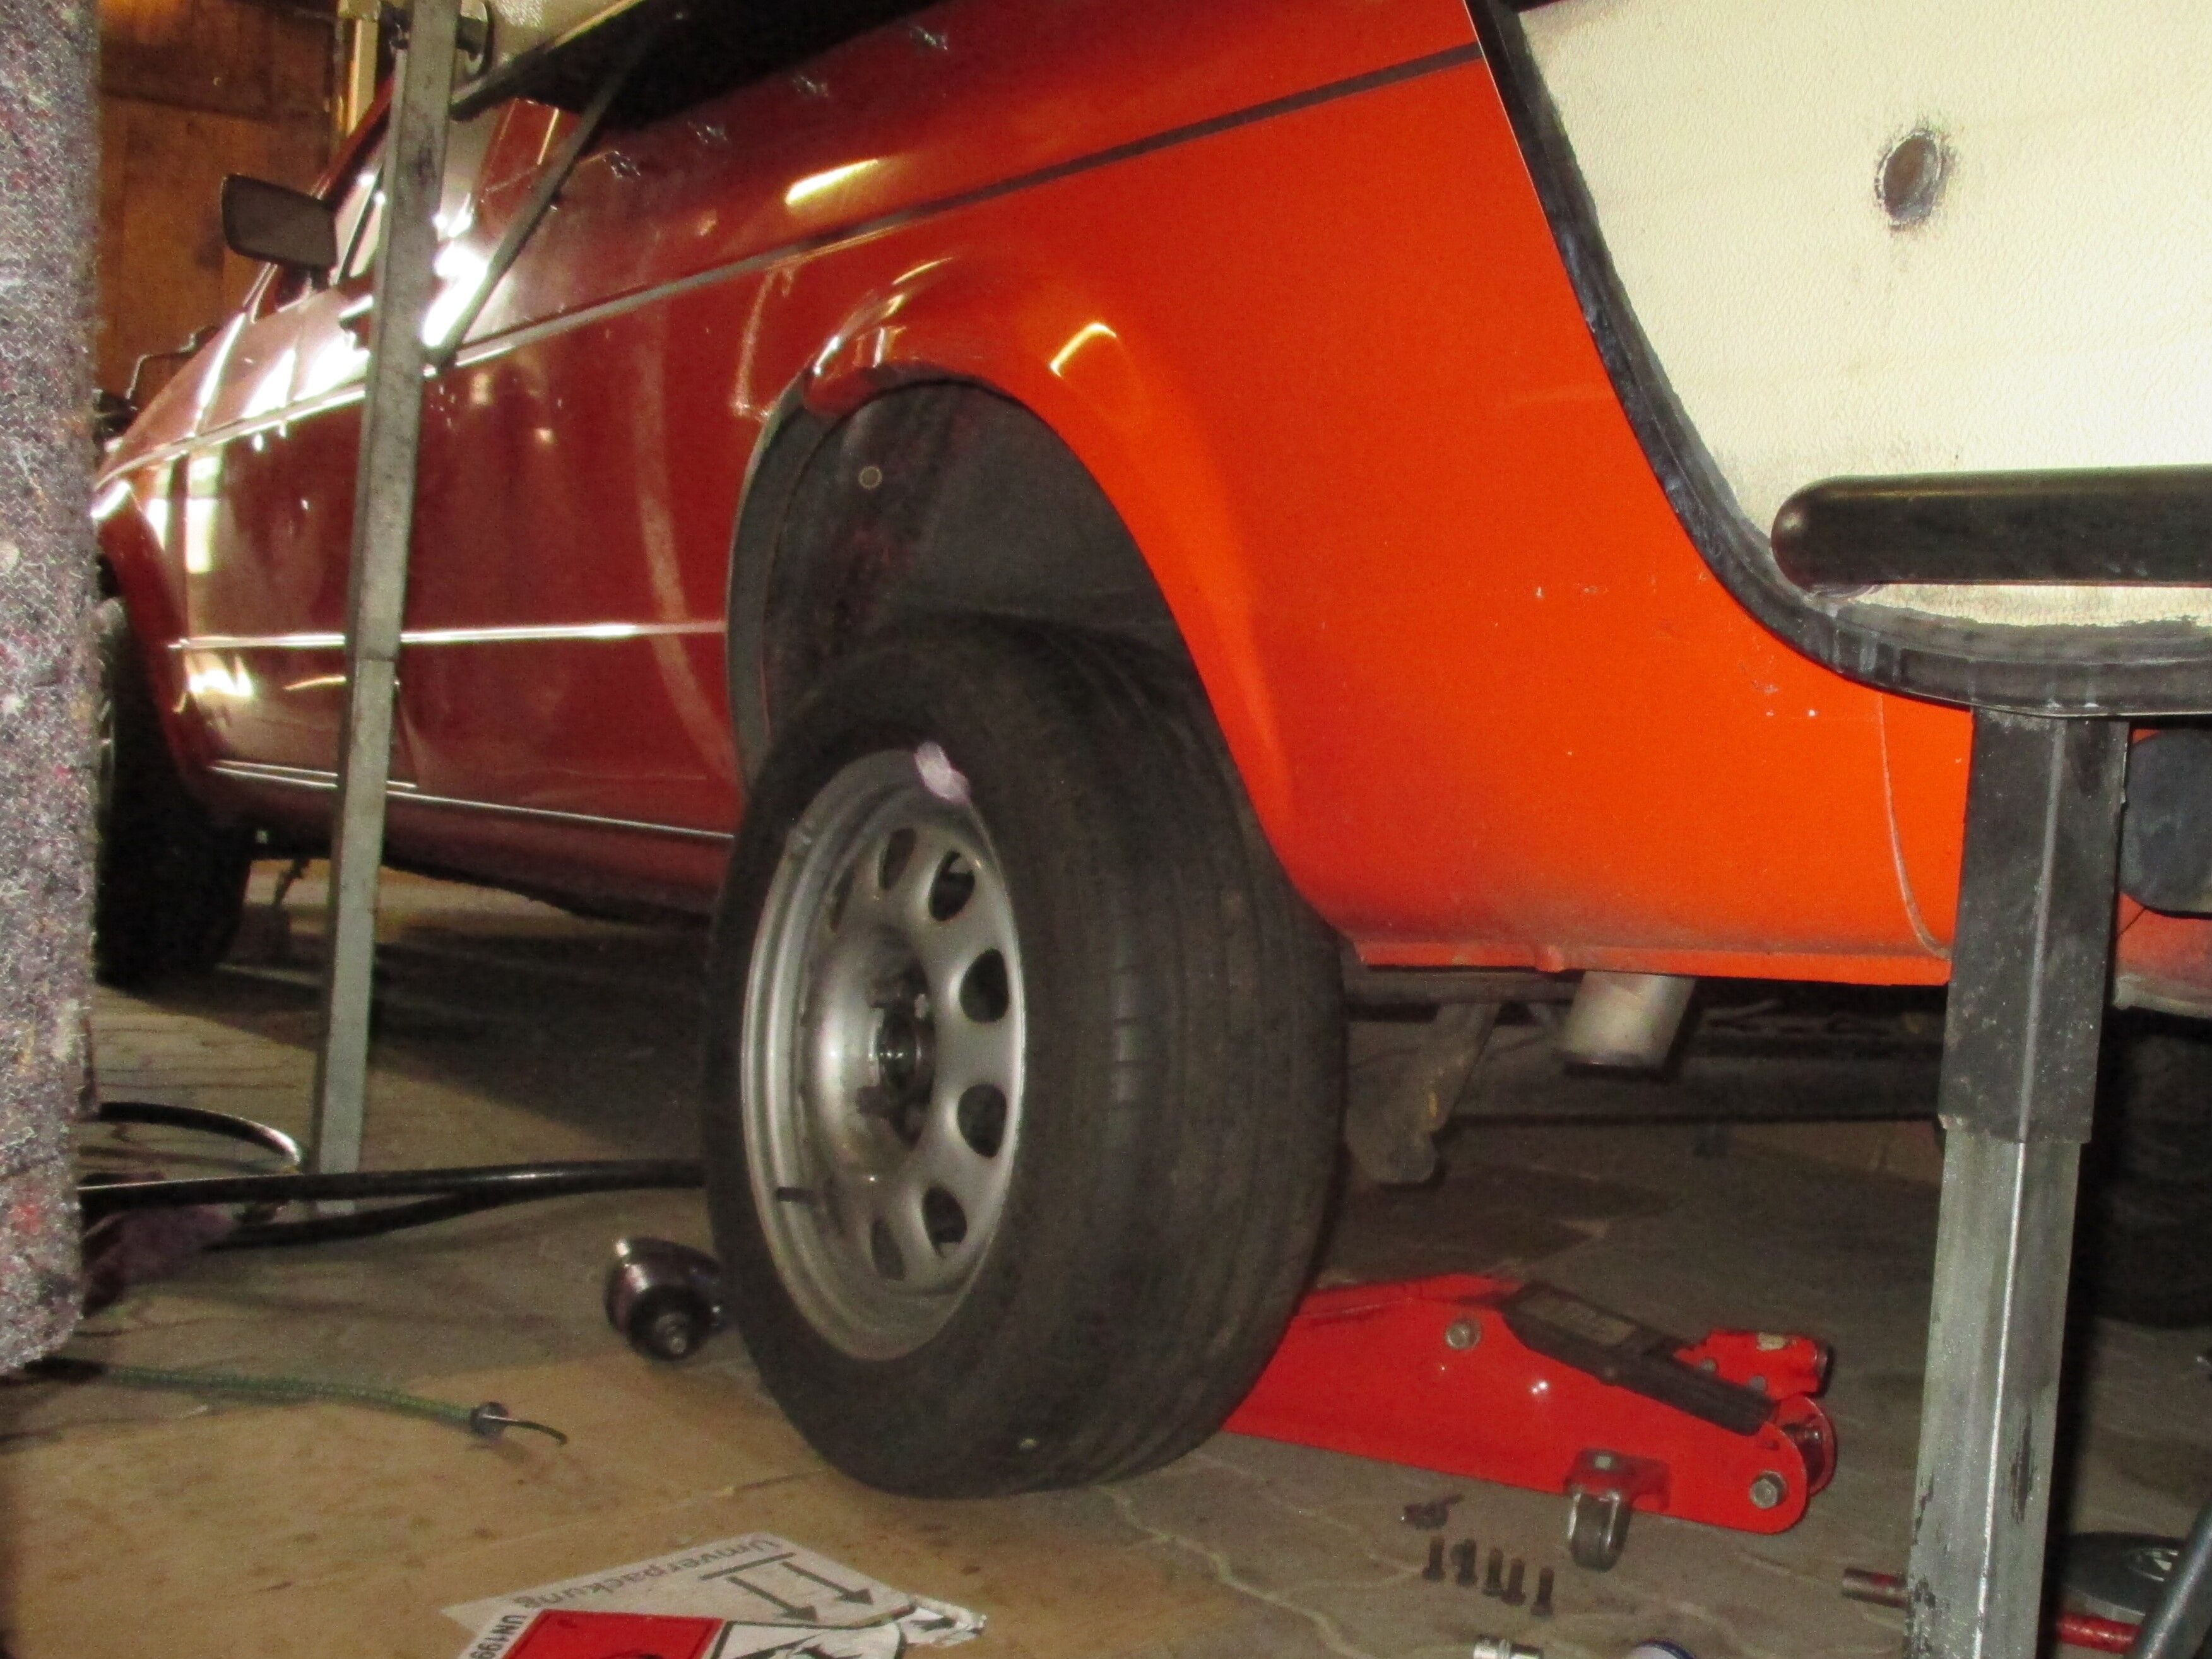
VW Caddy 14d Raising the rear axle tube with drum brake using Epytec adapters
The customer's request / problem:
Our customer Michael would like to get the rear axle tube higher off the road on his 1991 VW Caddy 14d. This is necessary to be able to drive the " simple" unpaved routes in the Icelandic highlands, Michael needs at least 2 cm more ground clearance of the axle tube. To have some reserve, he would prefer more, if possible. Perfect would be 4 cm, then the sinking of the suspension would be compensated by the loaded Tischer cabin. Michael was willing to take anything over 2cm.
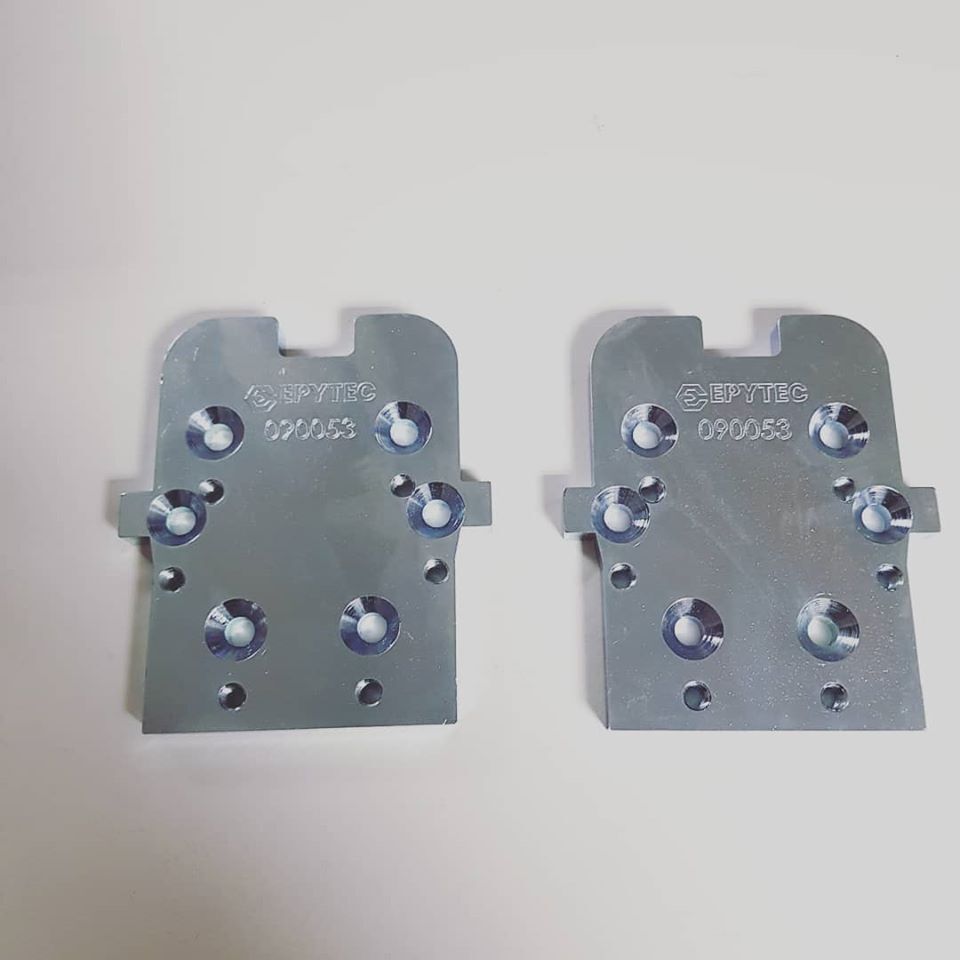
The plate should (similar to the adapter plate for the disc brake conversion) be placed between the axle and the wheel hub, only the original wheel hub (drum brake) should be screwed back down in an offset position.
- Original wheel hub with drum brake
- For the rear axle of the VW Caddy 14d year of construction 1991
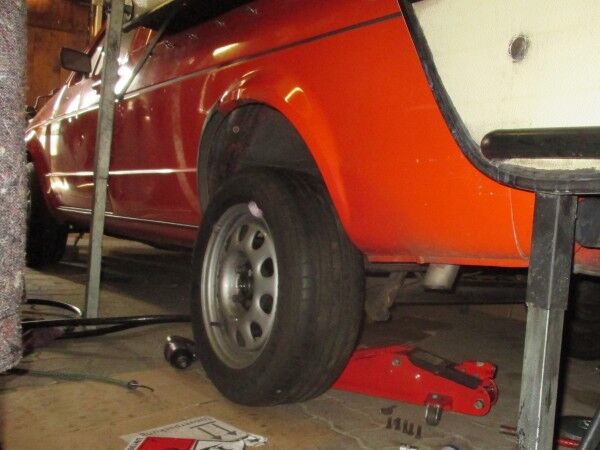
Our realisation / solution:
Solution by modifying an adapter 597 from our range:
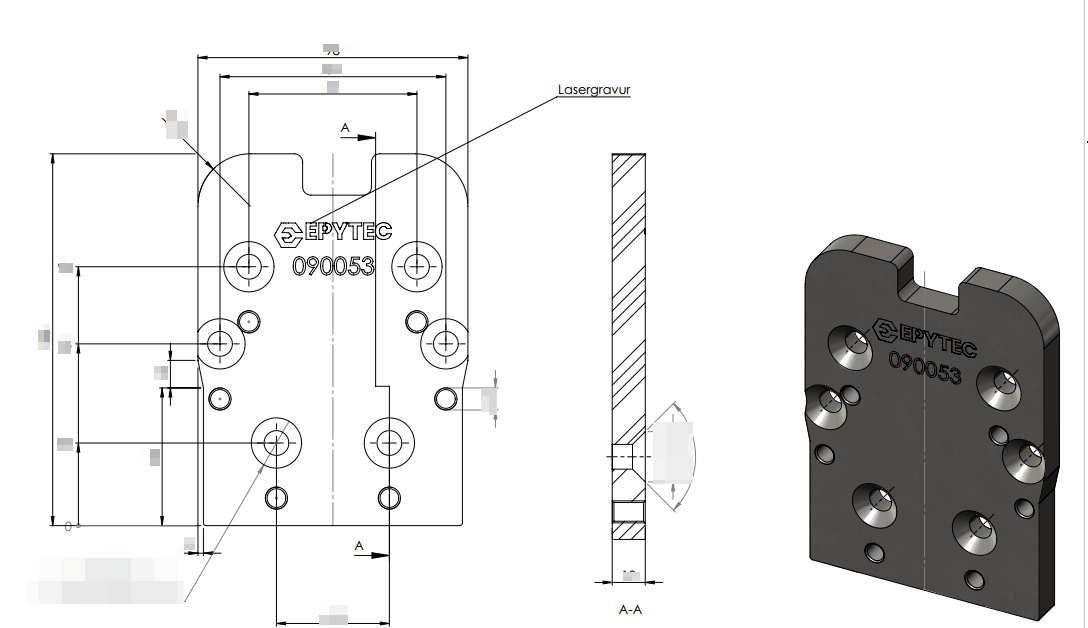
3-D Prototyping
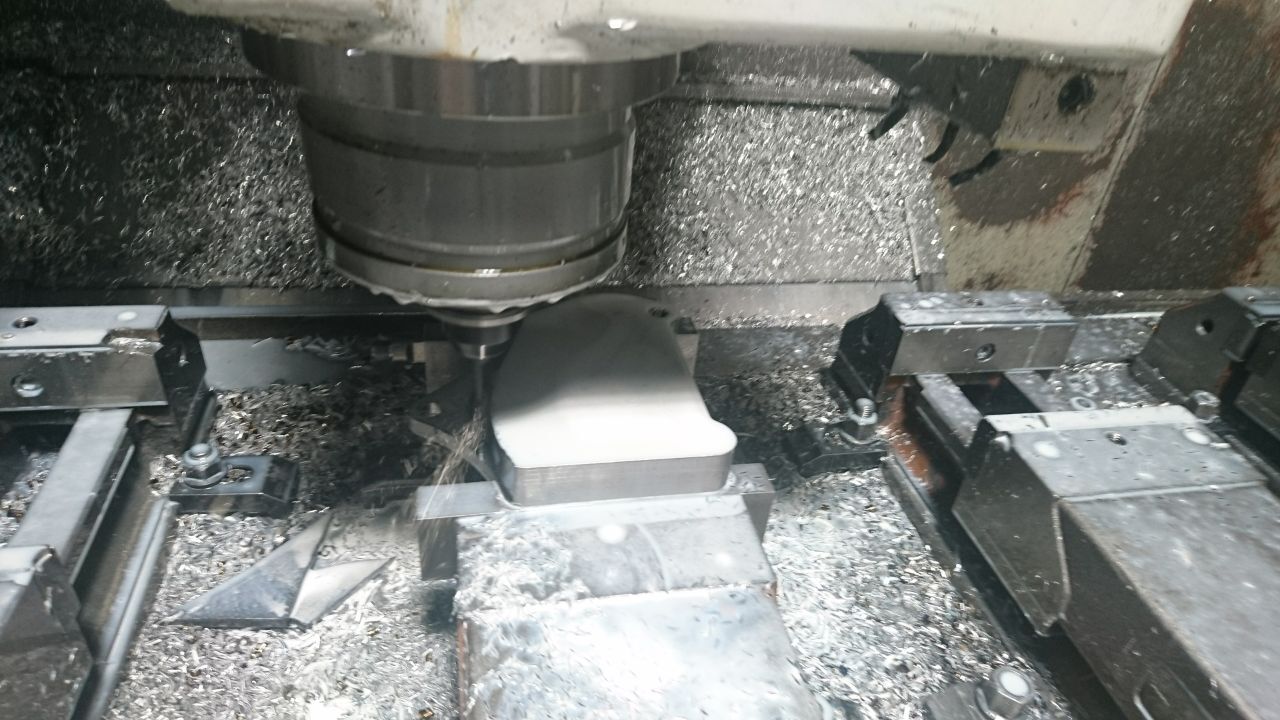
Production
Installation and test
Installation of the adapter plates on the VW Caddy 14D
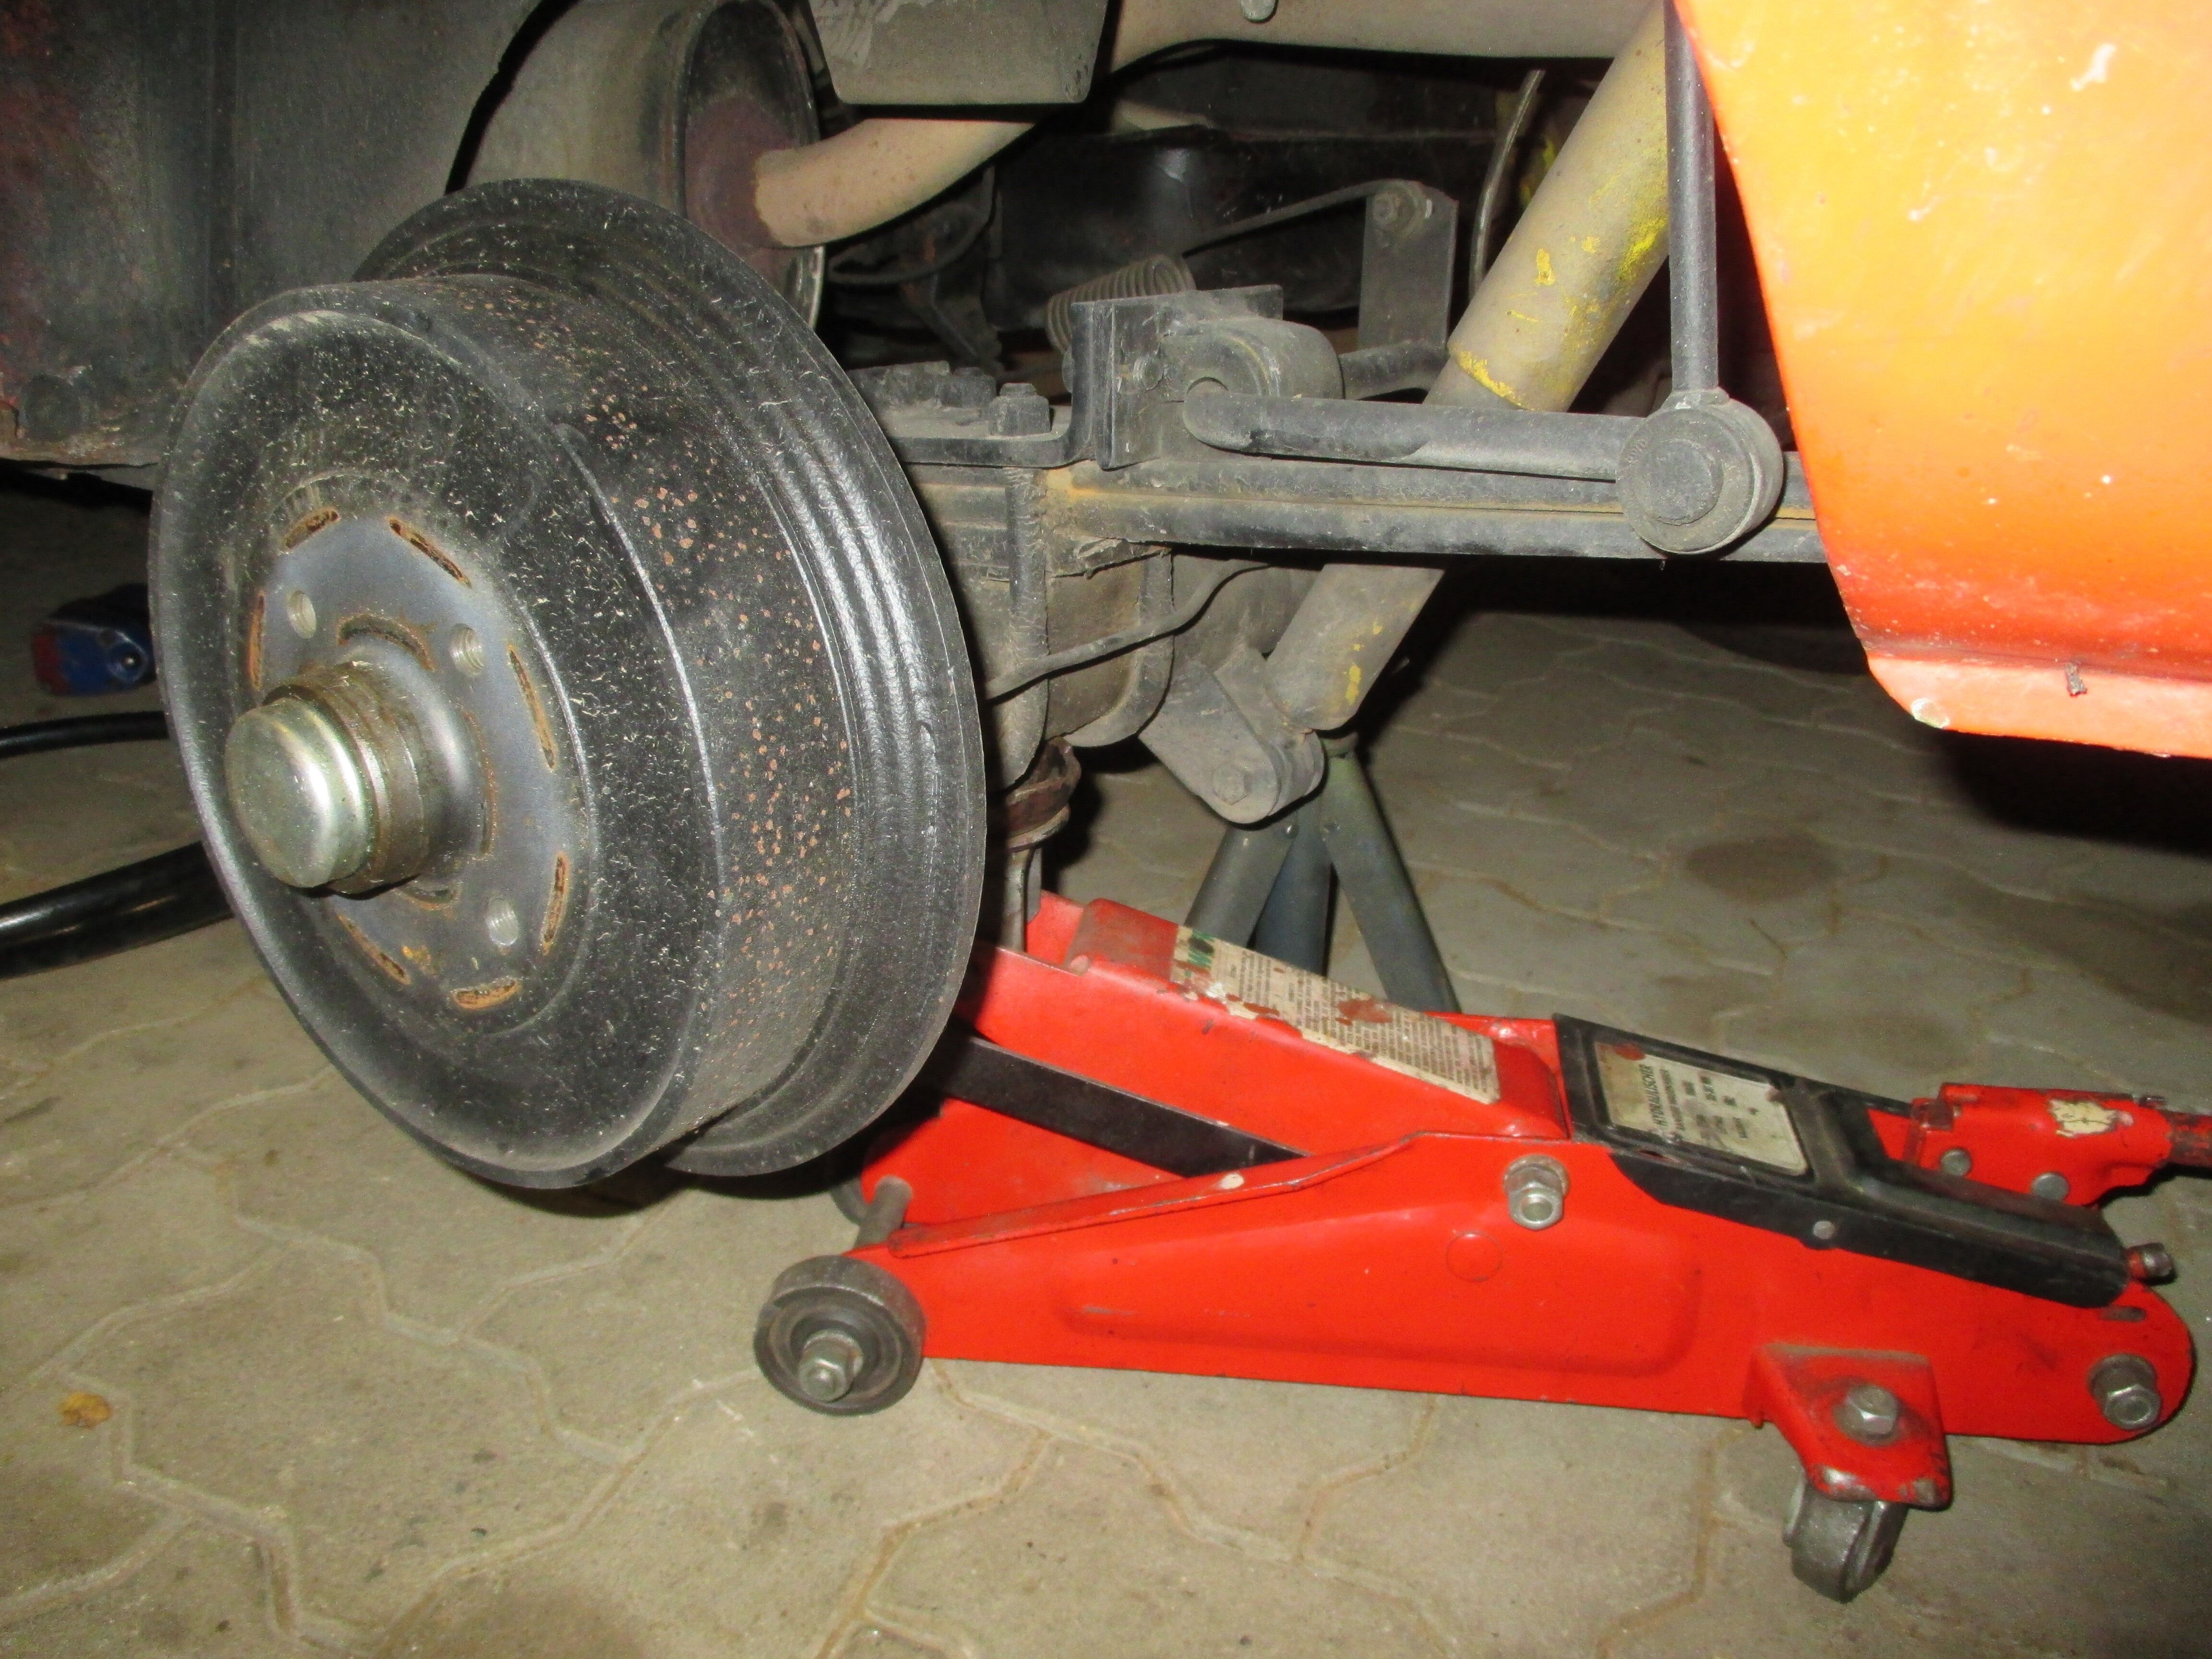
Loosen the dust cap/central nut and remove the brake drum
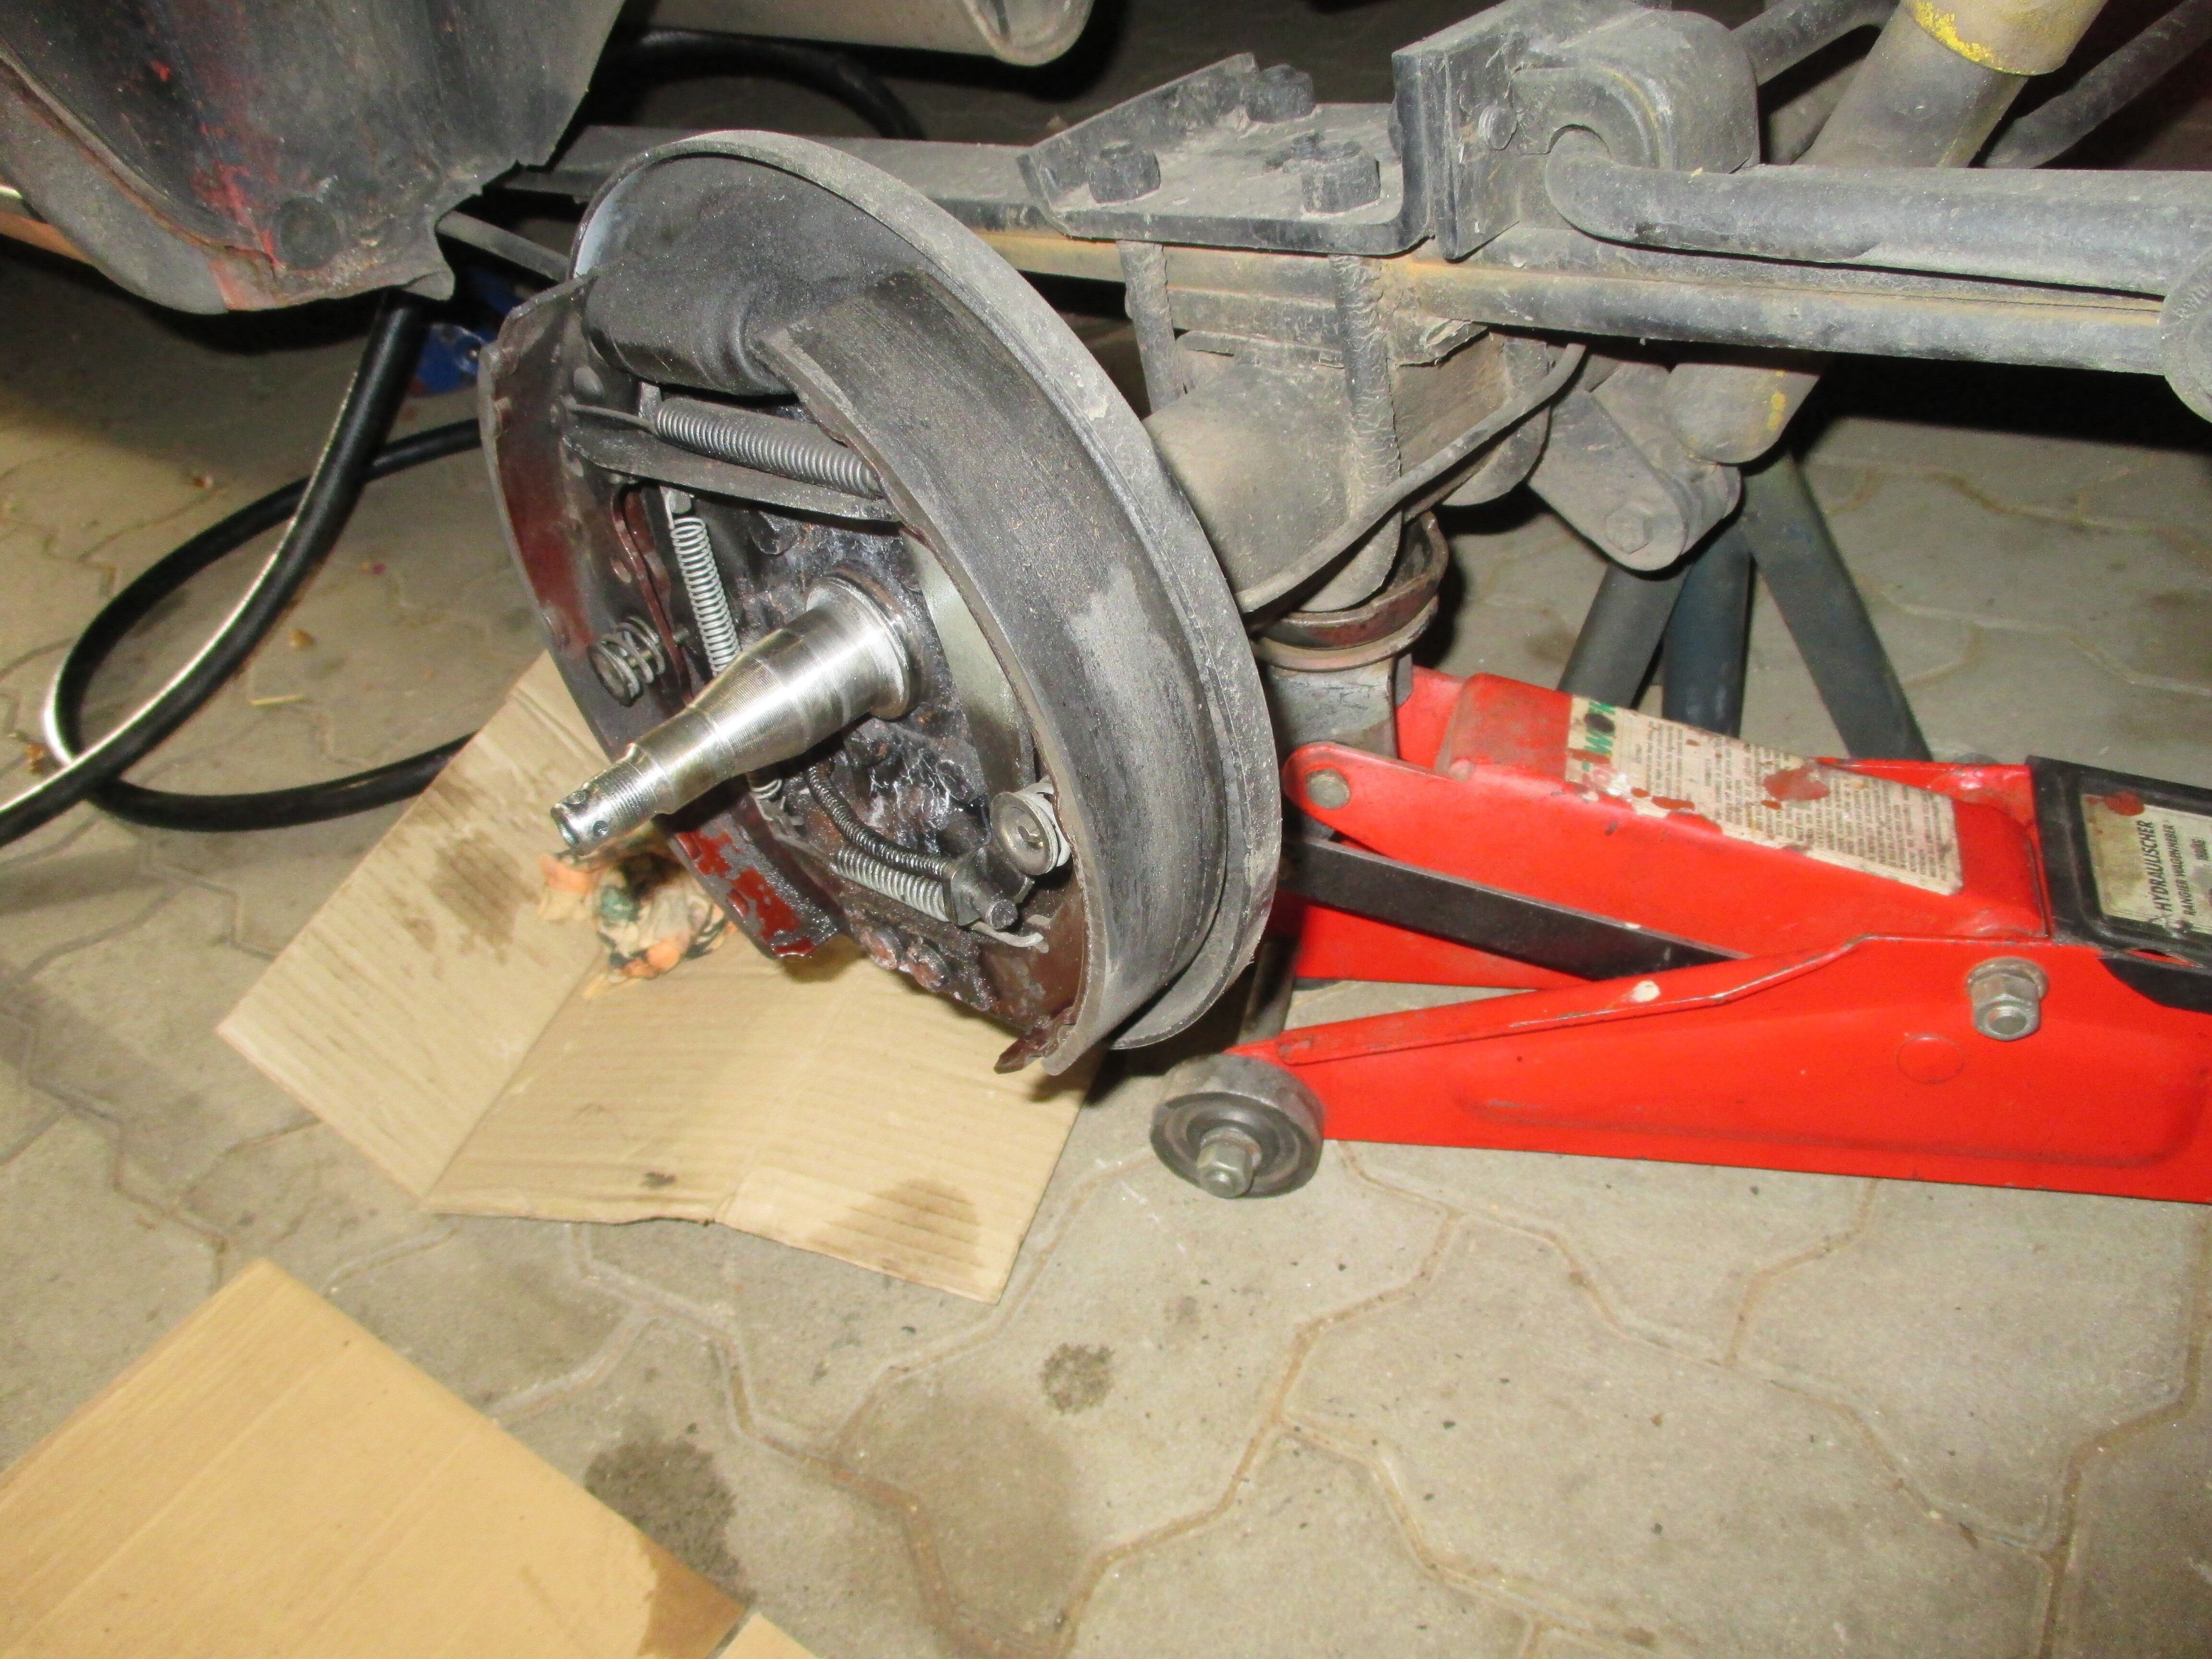
Unscrew the brake anchor plate axle journal (6 screws)
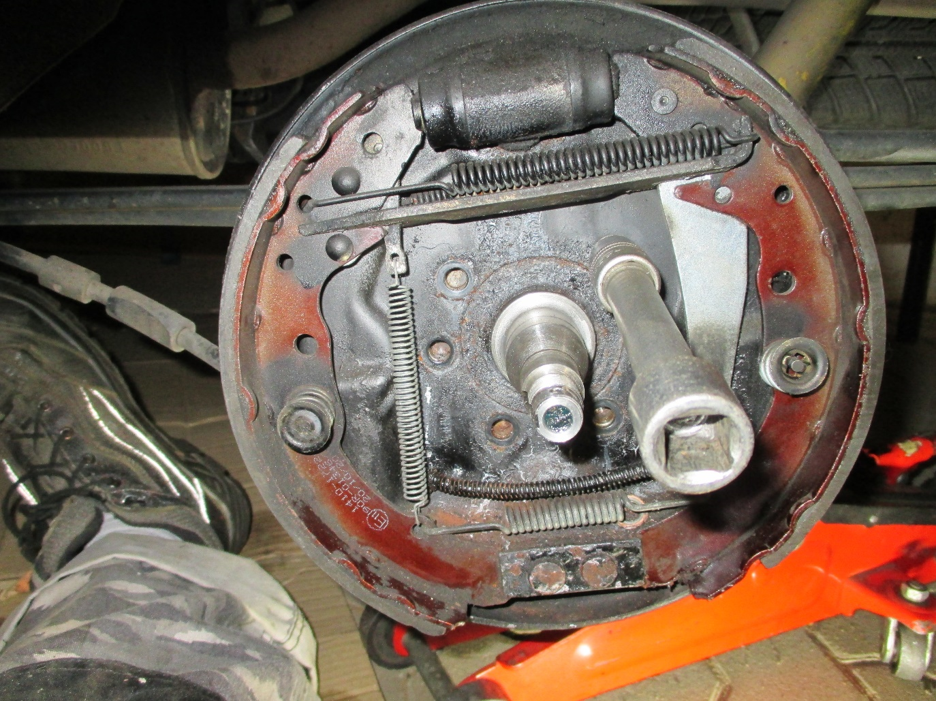
Loosen the sheet metal clamp of the brake line at the top of the axle tube, remove the axle journal, support the brake completely upwards. Brake line/hand brake cable can remain mounted > No bleeding necessary.
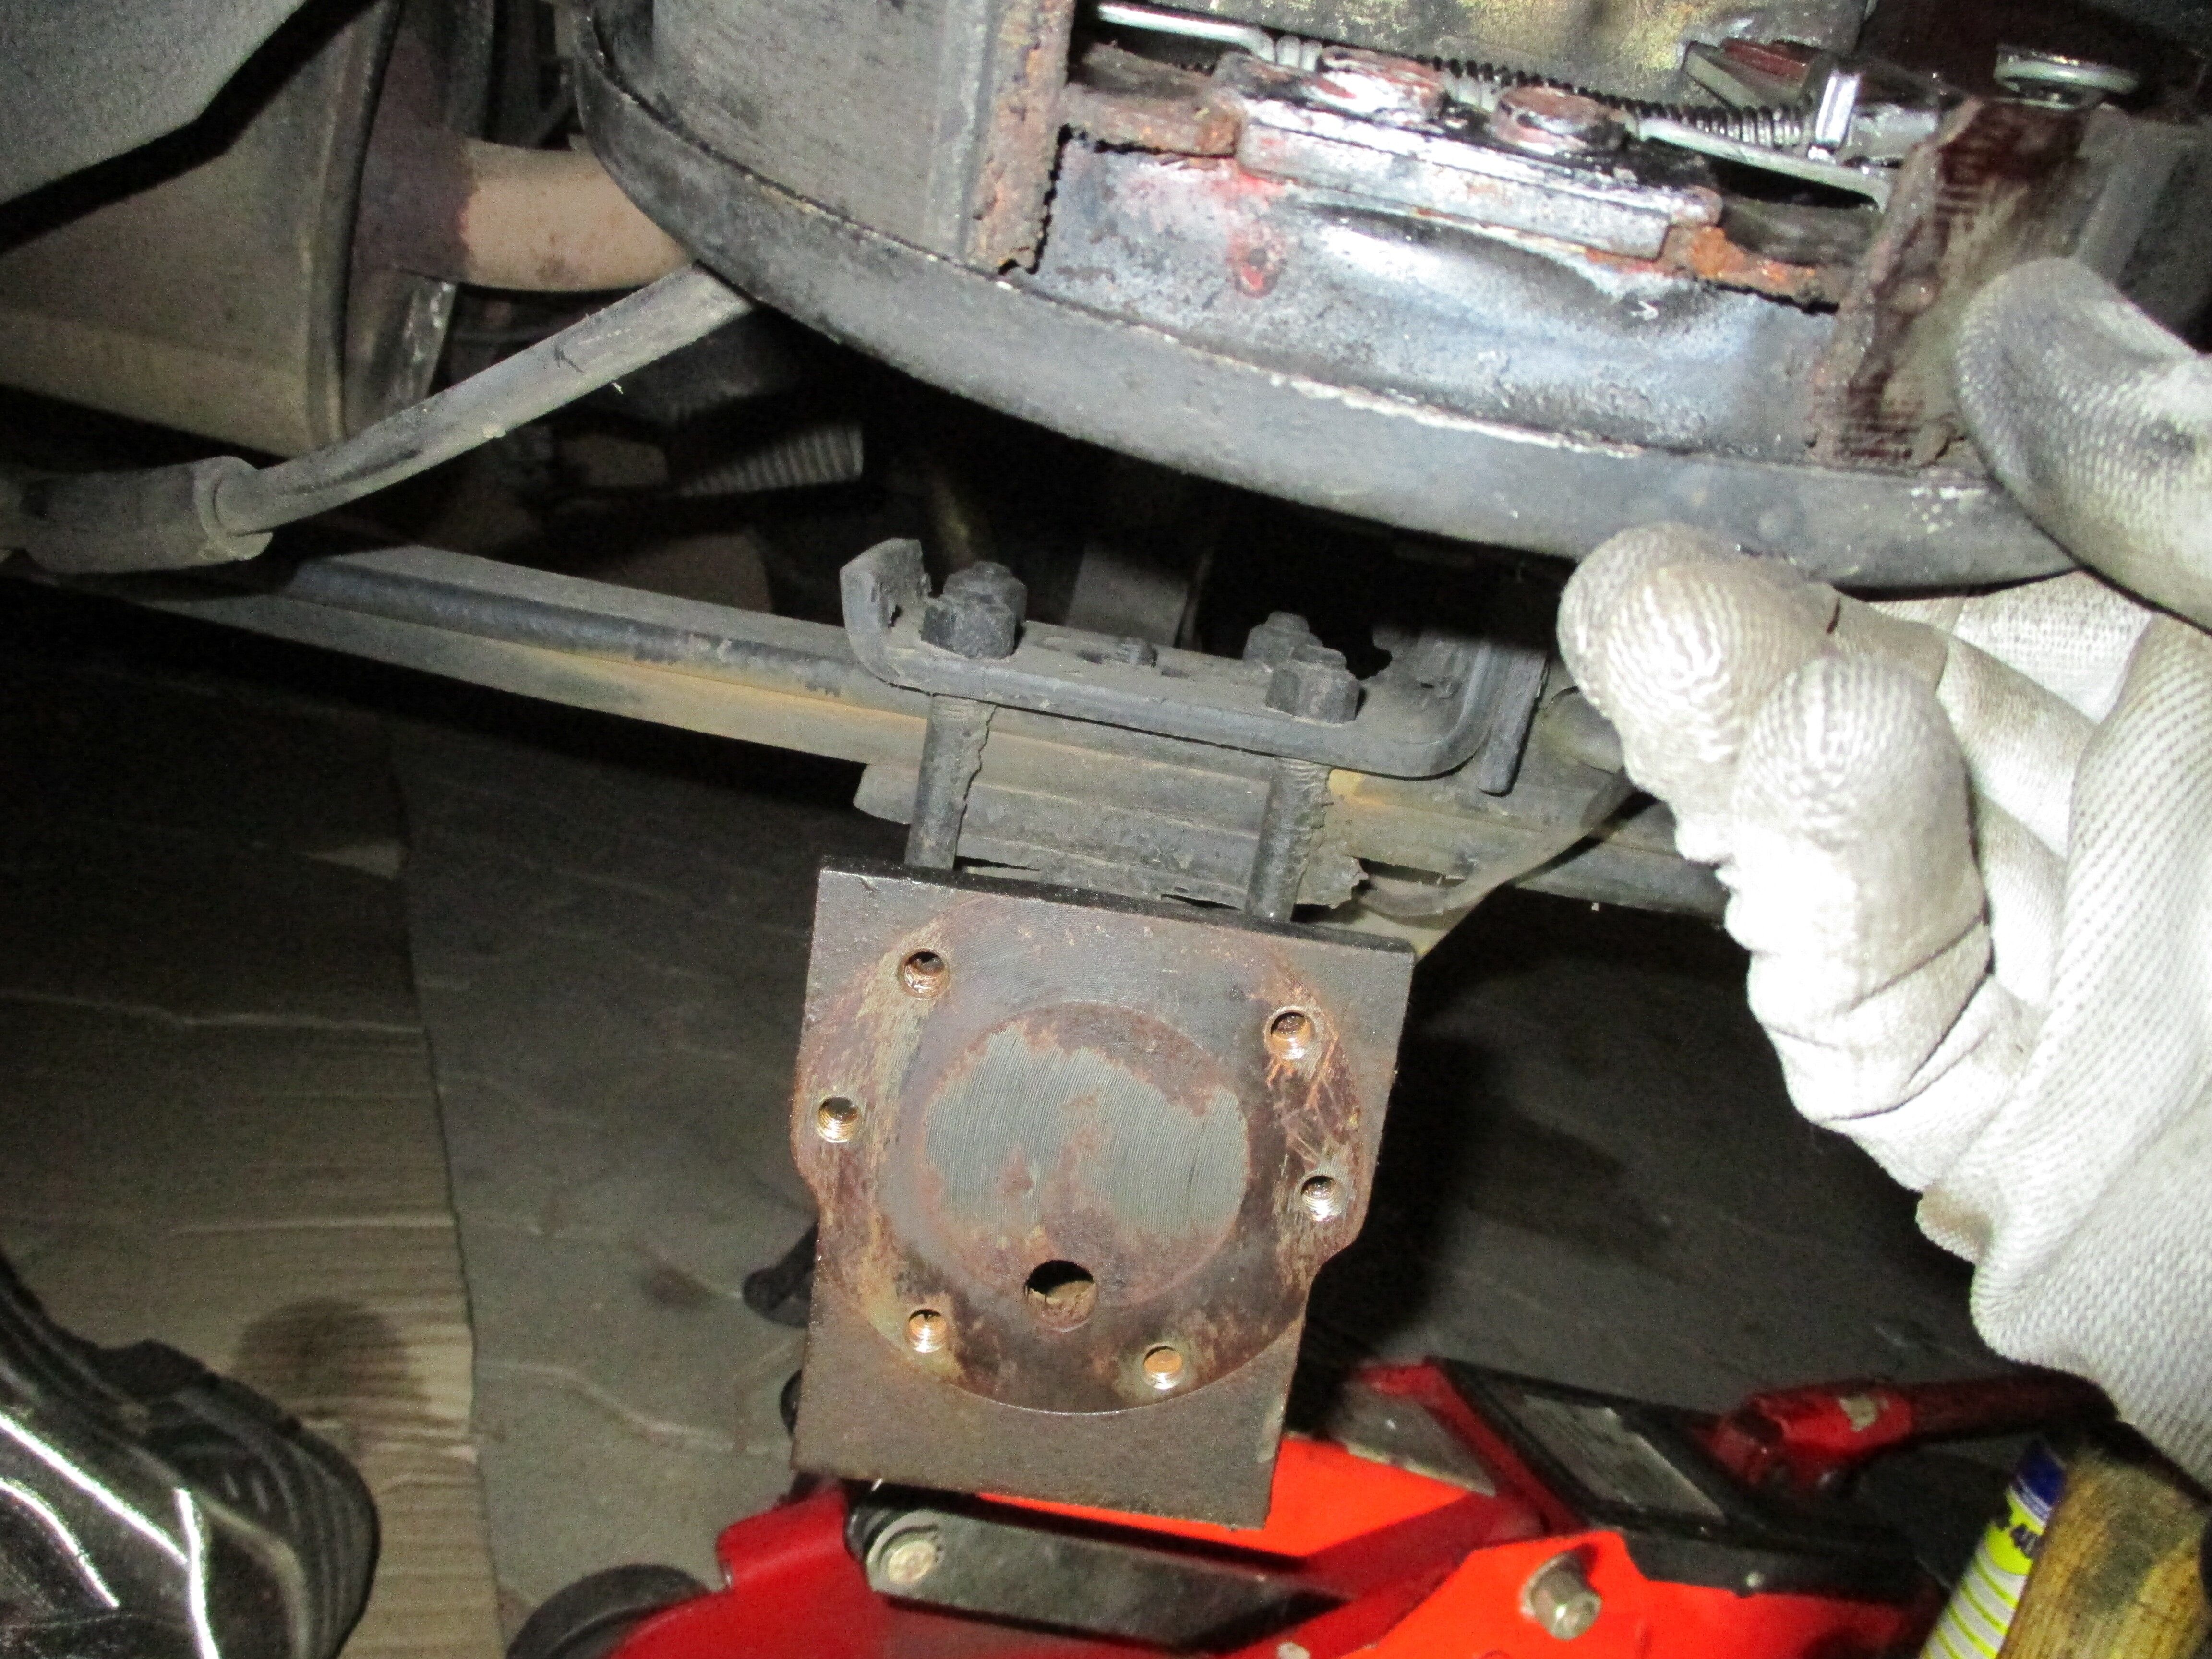
Clean the thread + carrier plate of the axle if necessary.
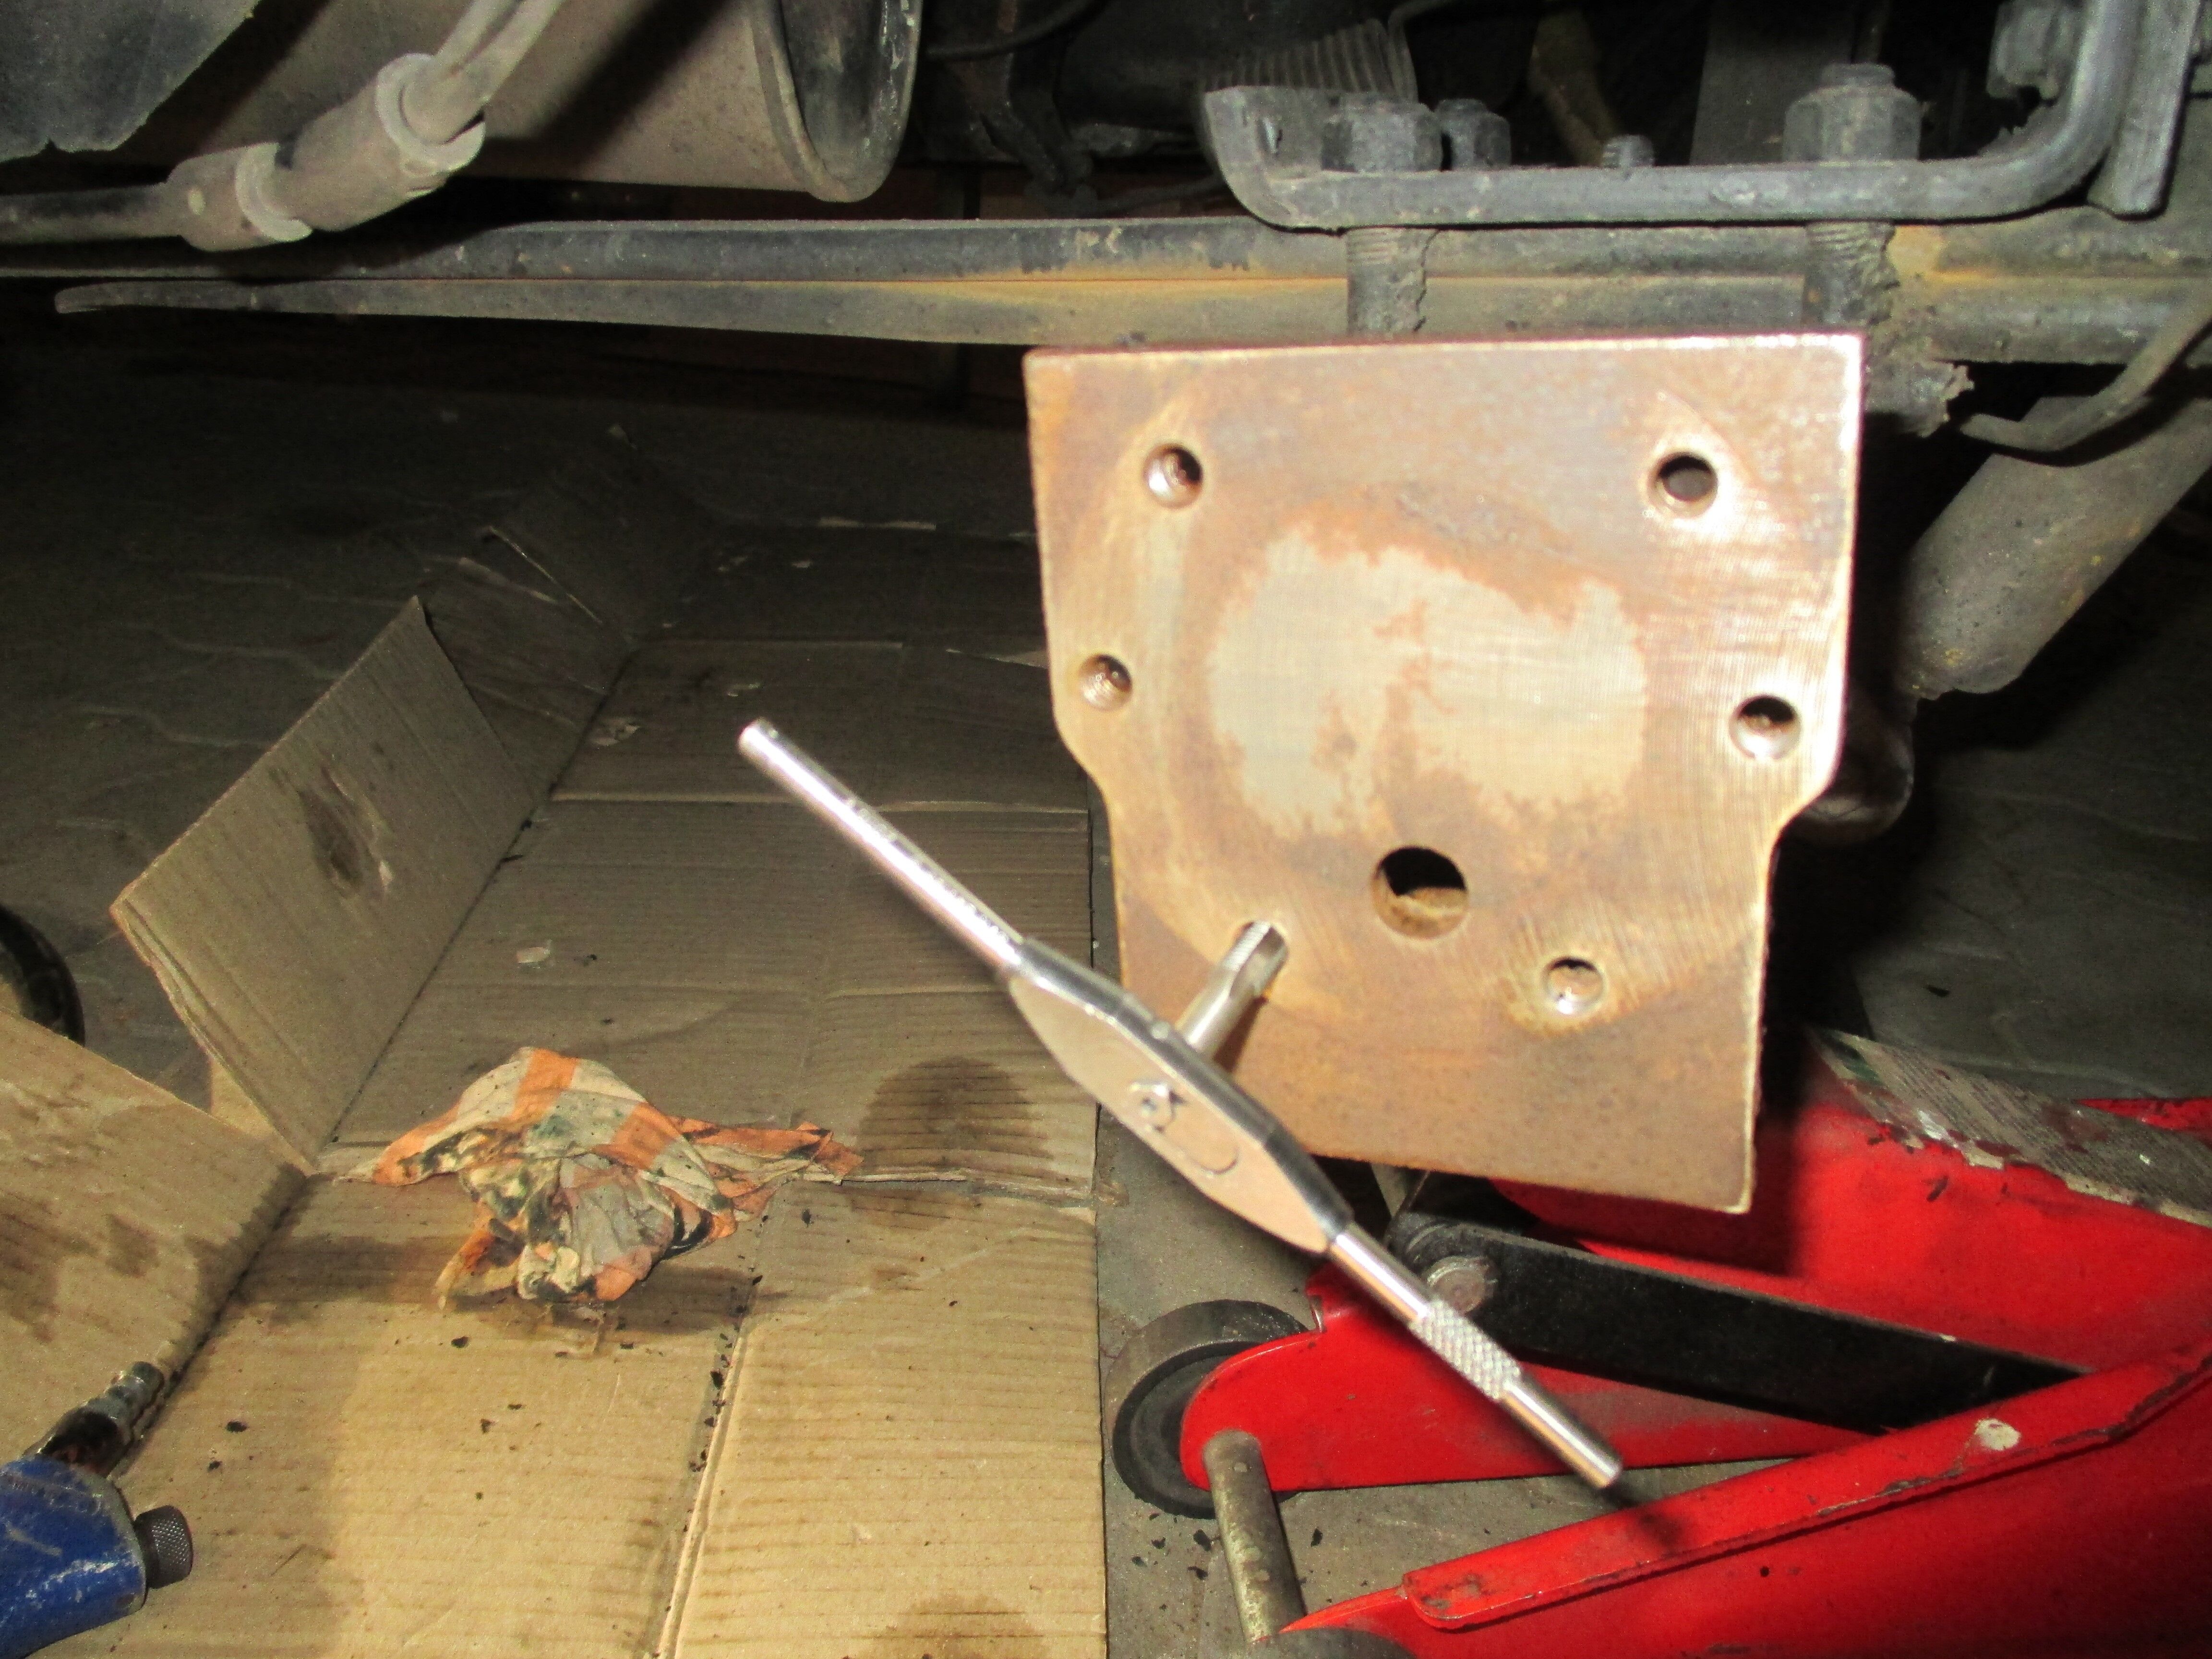
Mount the adapter plate > Observe the tightening torques of all screws!

Shorten the screws supplied by approx. 1.5 mm, remount the brake with the axle journal > Observe the tightening torques of the screws!
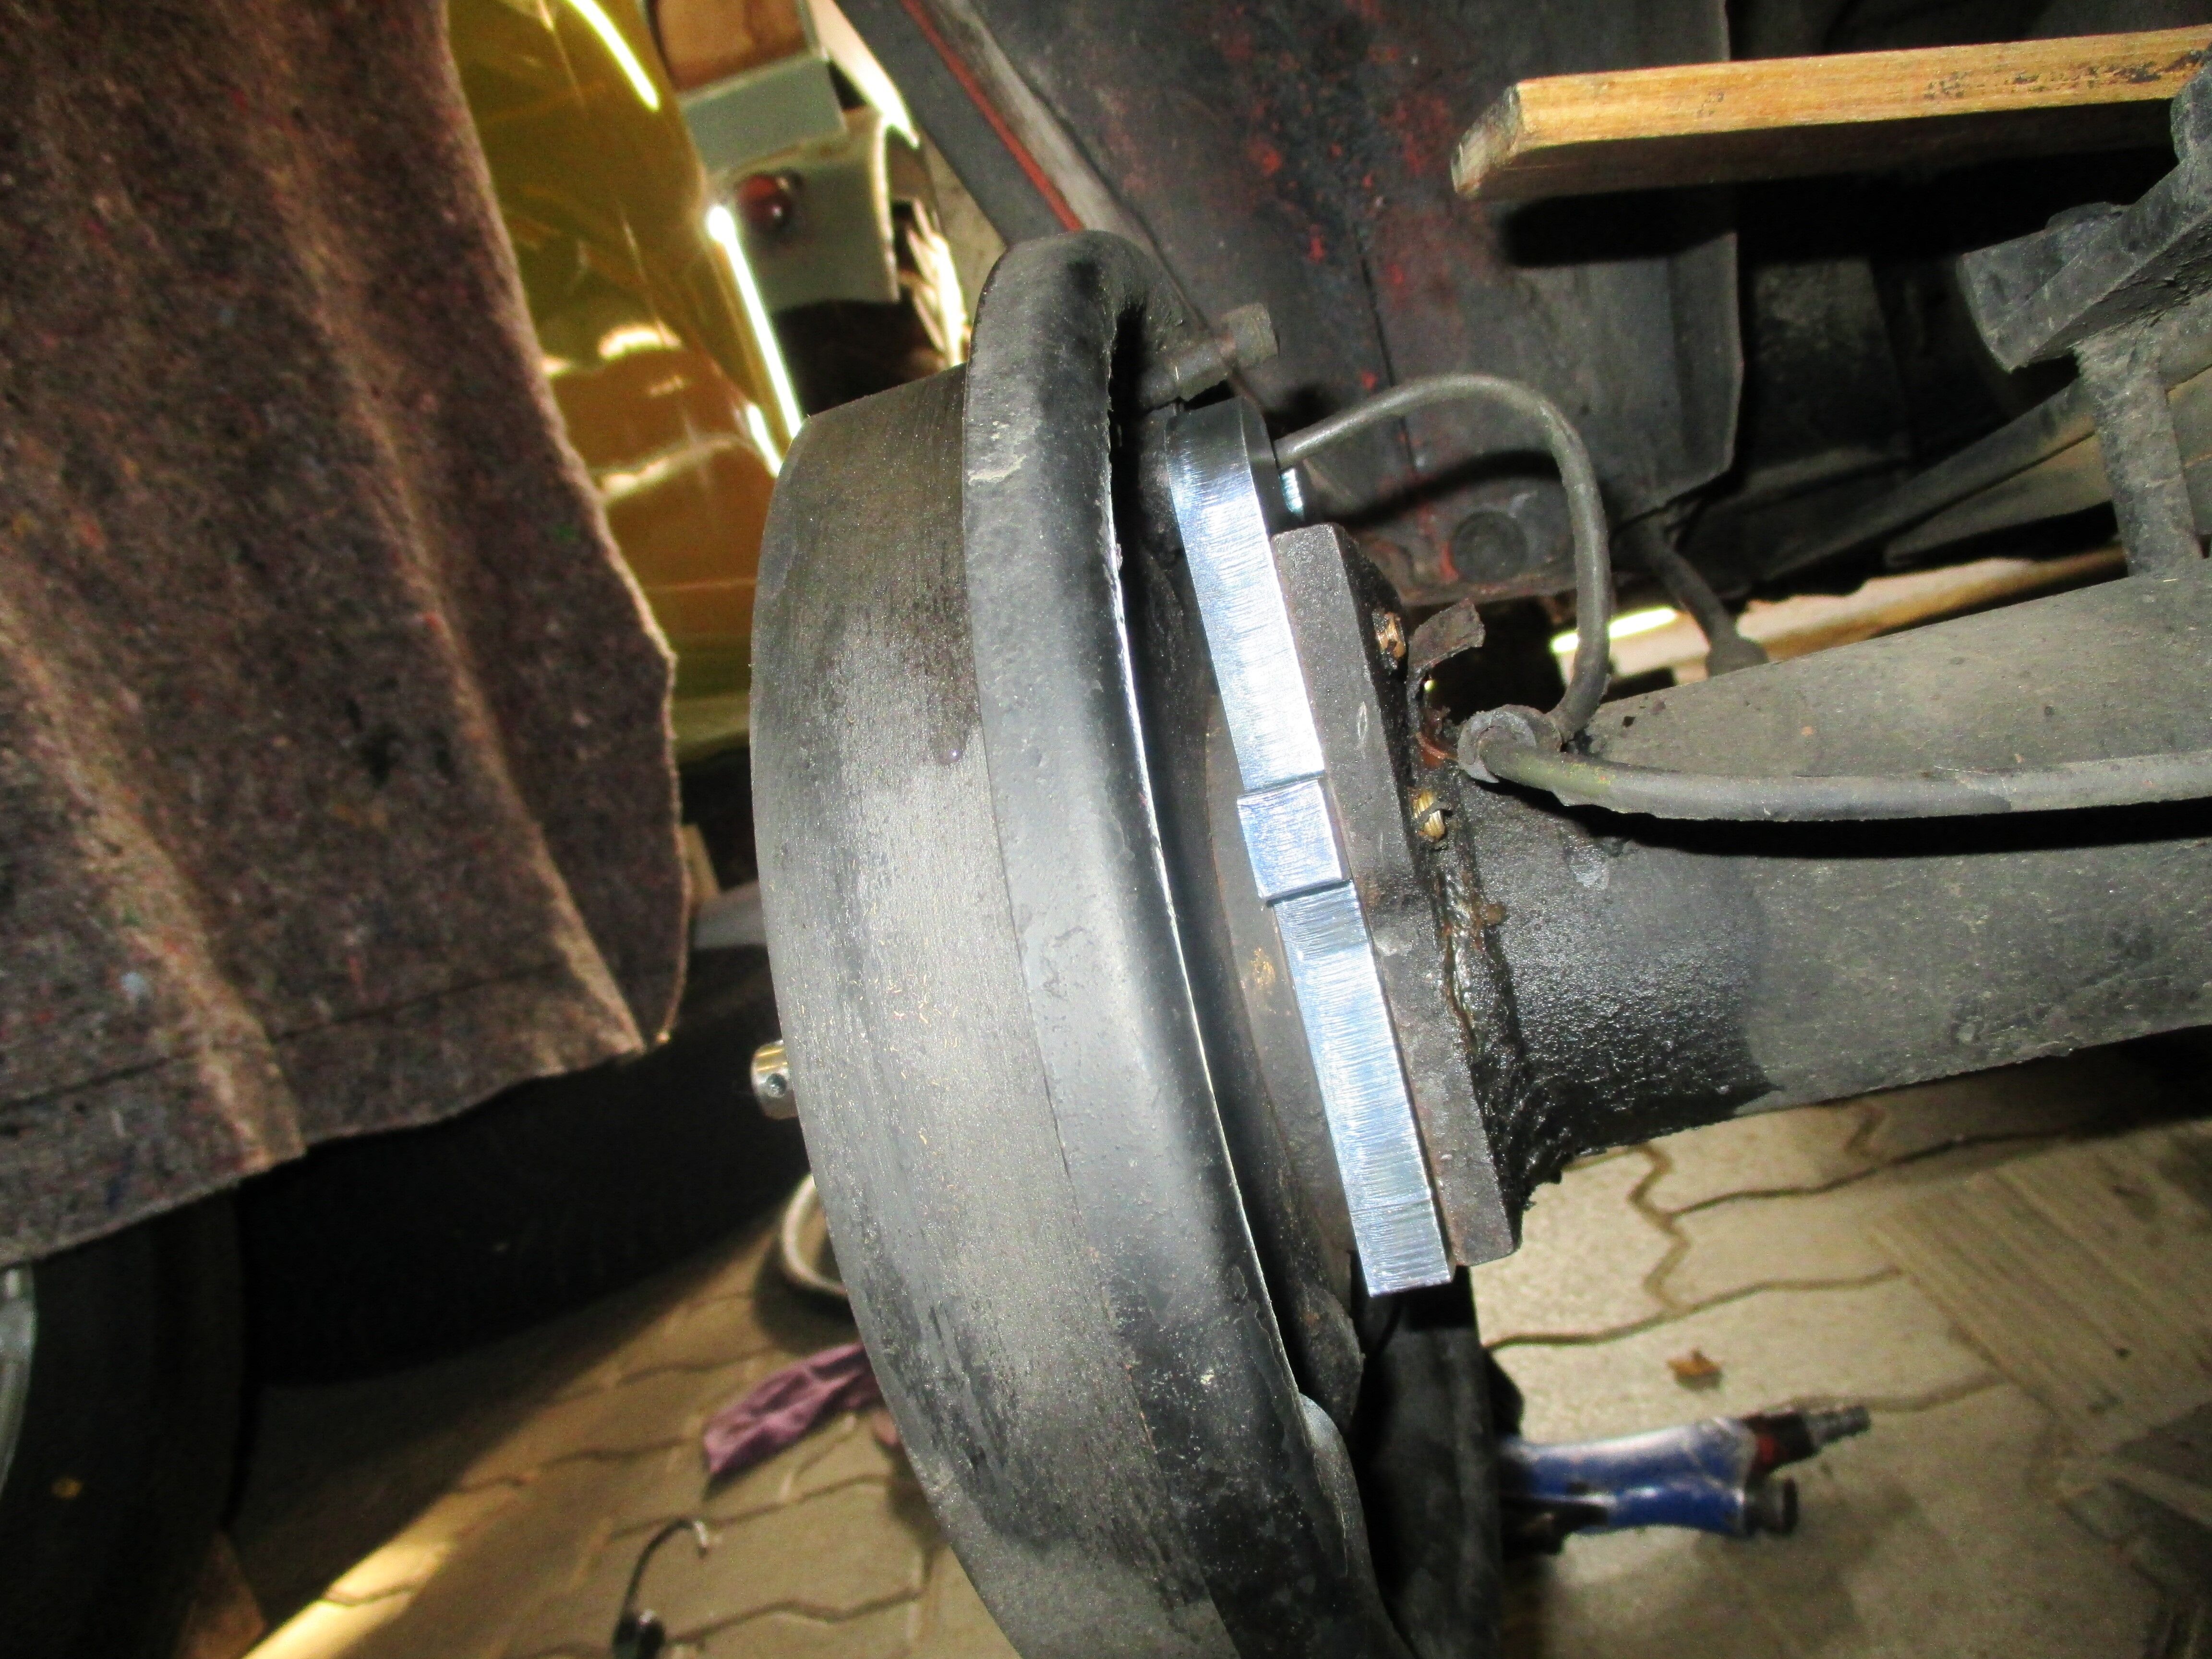
Check brake drum seal ring, renew/refresh wheel bearing lubricant.
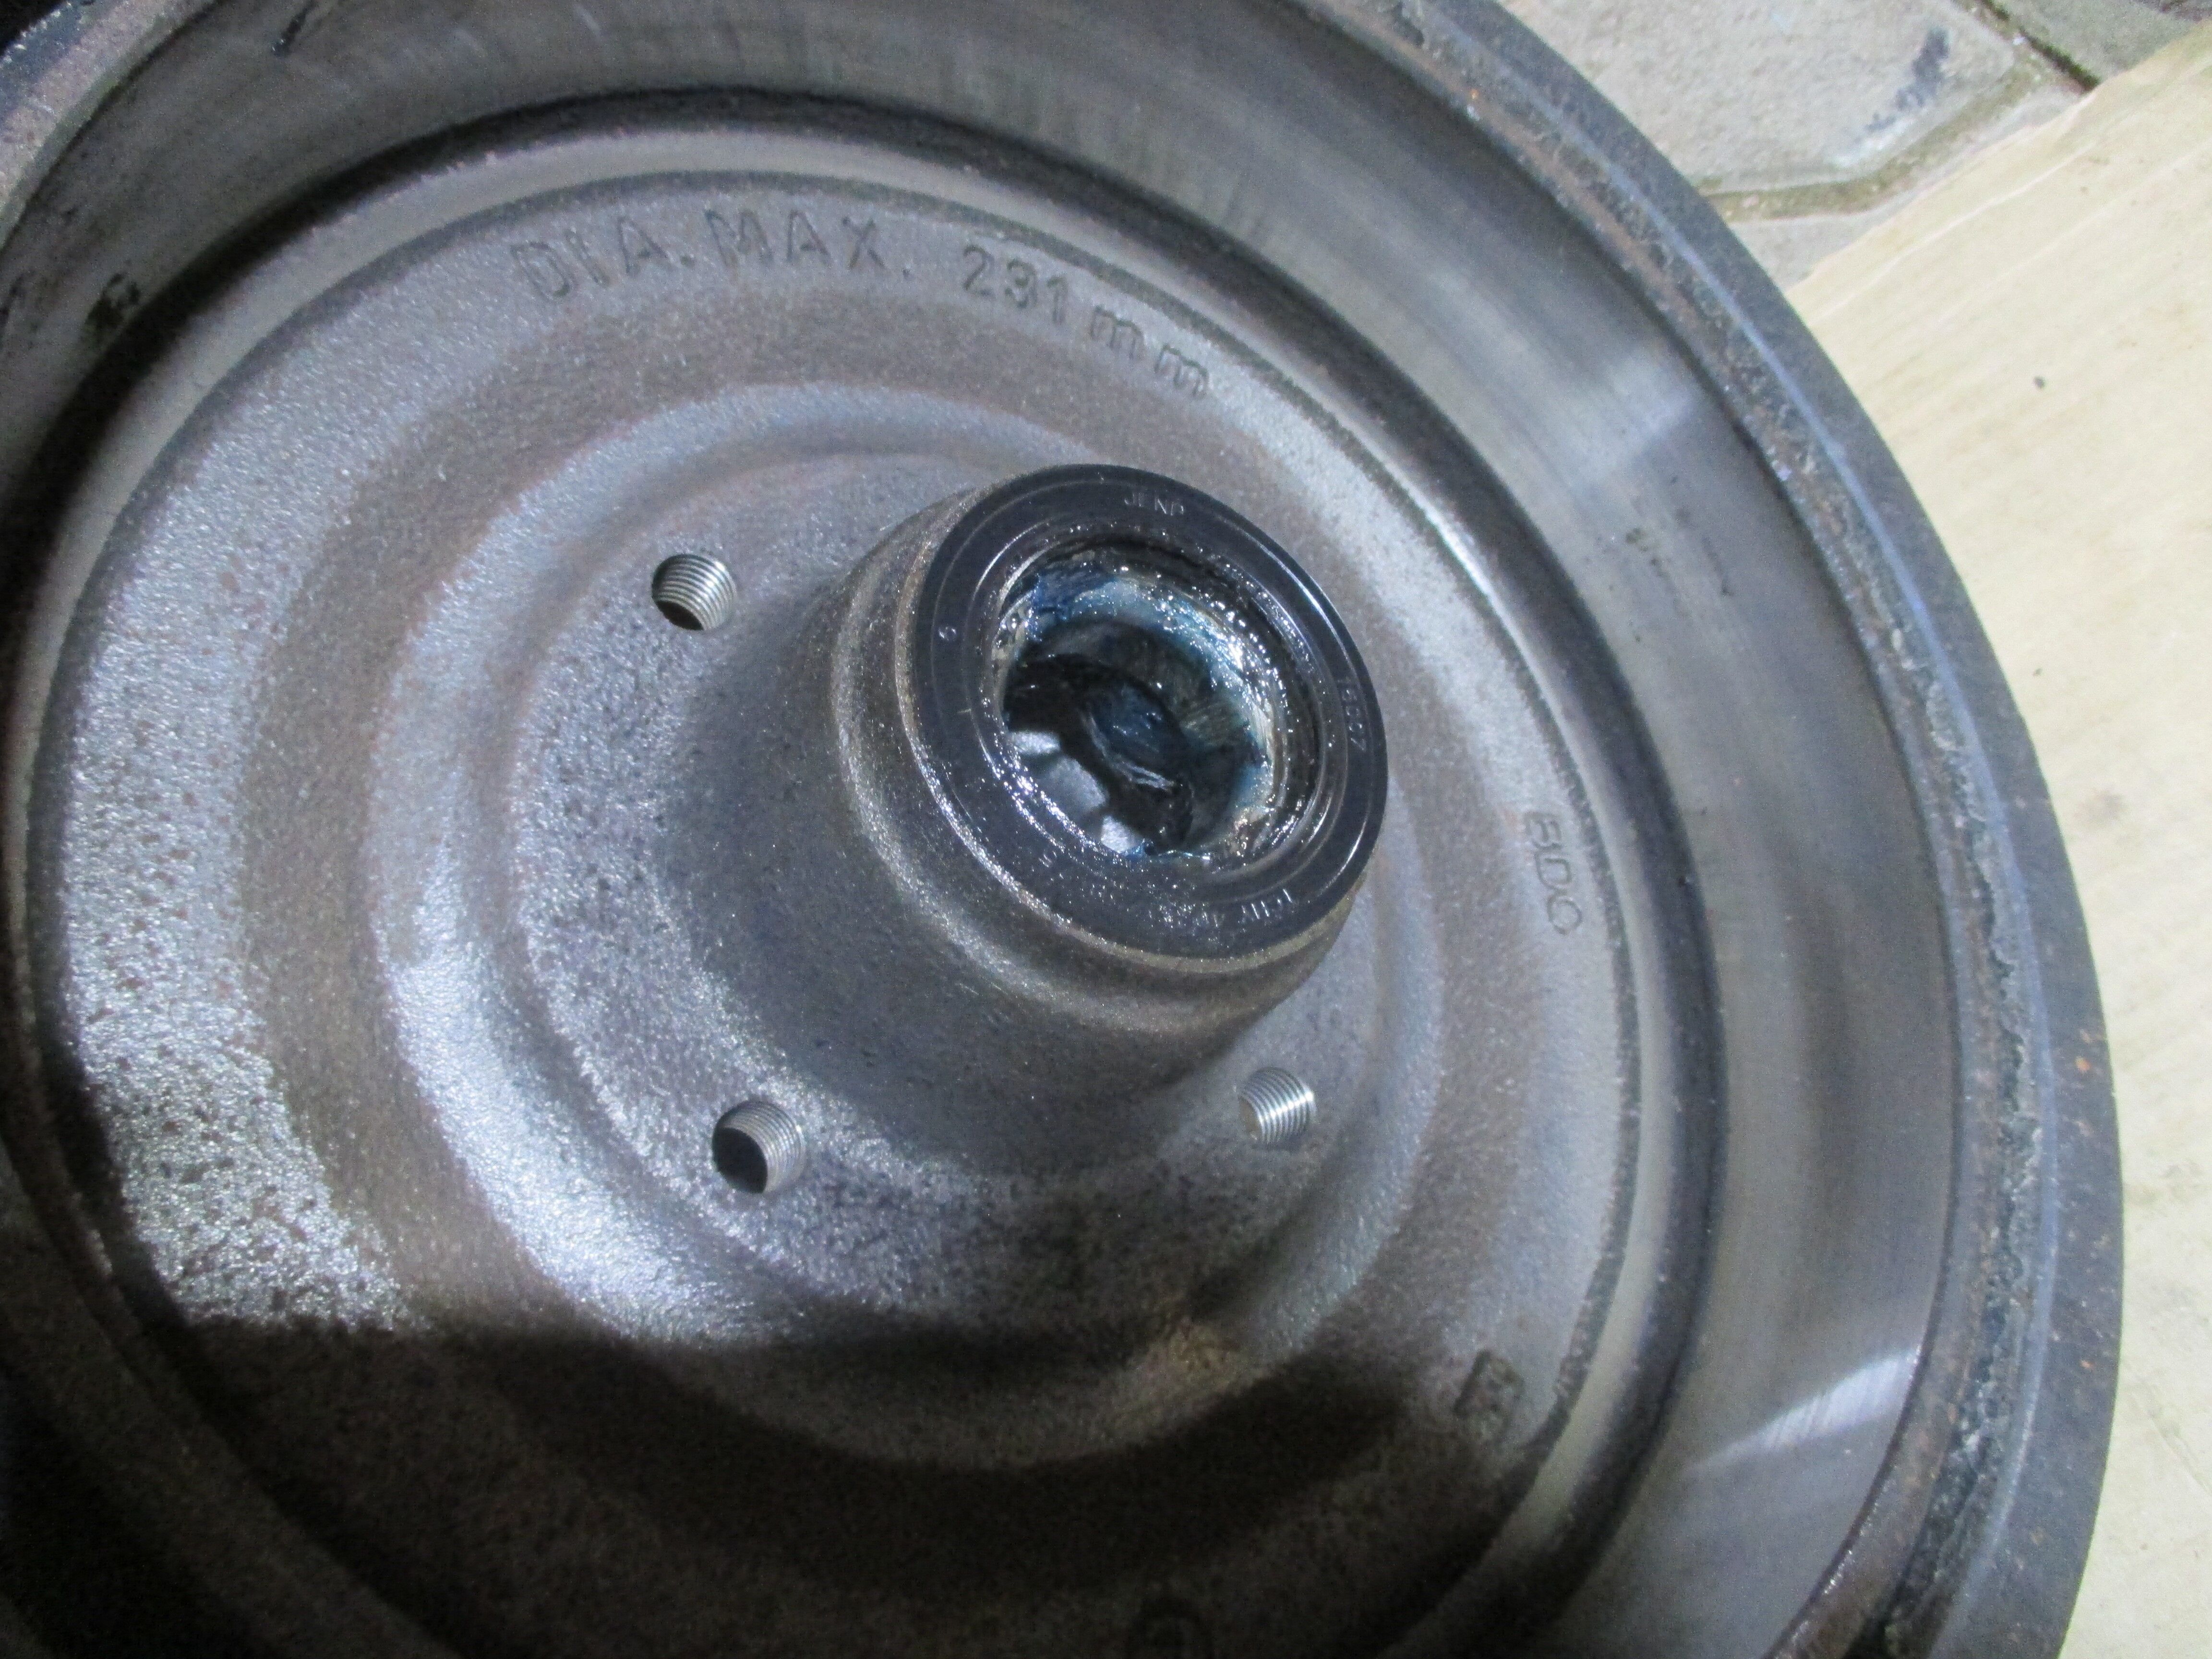
Fit brake drum, adjust wheel bearing tension, use new locking split pin for locking plate of central nut. Refit dust cap. Reattach the brake line to the axle tube (still loose here...).
Refit the wheel (observe the tightening torque) and repeat on the other side.
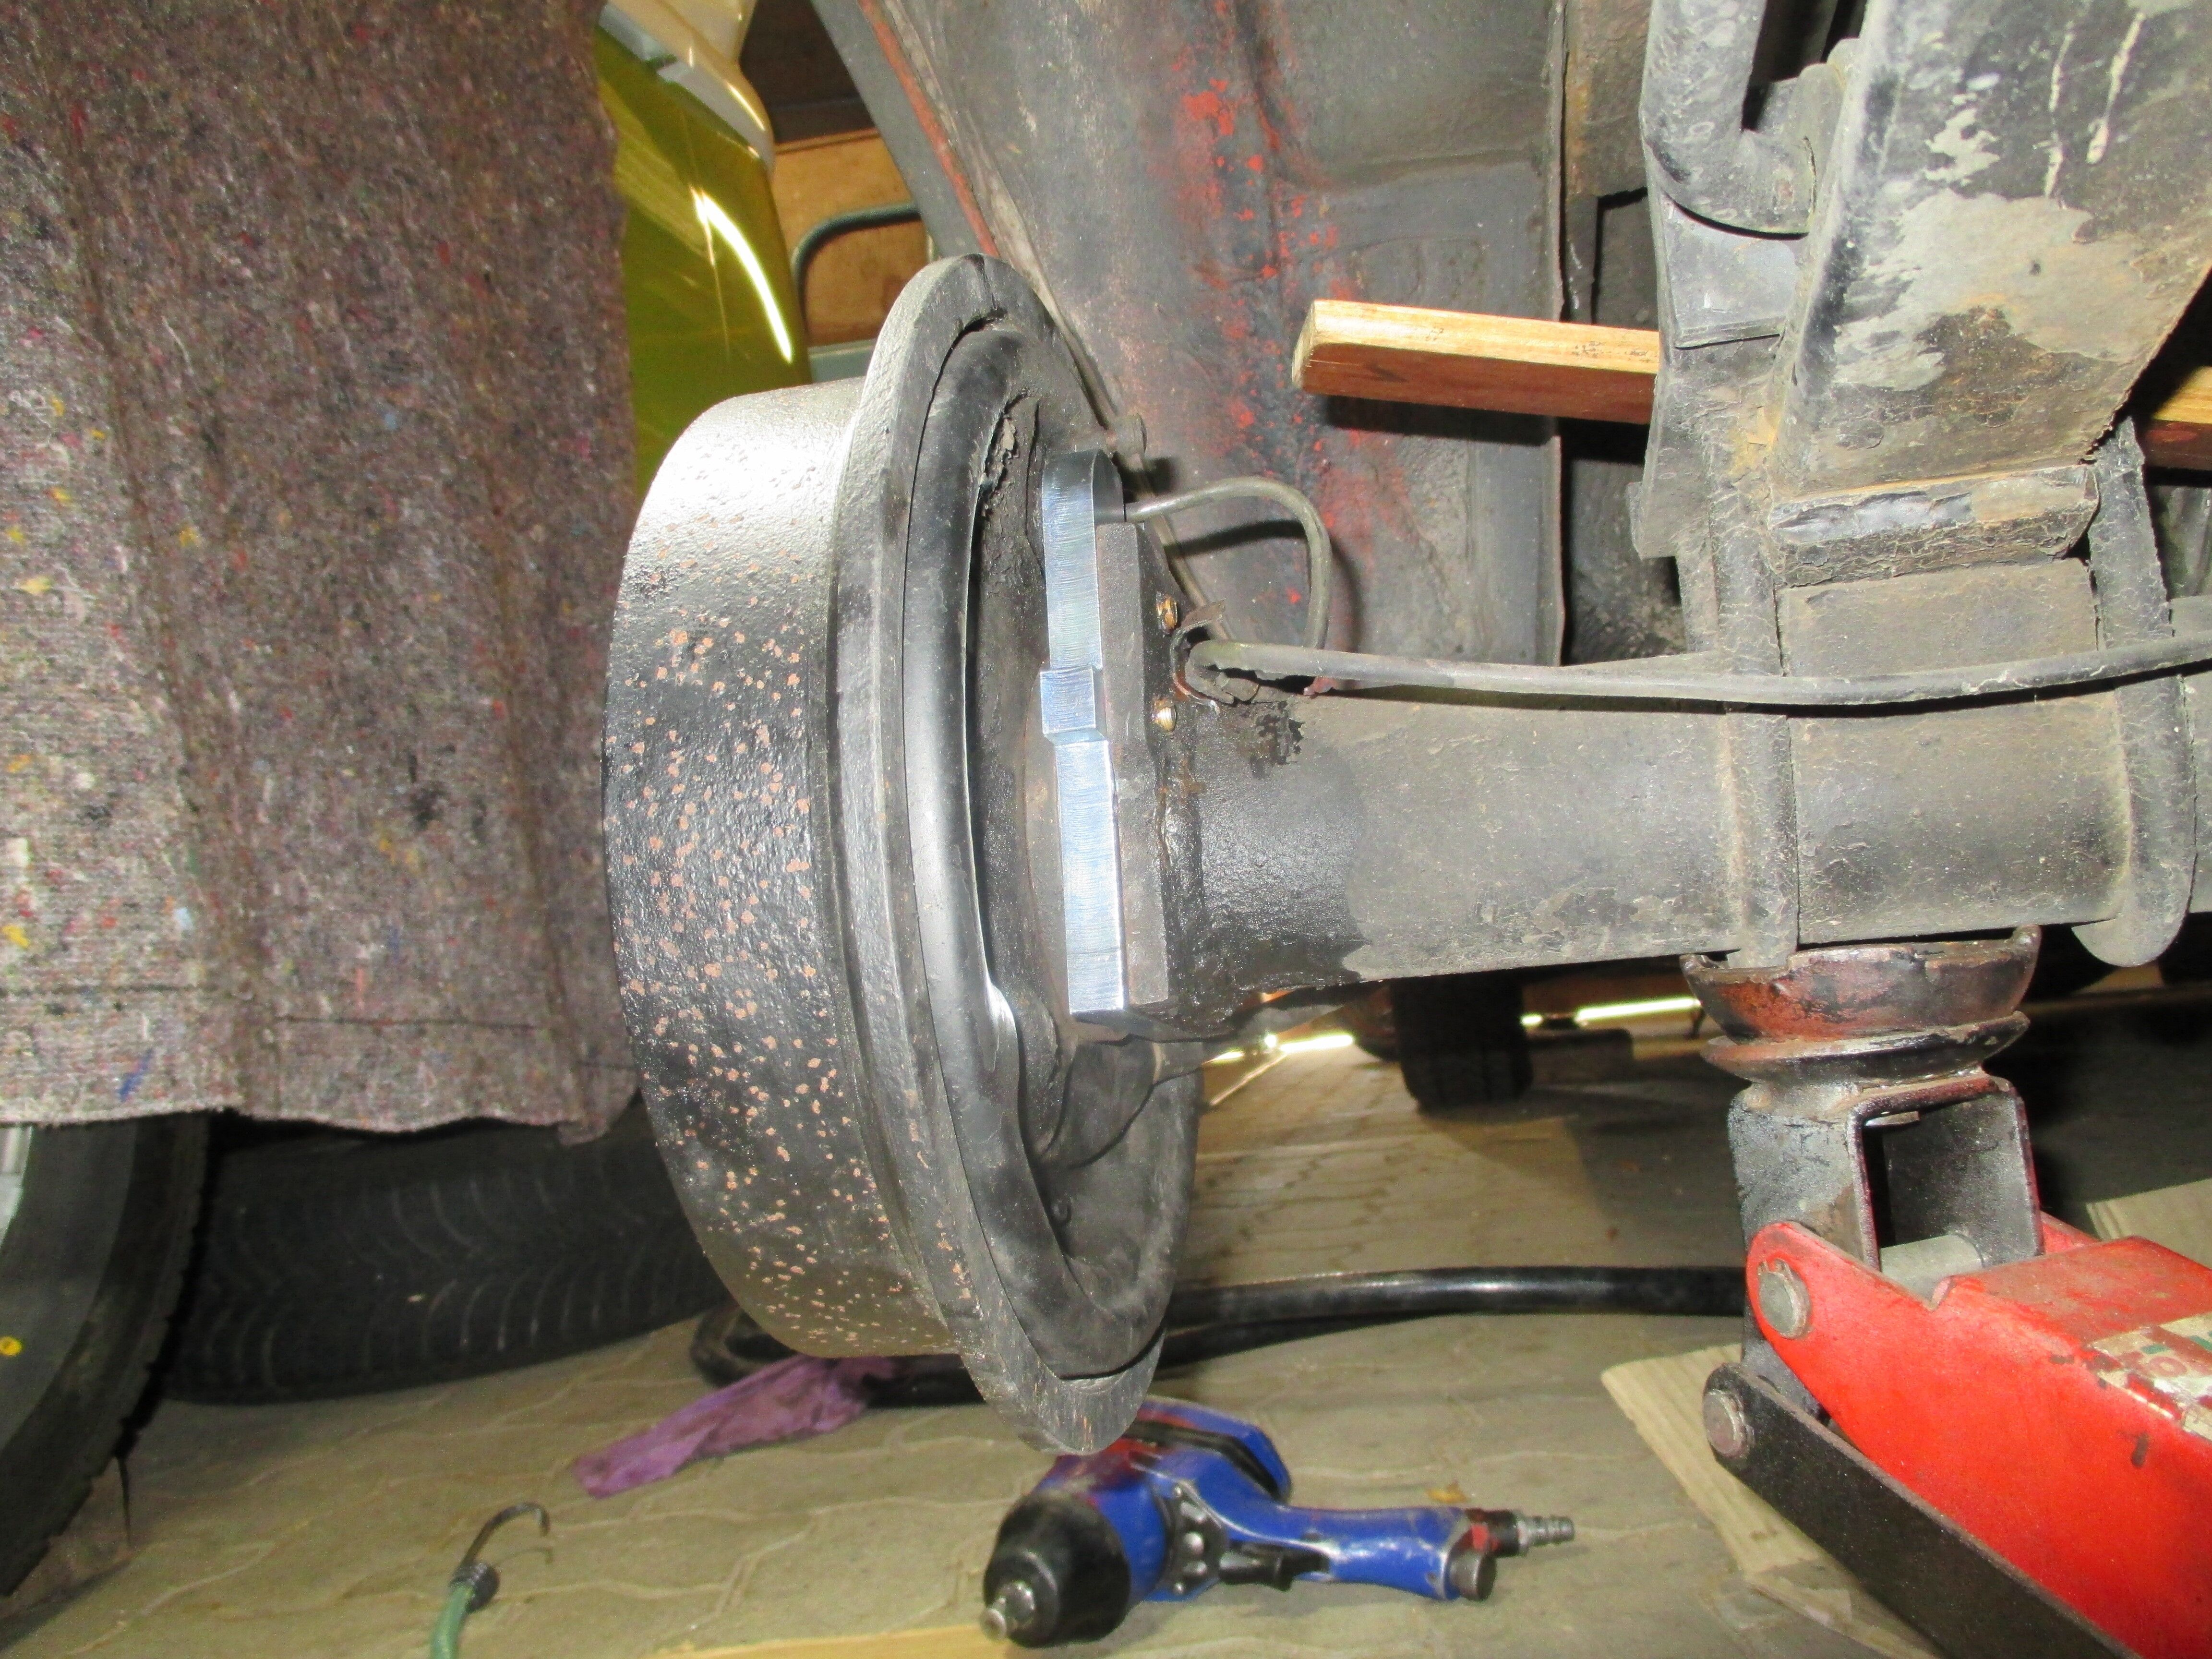
Before installation of the adapter plate
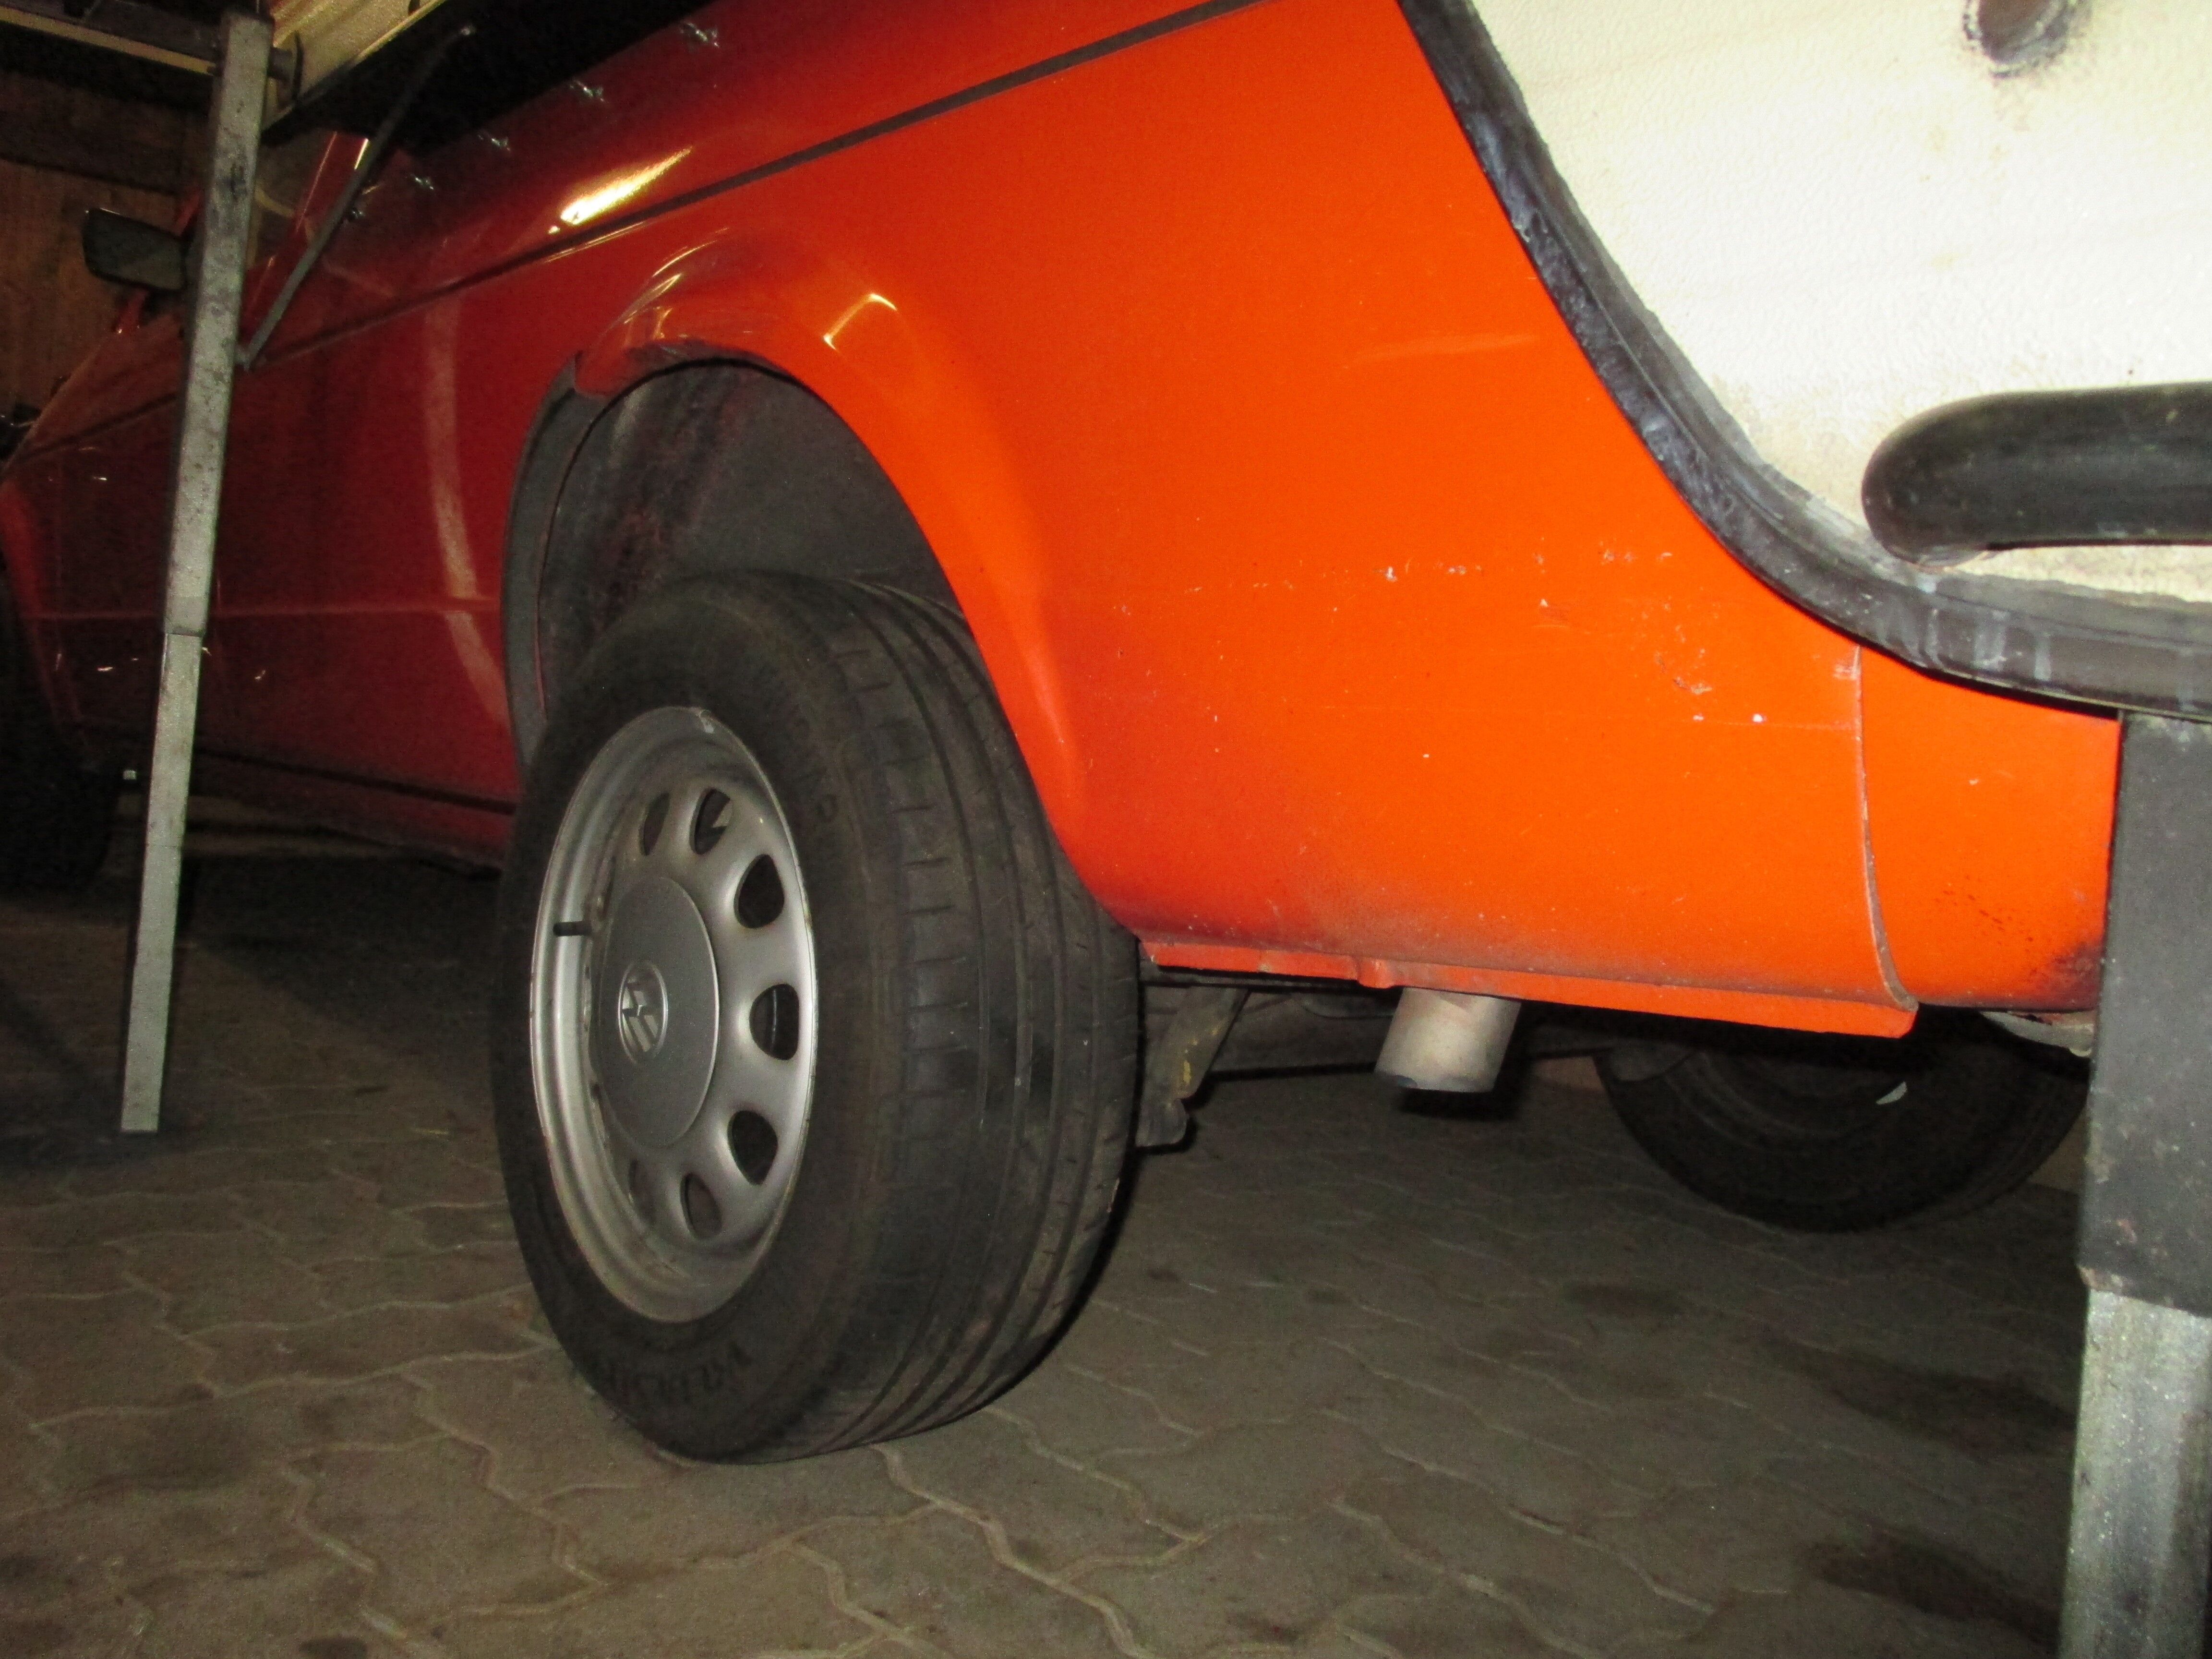
After installation of the adapter plate
Thanks a lot to Michael for the great project and the great installation instructions with pictures.
