


Einbauanleitung für den Bremssatteladapter 626 BMW 5er E39 Vorderachse
Upgrade to high performance: The ultimate installation guide for brake caliper adapter tuning for your BMW E39 5 Series on the front axle
What do you need
- Tools: Torque spanner with suitable attachments, wheel cross, spanner, rotary brush
- Liquid threadlocker (medium strength)
- Brake cleaner
- Brake paste
- Brake fluid with brake bleeding device
- Depending on technical knowledge approx. 1-2 hours
- No pressure loss when the brakes are applied, resulting in a noticeably precise pressure point
- Simple installation, the original line is simply replaced by the steel flex line
- No swelling as with rubber lines cost savings, as steel flex lines have an almost unlimited service life and do not have to be replaced every 3-5 years
- Shorter braking distance
- Marten safety
- incl. parts certificate for easy registration
- great look
The following parts can also be replaced as part of the conversion:
- 1x Brake pad warning contact (BMW-part number 34352229018)
- 1x per side: Hexagon head screw M12 x 1.5 x 43mm for fastening the brake caliper adapter to the wheel carrier (BMW-part number 34116772117)
- 1x per side: Front brake hose (e.g. BMW part number 34301165249 or suitable parts from the accessories)
- 1x per side: Wheel bearing with integrated wheel hub (BMW part number 31221093427 or suitable parts from the accessories)
- If heavily rusted, you should also replace the splash guards on the left (BMW part number 34111162955) and right (BMW part number 34111162956). This also requires stone chip deflectors on the left (BMW part number 34101165225) and right (BMW part number 34101165226), as well as 6x hexagon head screws M6 x 12mm (BMW part number 07119904511) and 2x shaft screws (BMW part number 34111164022) and 2x spring washers (BMW part number 34111164008).
- 1x per side: ABS pulse generator (BMW part number 34526756375) and corresponding ISA screw M6 x 20mm (BMW part number 07129901130).
The following installation instructions cover all these repairs.
Step-by-step instructions
Step 1: Instructions for dismantling the brake system of the BMW 5 Series E39:
When converting the brake system on the front axle of your BMW E39, first park the vehicle, apply the handbrake and secure it against rolling away. Loosen the five 17 mm wheel bolts on the front wheel, but do not unscrew them completely until the vehicle has been jacked up. Then jack up the vehicle and secure it. Then unscrew the wheel bolts completely and remove the wheel. If the wheel is stuck, hit the tyre from the inside with a plastic hammer to loosen the wheel.
Step 2: Dismantling the brake caliper of the BMW E39 5 Series:
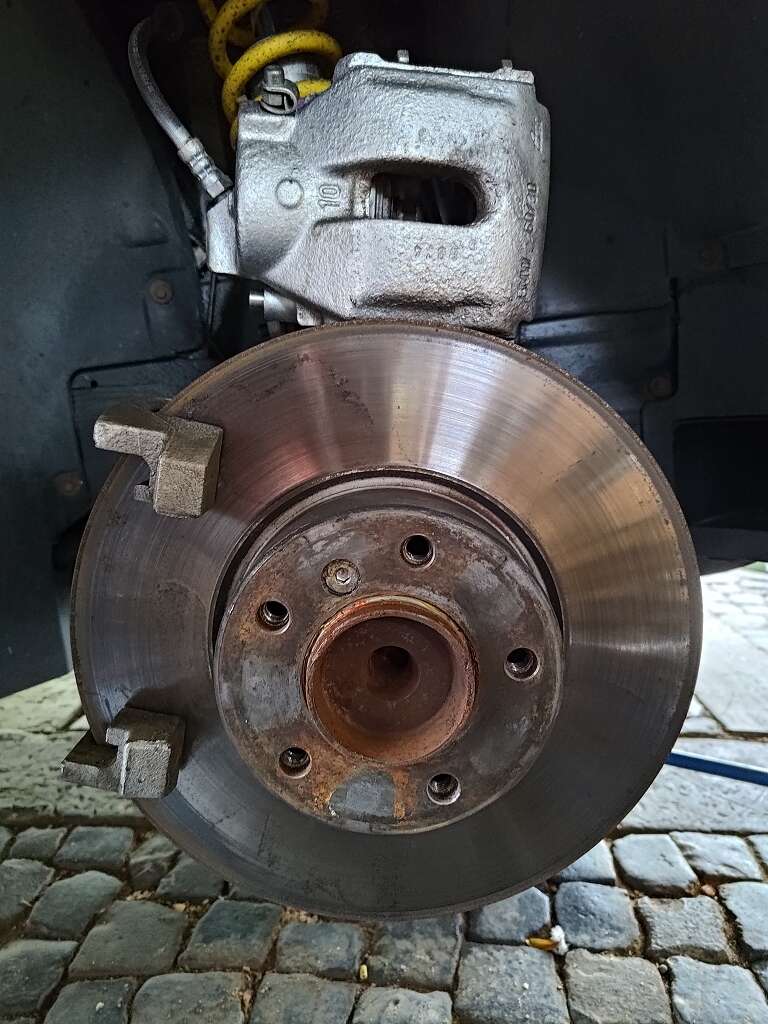
Step 3: Remove the BMW E39 brake caliper carrier:
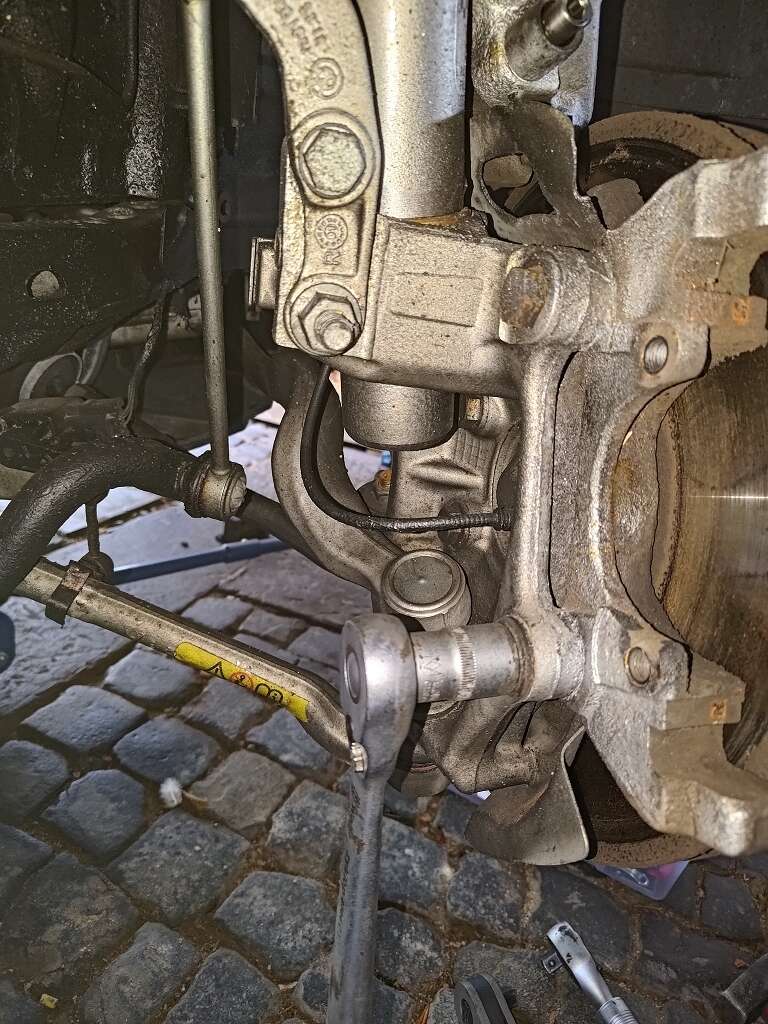
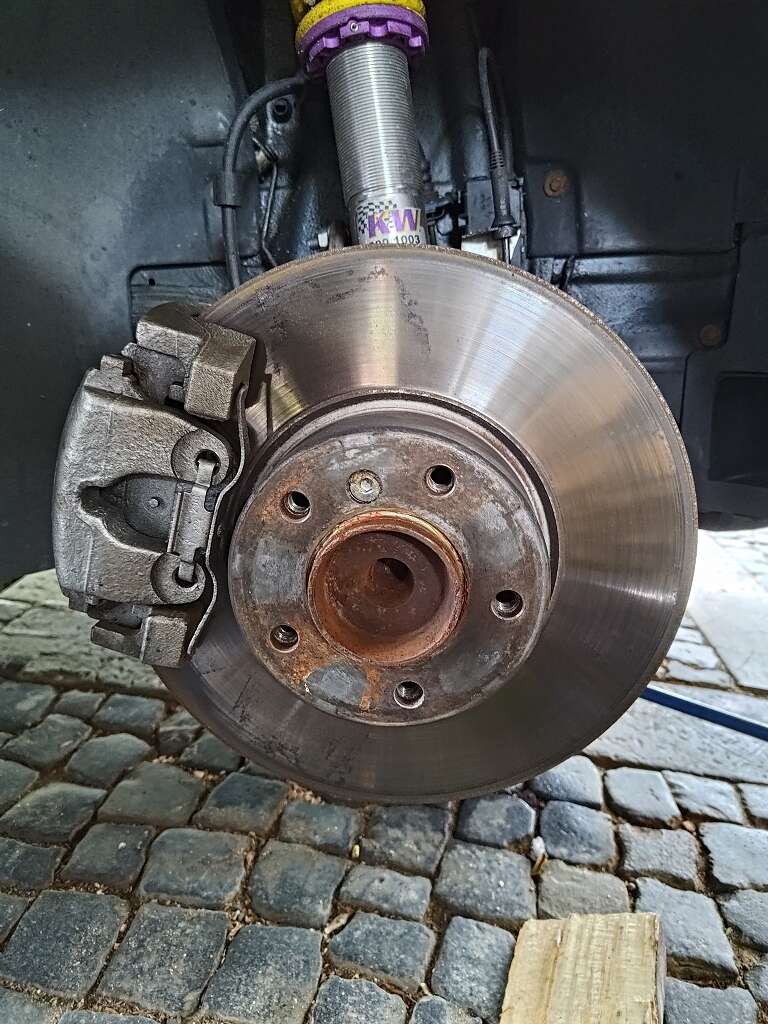
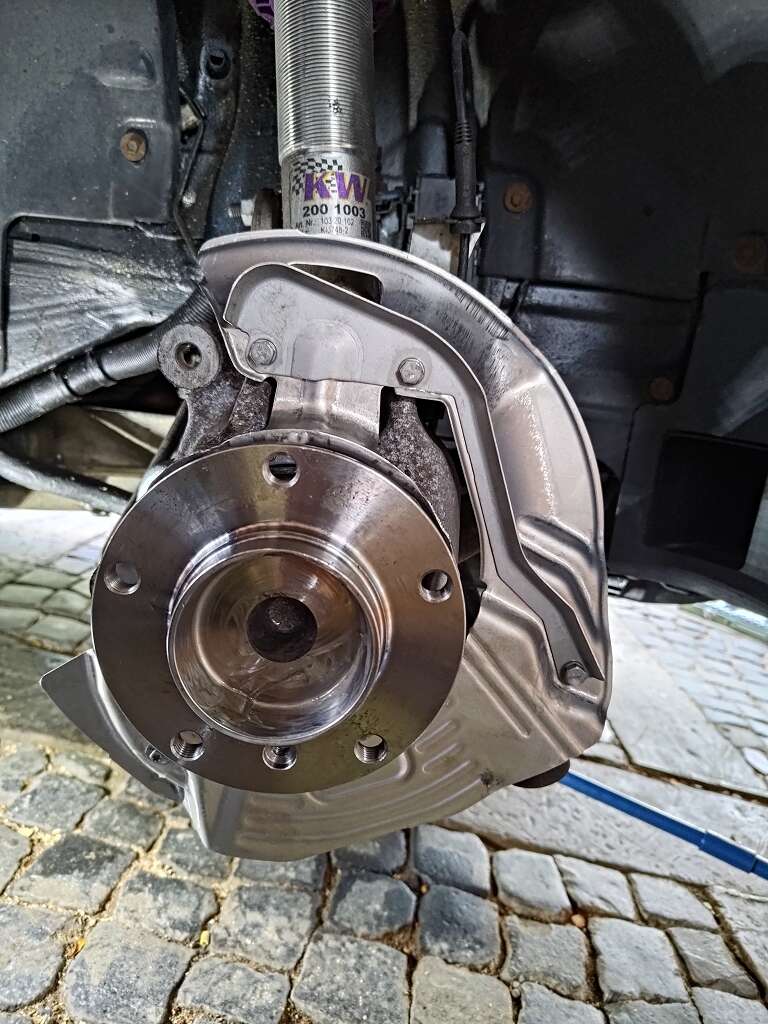
Step 4: Removing the brake disc from the BMW E39
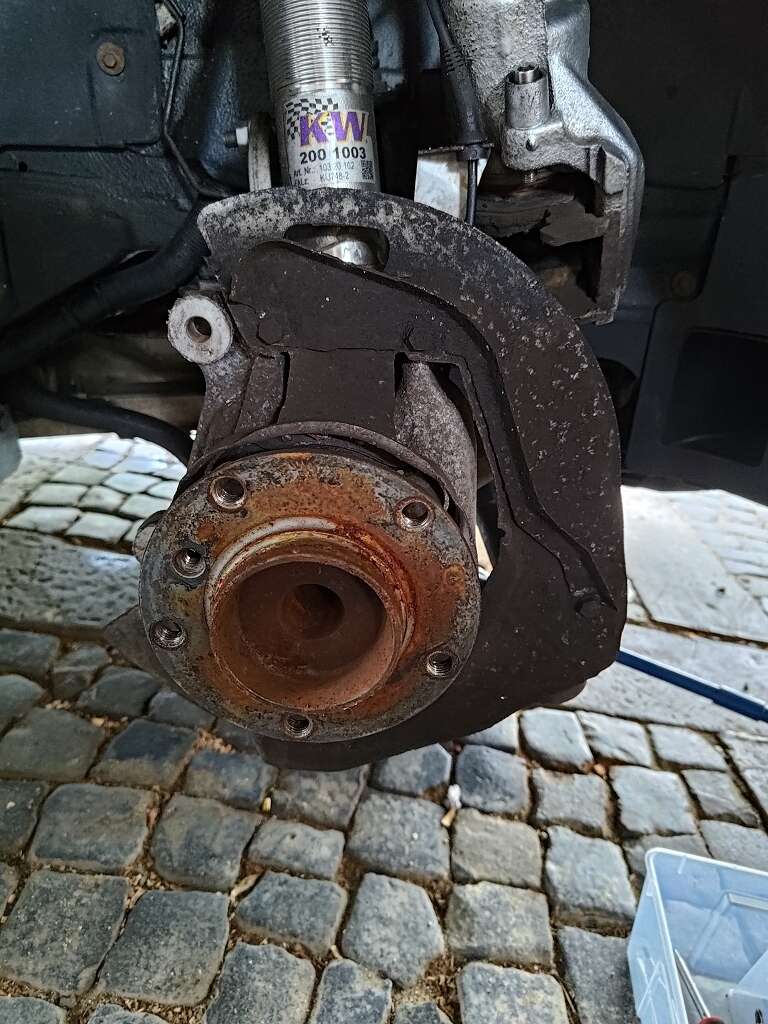
Step 5: Removing the wheel hub and pointed mudguard of the BMW E39
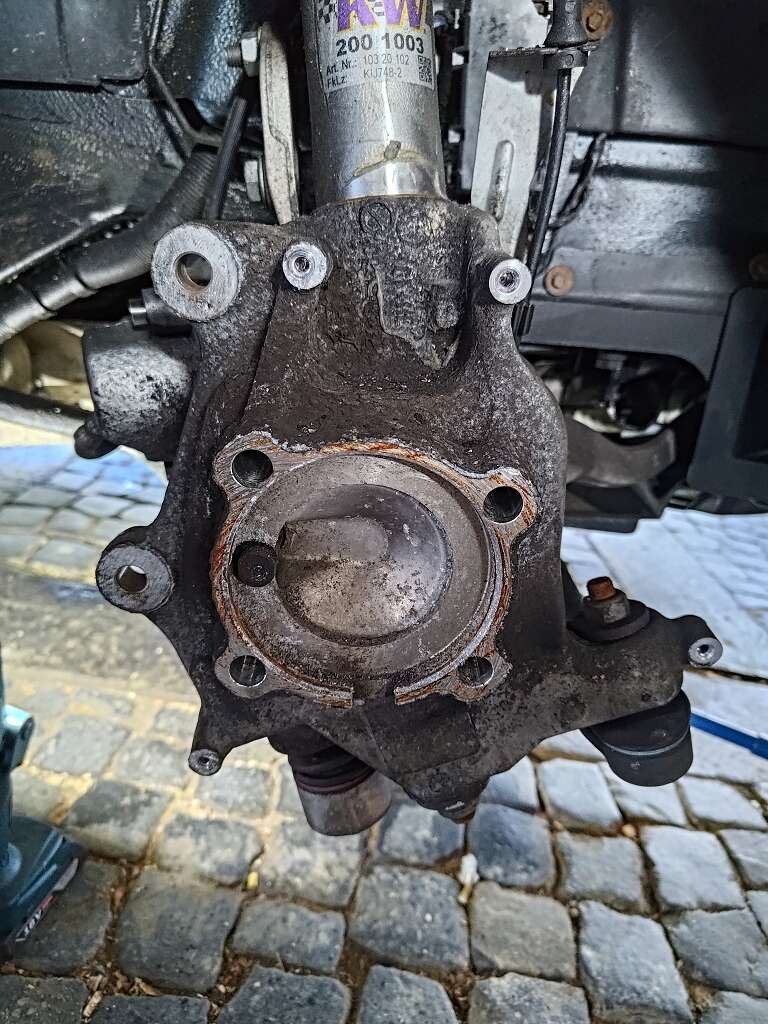
Step 6: Install new ABS pulse sensor and splash guard
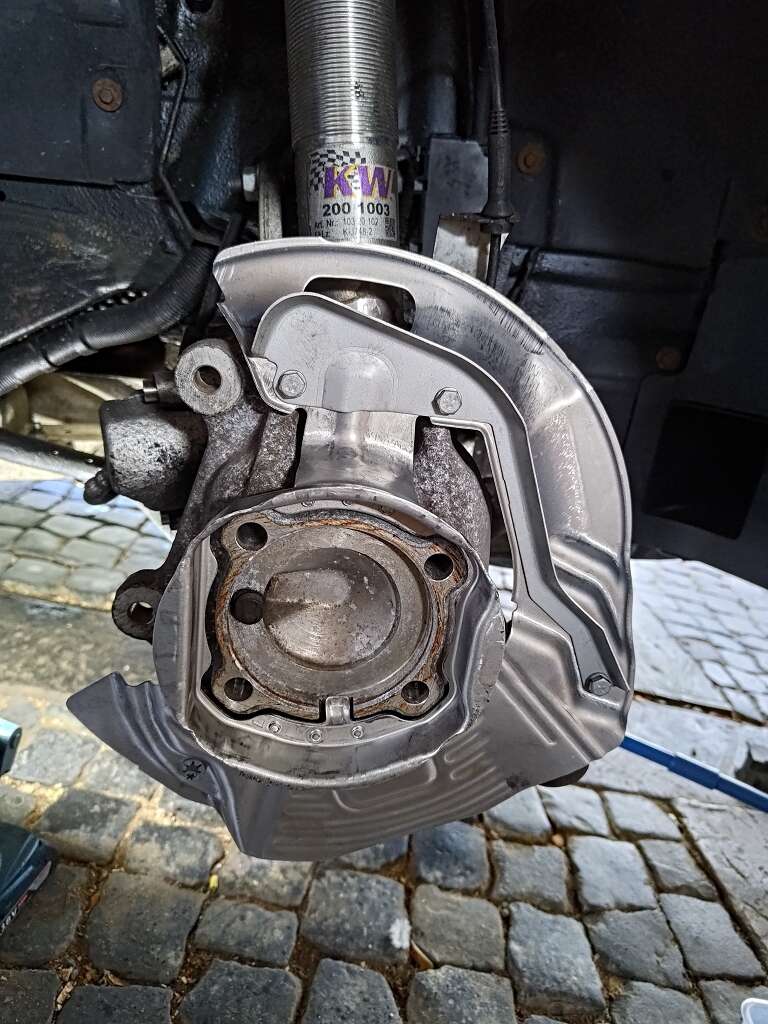
Step 7: Fit new wheel bearing
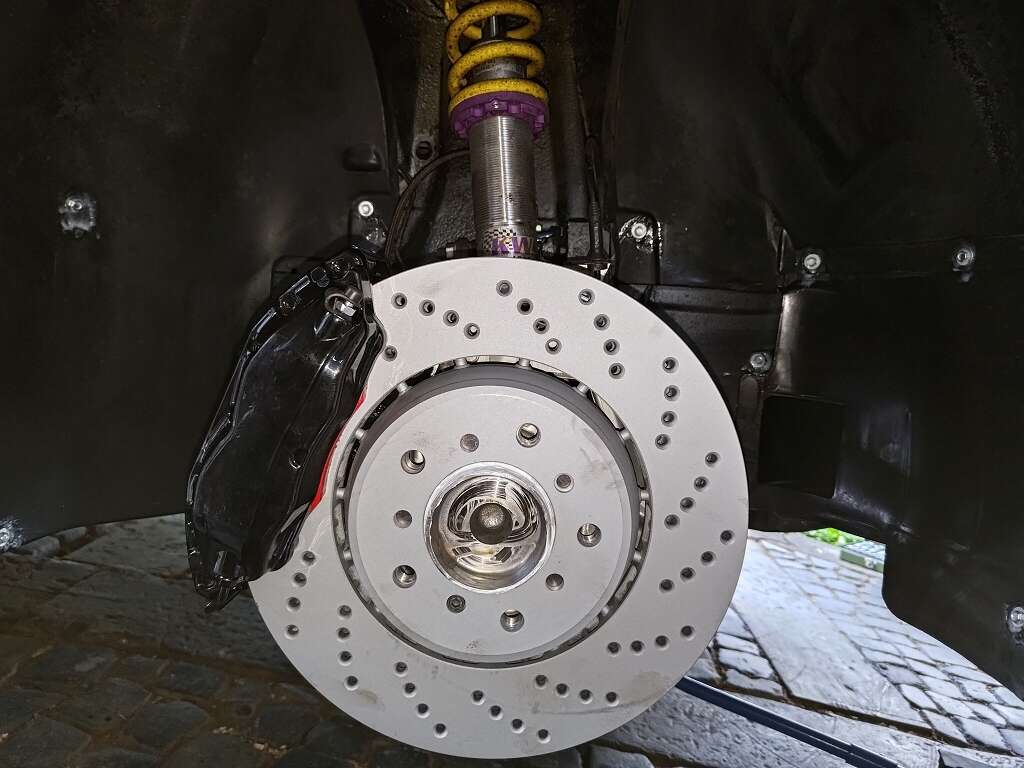
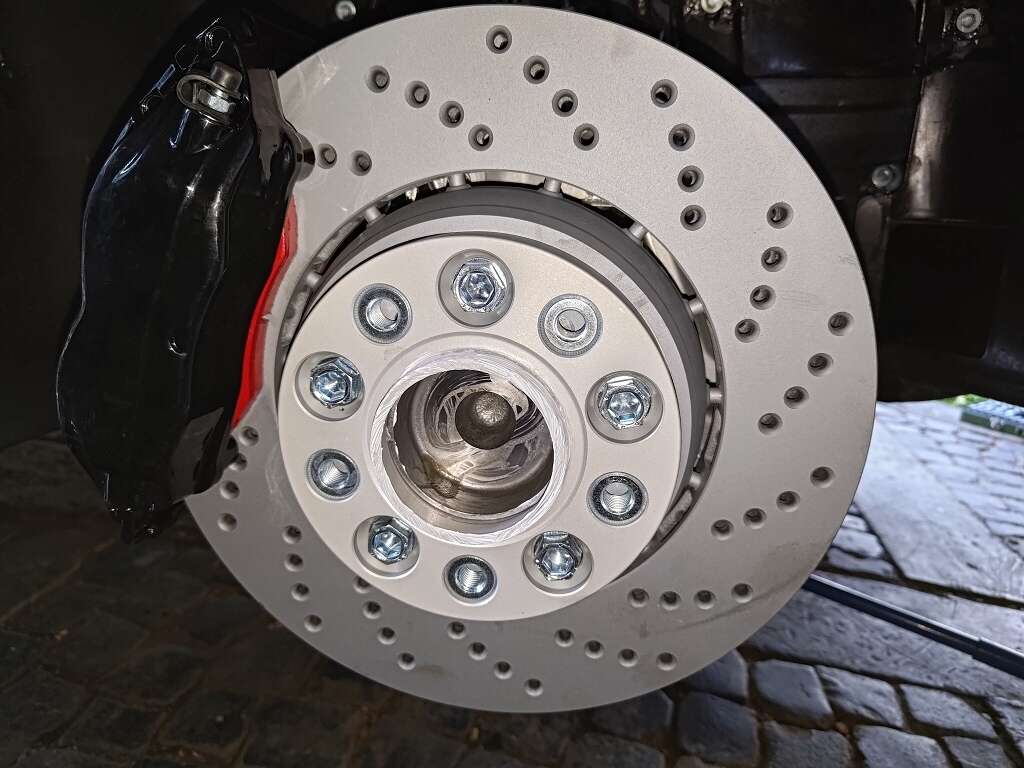
Step 8: Fitting new brake disc
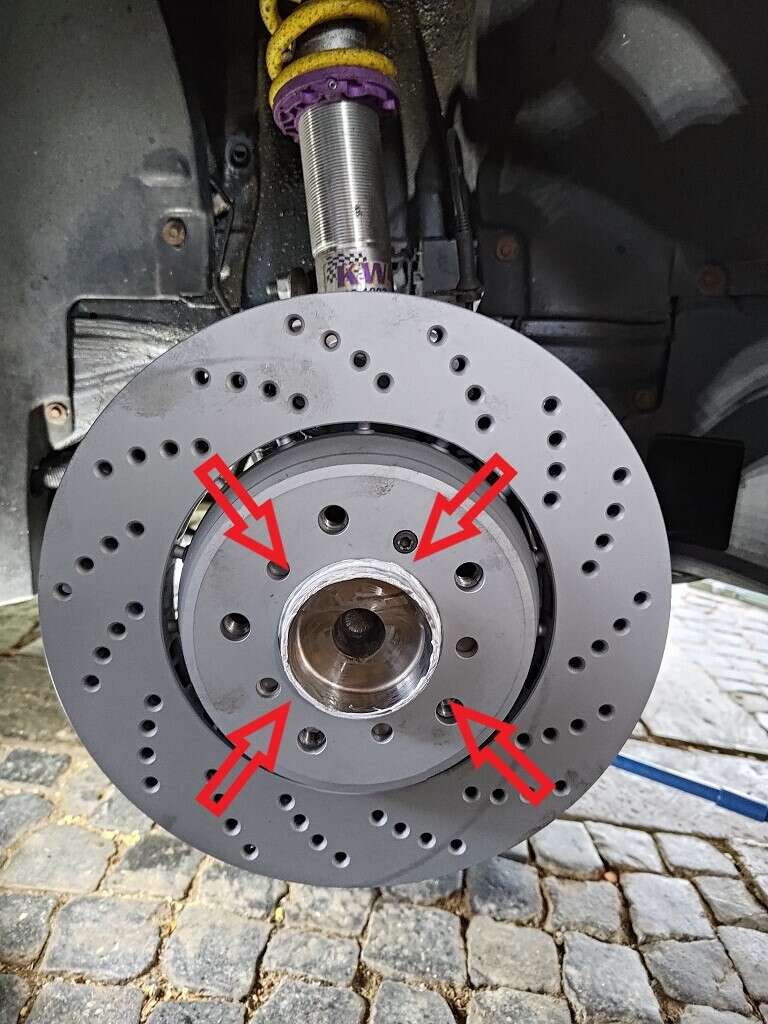

- ✓ 325x28
- ✓ 79mm centering
- ✓ 52mm height
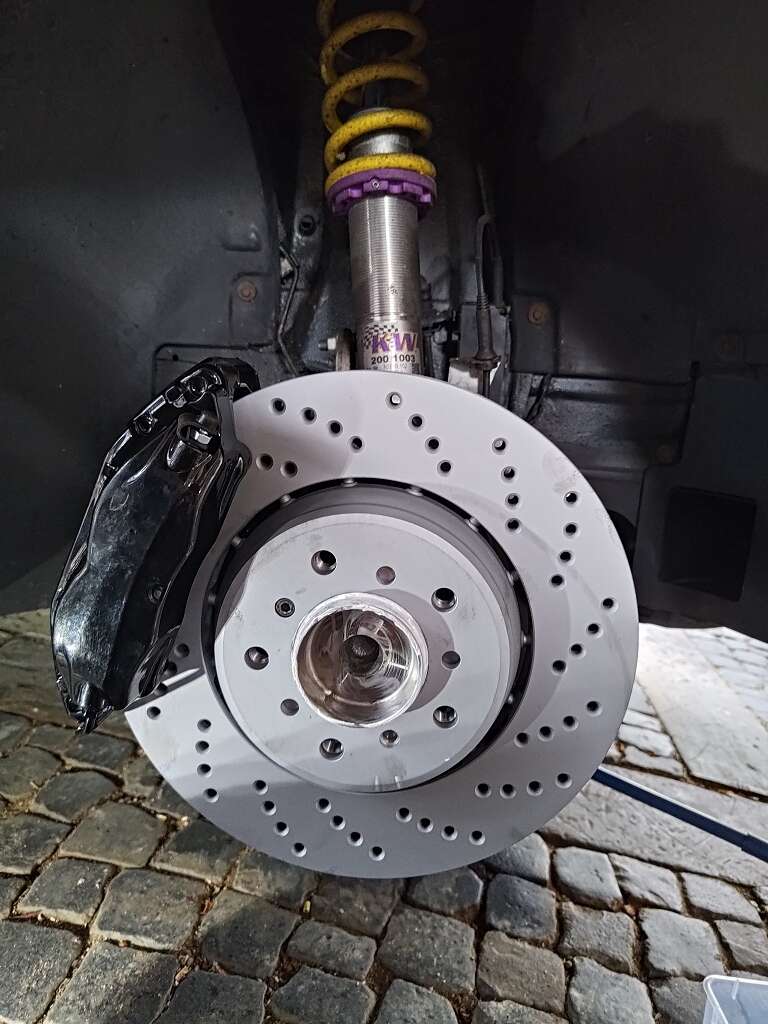
Step 9: Prepare the brake caliper for mounting with the Epytec adapters
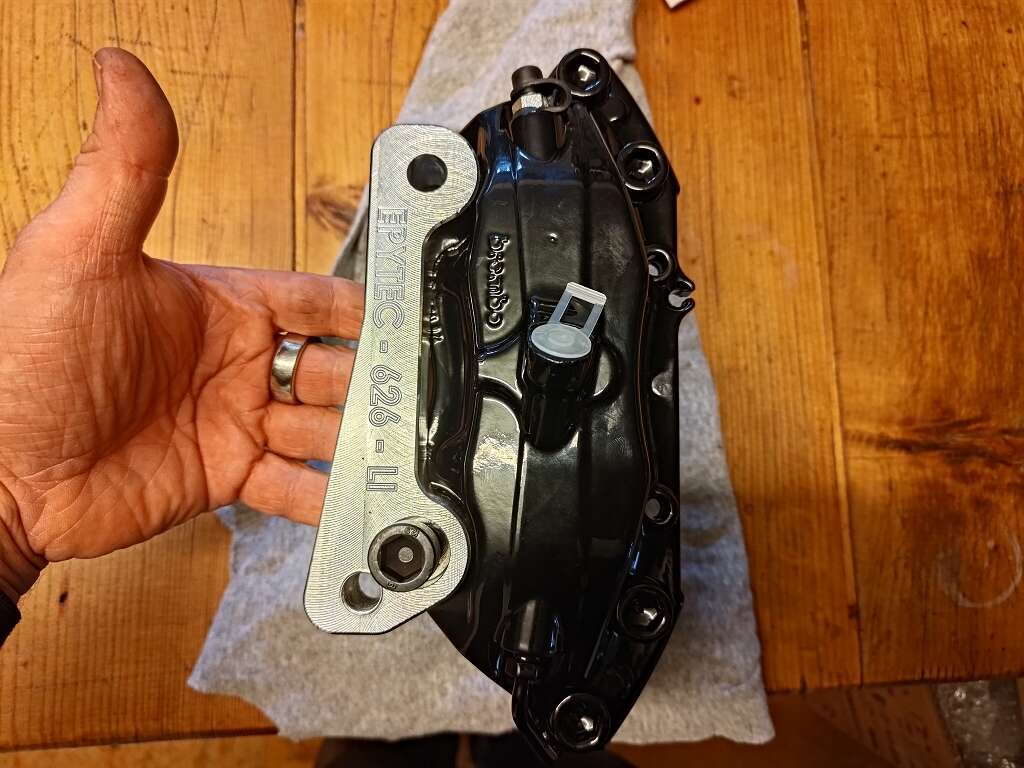

- ✓ 325x28 34112282801 34112282802 BMW E46 M3 brake discs
- ✓ 4-piston 34111163757 / 34111163758 BMW E38 brake caliper
- ✓ front axle
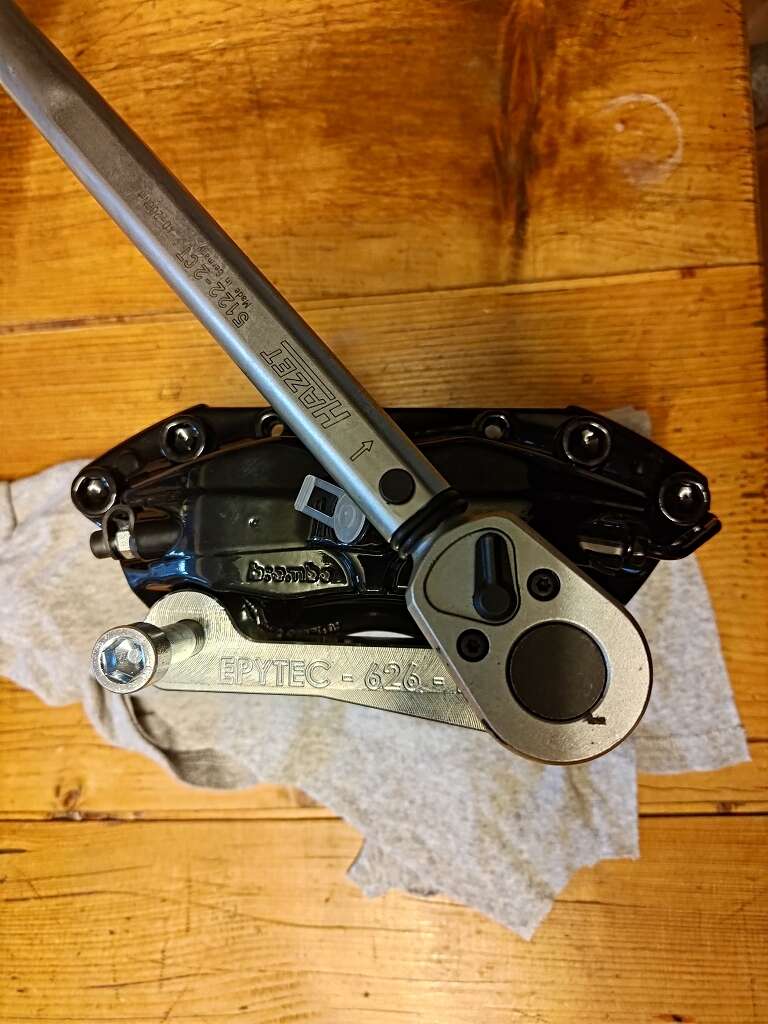
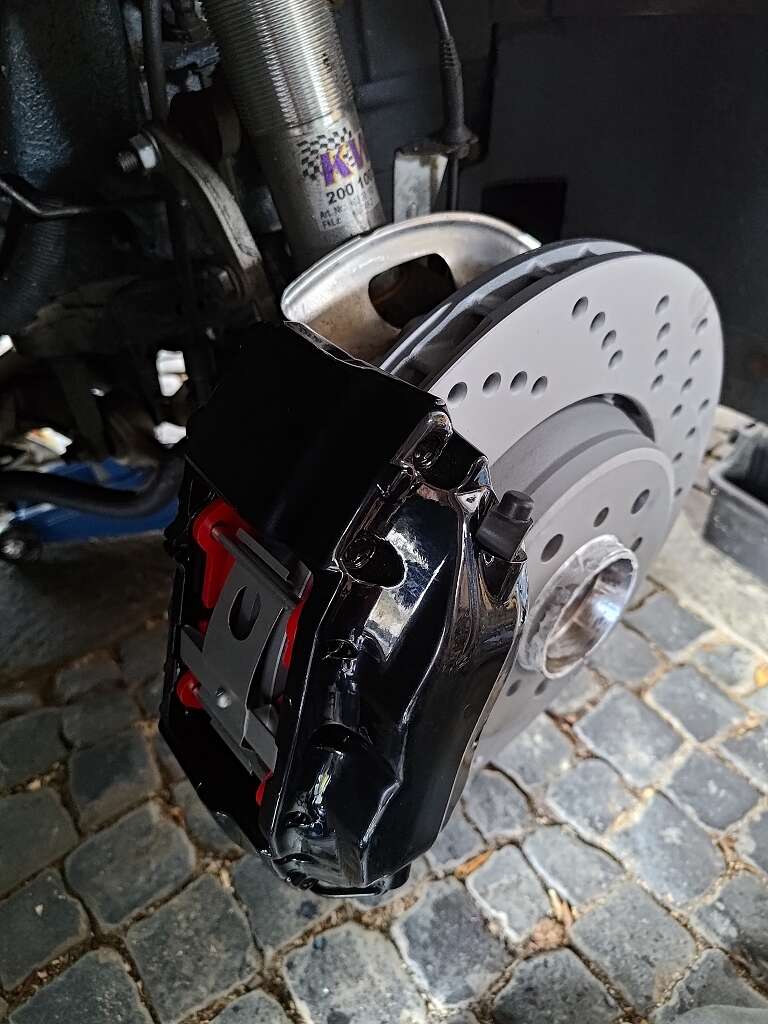
Step 10: Fitting the brake caliper on the BMW E39:
Step 11: Check brake disc for free movement and steering angle
Step 12: Fit new brake pads
Step 13: Connecting the brake line

- ✓ Length: 42cm
- ✓ M10x1 straight outside
- ✓ M10x1 straight inside
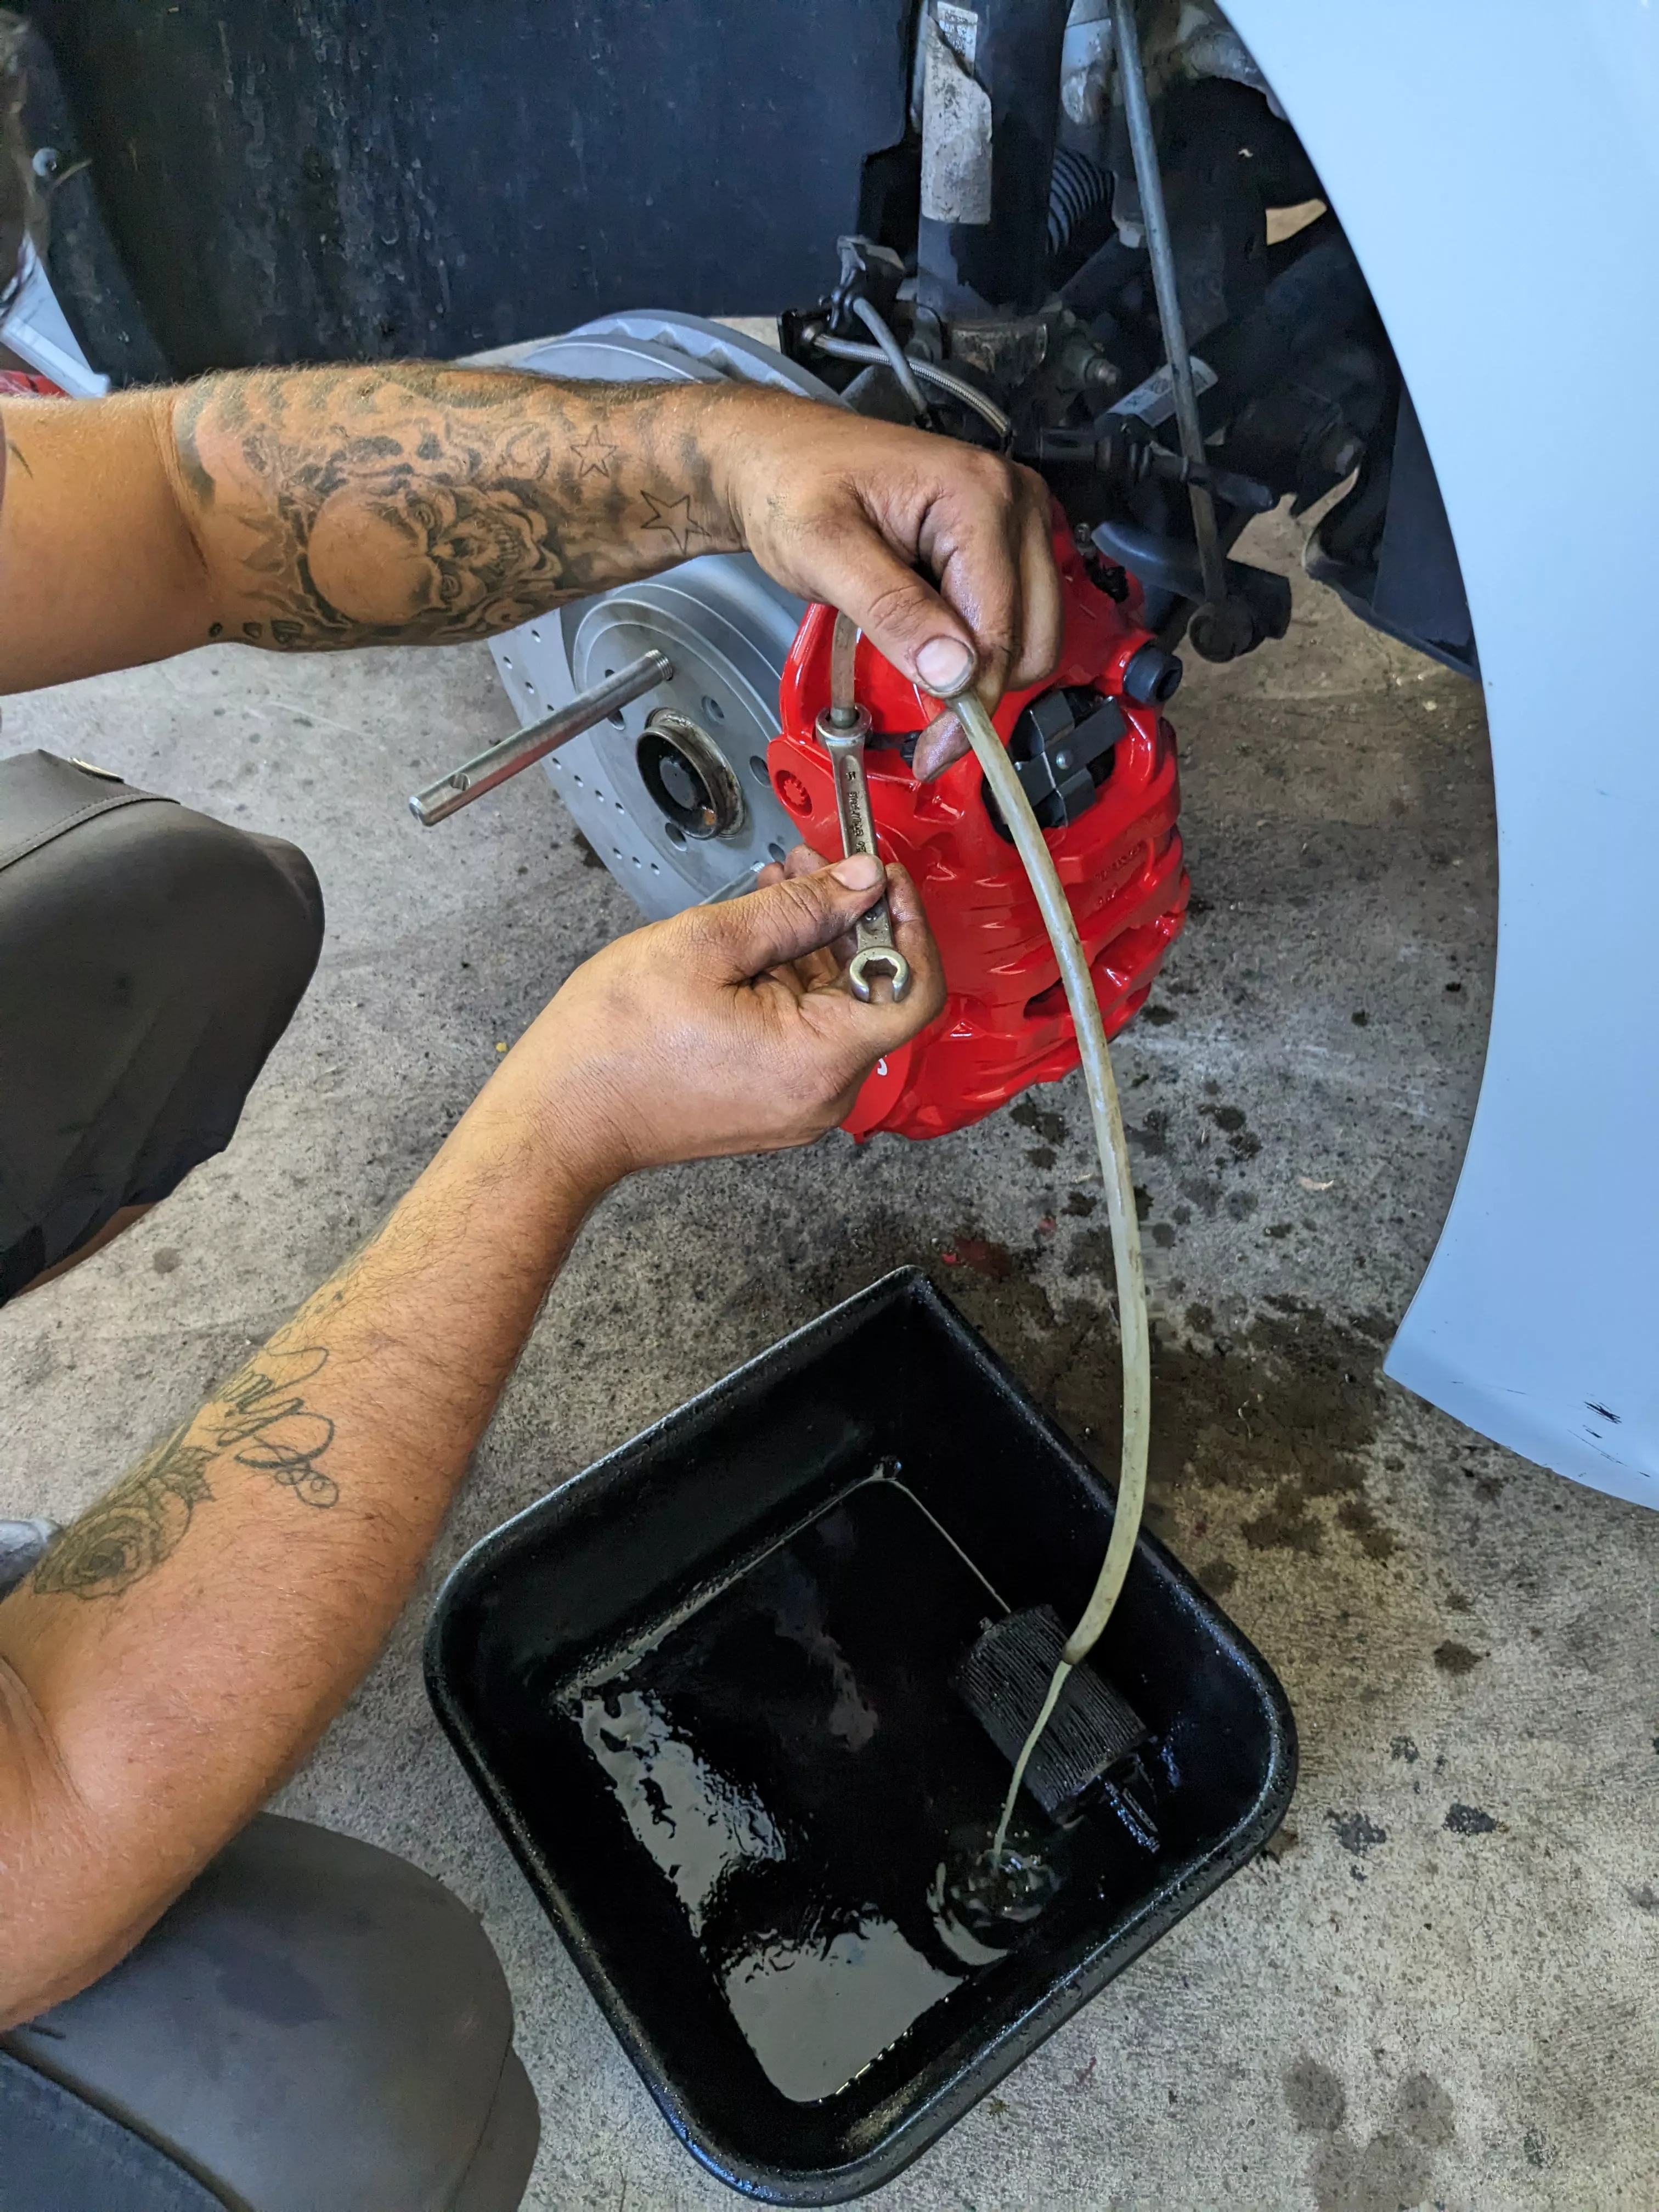
Step 14: Bleeding the new brake system
Once the steel flex lines and the brake system have been refitted to your BMW, the new brake system must be bled.
It is best to work in pairs and proceed as follows:
Check brake fluid
- Make sure there is enough brake fluid in the expansion tank
Bleeding the new brake system
Open the sealing cap
- Attach a hose (preferably transparent, so you can see it better) to the bleeder valve and immerse the end in a container of brake fluid.
- Then open the bleeder valve slightly, now the brake pedal must be pressed slowly to the floor and held there.
- Close the bleed valve again
- Brake pedal can now be released
!!Important!!
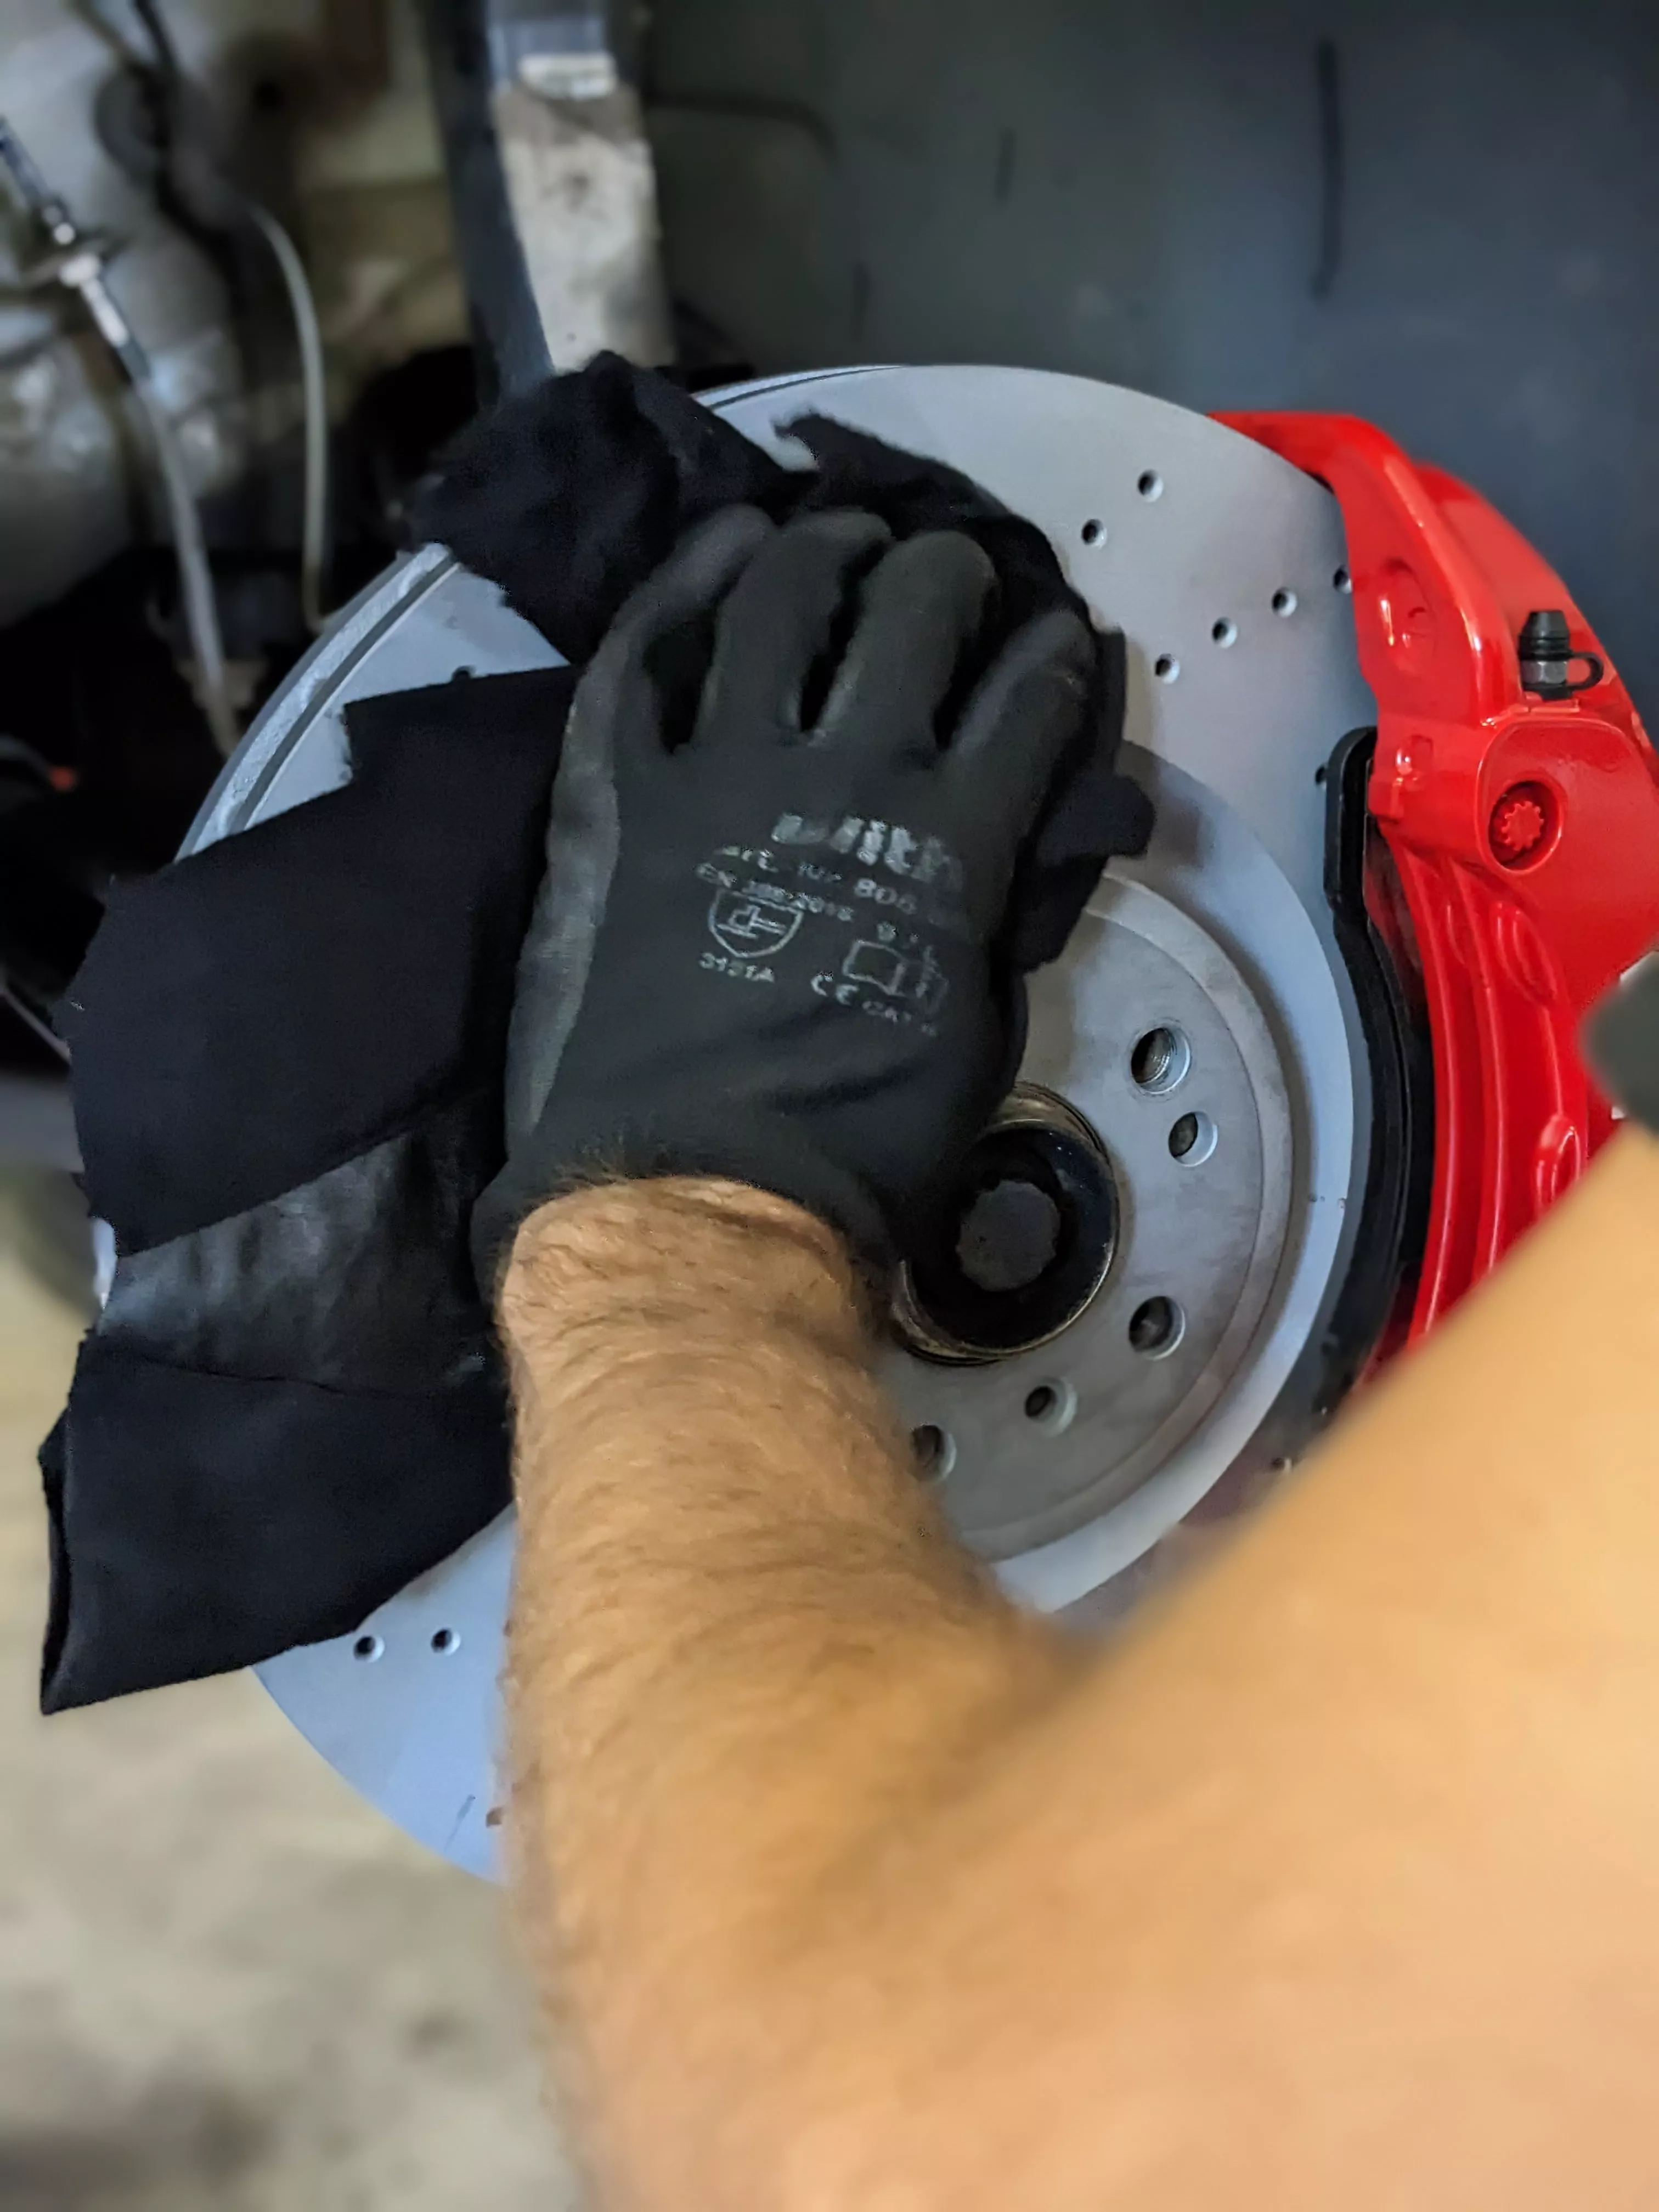
Step 15: Cleaning the brake disc and brake caliper
Step 16: Fitting the track plates

- ✓ to configure yourself
- ✓ with TÜV certificate
- ✓ best quality
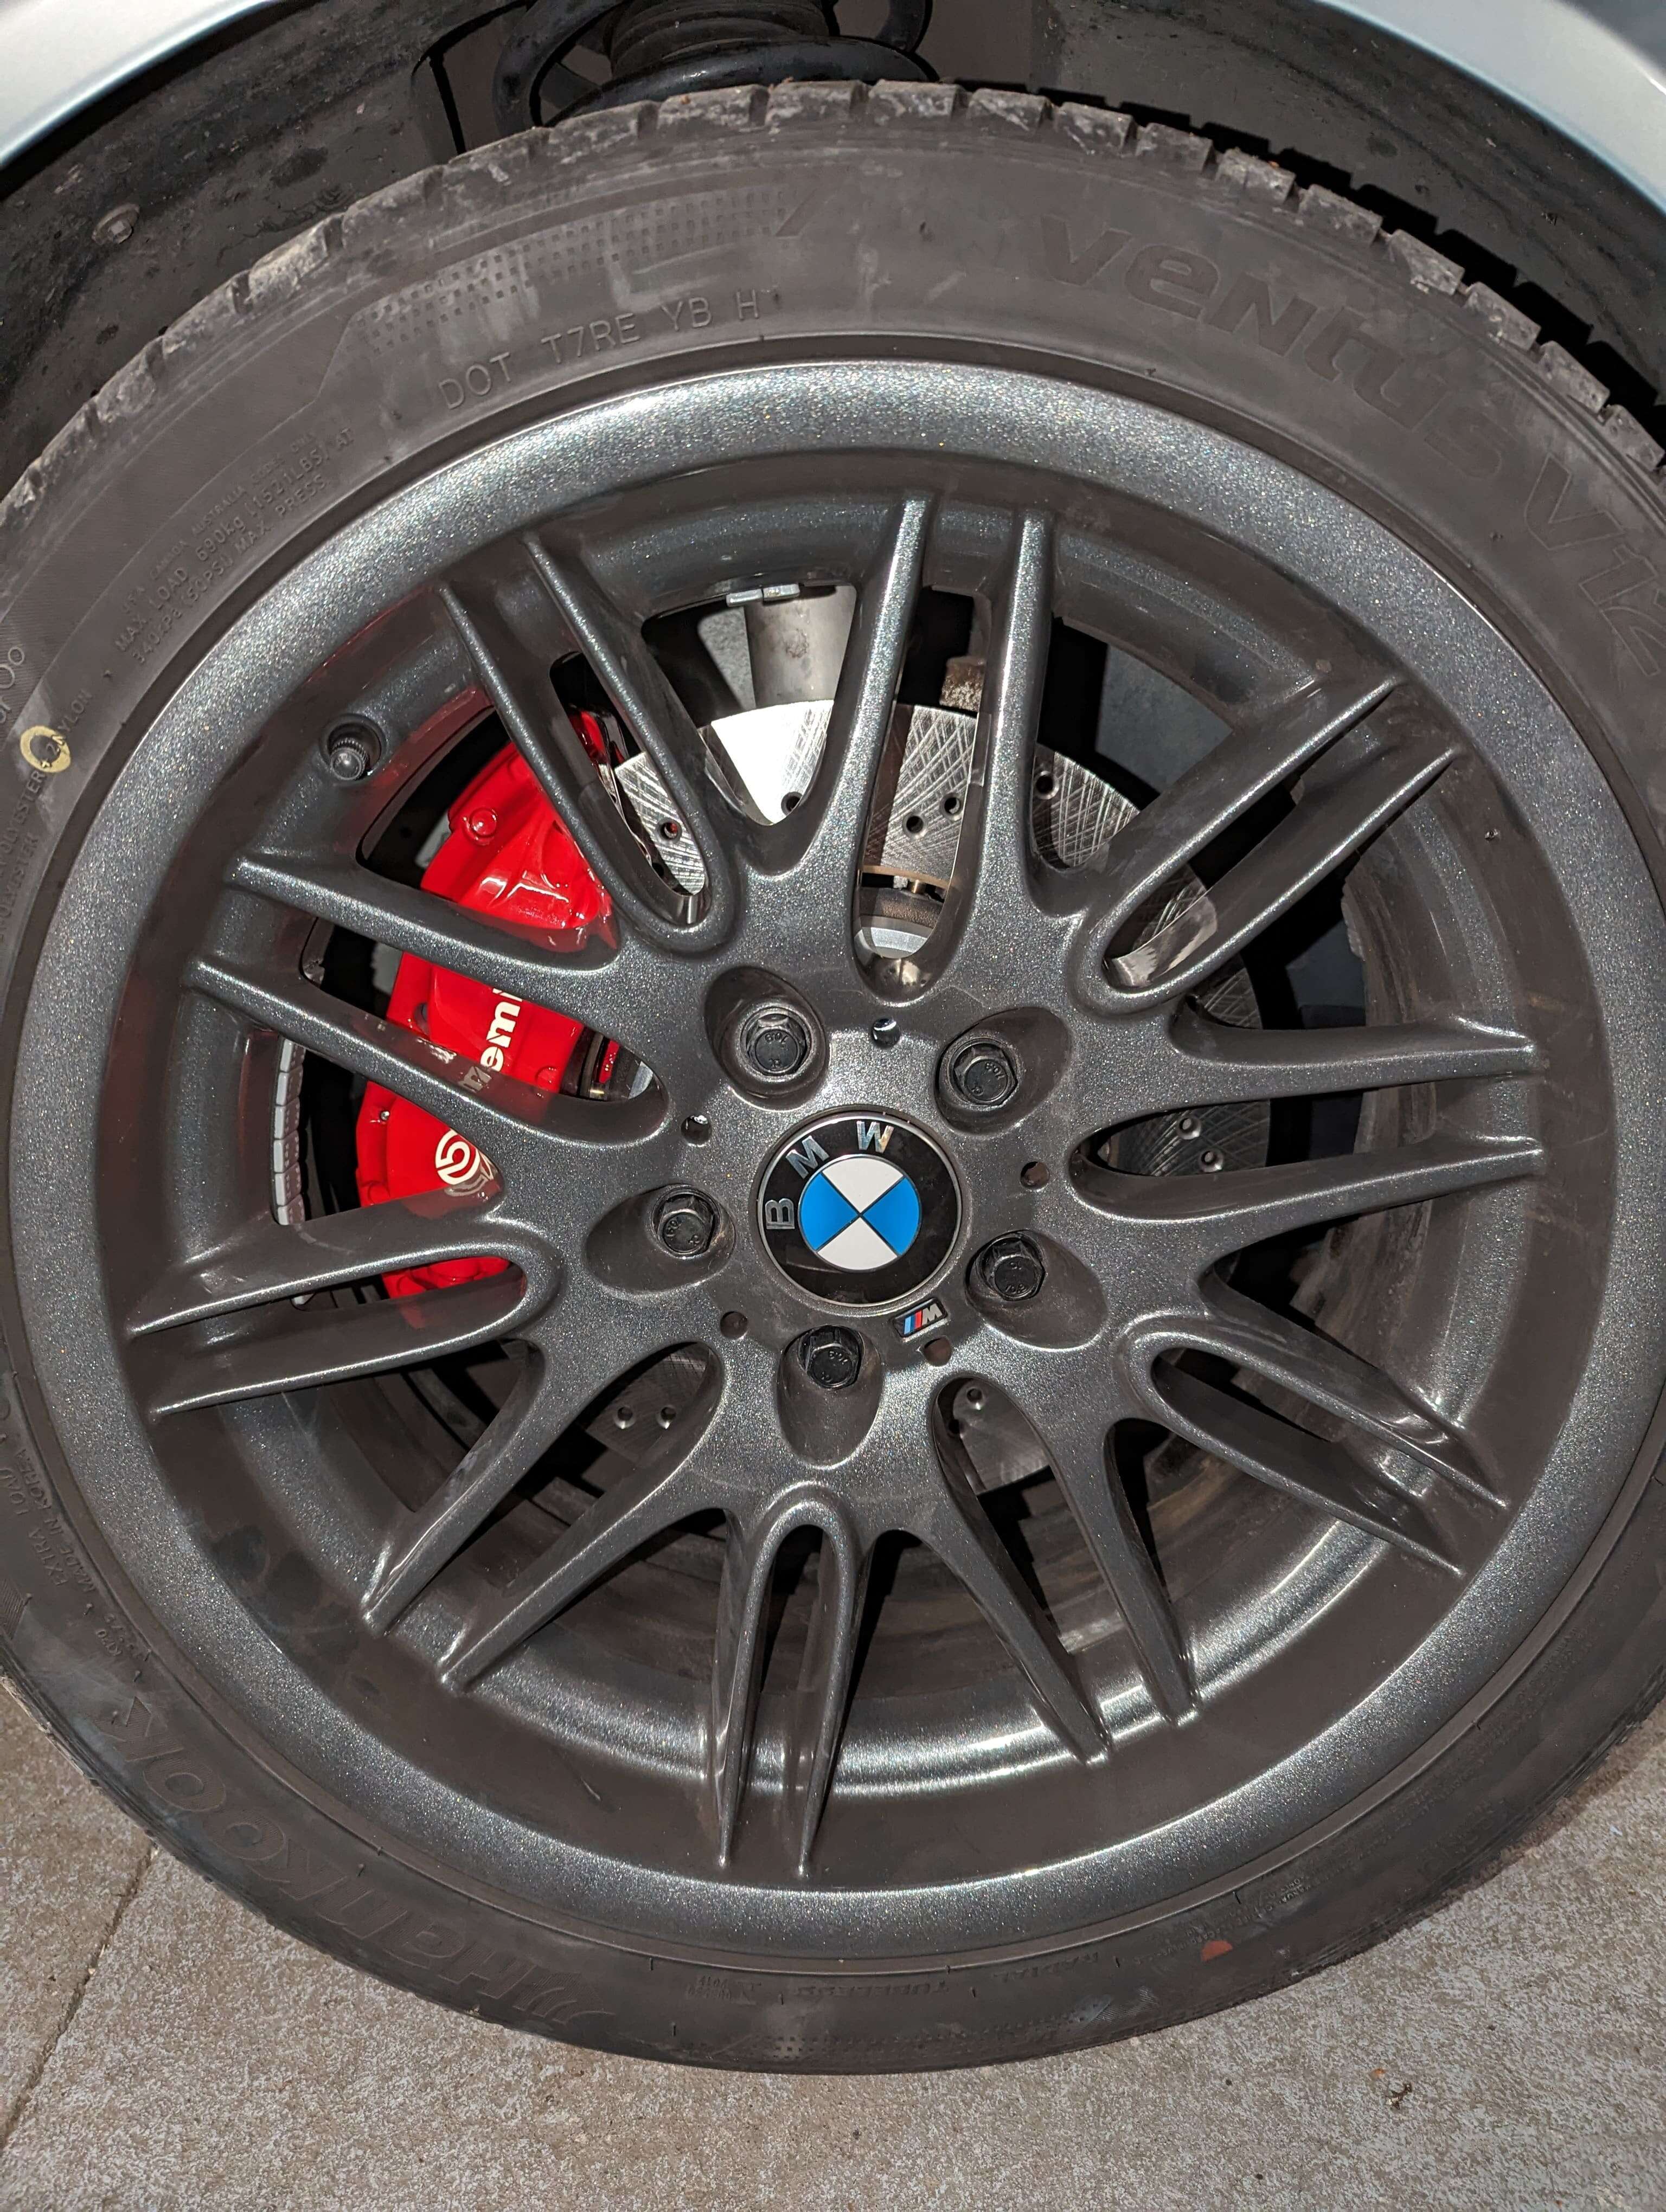
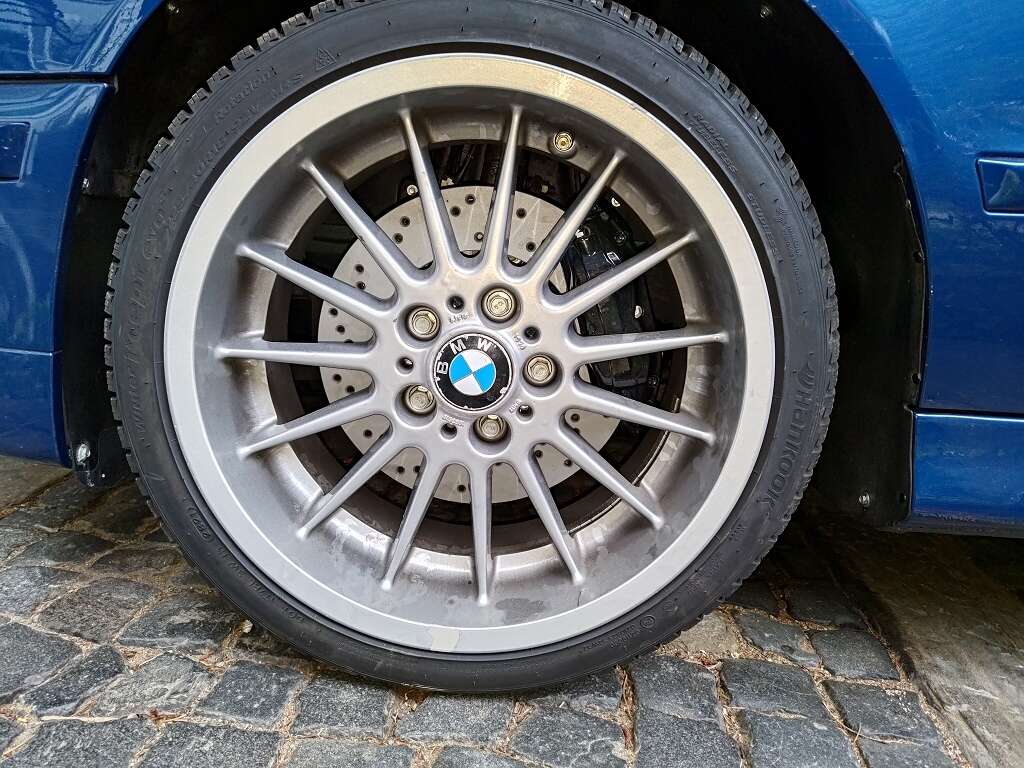
Step 17: Mounting the rim
Step 18: How to check the clearance of the rim and the F20 M4 4-piston brake caliper on your BMW 1 Series 4 Series
!!Important!!
Attention General sources of error
Safety first!
Disclaimer
And ready! That's it!
You can find the matching products for the installation instructions here
- ✓ 325x28 34112282801 34112282802 BMW E46 M3 brake discs
- ✓ 4-piston 34111163757 / 34111163758 BMW E38 brake caliper
- ✓ front axle
- ✓ Length: 42cm
- ✓ M10x1 straight outside
- ✓ M10x1 straight inside