You can find out everything about your order via your -> View customer account
Simple registration for the technical inspection
QUALITY MADE IN GERMANY
DIRECT FROM THE MANUFACTURER
WORLD'S NR.1 TUNING ADAPTER
15 YEARS OF EXPERT KNOWLEDGE
FREEDOM: INSTALL WHAT YOU WANT

Fitting instructions for  article 598 conversion Haldex differential conversion rear axle 4Motion Turbo VR6 16V unit control 

Here you will find out how to proceed step by step to convert the Syncro rear axle of the Golf Corrado and Vento mk3 to the Haldex differential from the S3 R32 TT etc..

Here you have a side view of the axle with the support surface, as well as the Epytec holders at a 90° angle.
At the point of support, the vial should be almost level.
Likewise, the spirit level must be almost in balance with the Epytec Tuning Adapter.
Here you can see how to place the ruler from the centre of the rubber bearing to the Epytec holder (passenger side). In the next picture you can see the exact distance.
This must be the dimension so that the Epytec holder can be mounted.
Here you can see how to place the ruler from the centre of the rubber bearing to the Epytec holder (driver's side). In the next picture you can see the exact distance.
The dimension on the driver's side must be as follows
The Epytec panel is attached to the back as follows
The finished holder should look like this.

Wichtig!!
to enable installation on the rubber mounts, it is important that the whole thing is not yet welded, as it is possible that adjustments are still needed with the Haldex and propshaft.
Here you can see how the holes need to be aligned to attach the Haldex to the bracket.
From the centre of the front hole, you need to gauge backwards as follows to measure the correct offset.
The distance in our case is 30 to 33.2cm, so we need an offset of about 3.2cm.
If you have measured correctly, you can see with the cross-check of the Epytec holder. In our case from behind the hole to the front.
Then, the Epytec holder must be aligned correctly

Here it is IMPORTANT to remember the 3.2cm offset on the axle that you measured before.

The distance to the lowest hole of the Haldex screw connection is approx. 4.5cm.

The distance to the support surface for the front screw connection is approx. 16.2cm.

The Epytec bracket must be aligned as follows

Then the cross-check is made again with the Epytec holder at the bottom of the hole, in our case about 4.5cm.

Then you can try out the front Epytec holder.

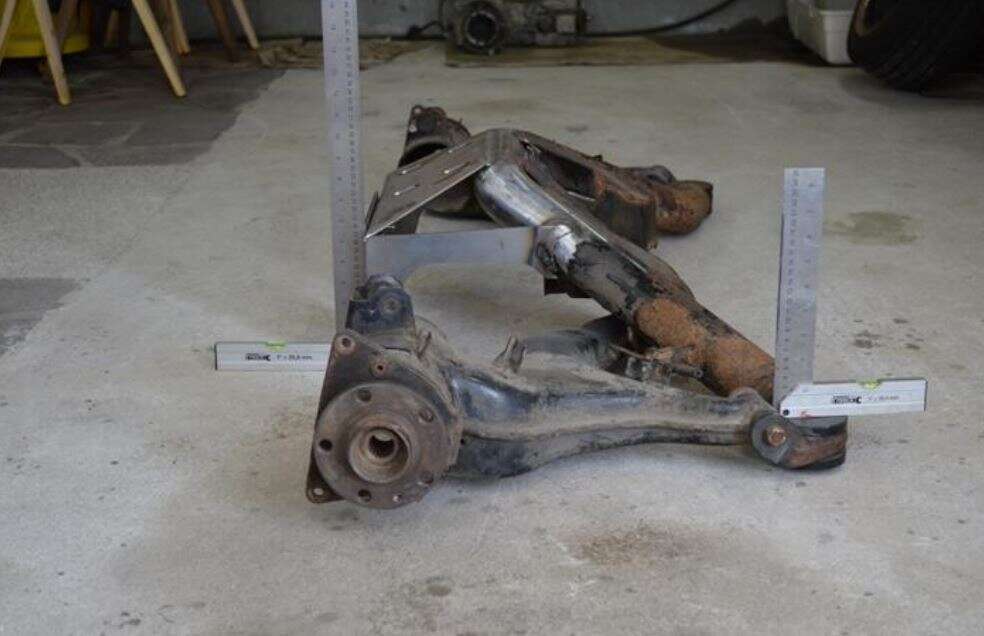
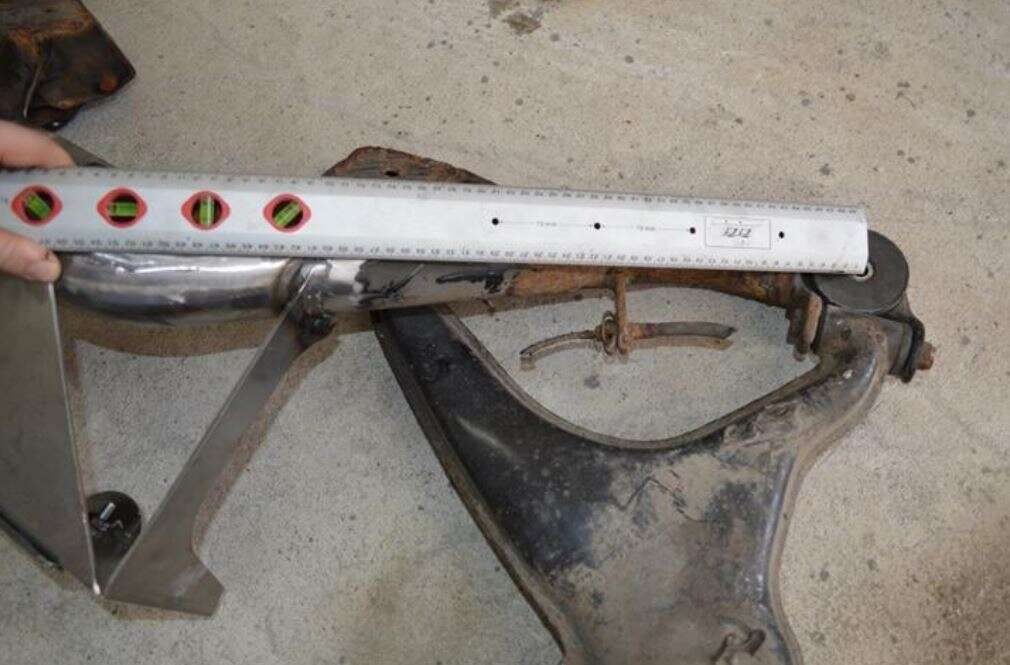
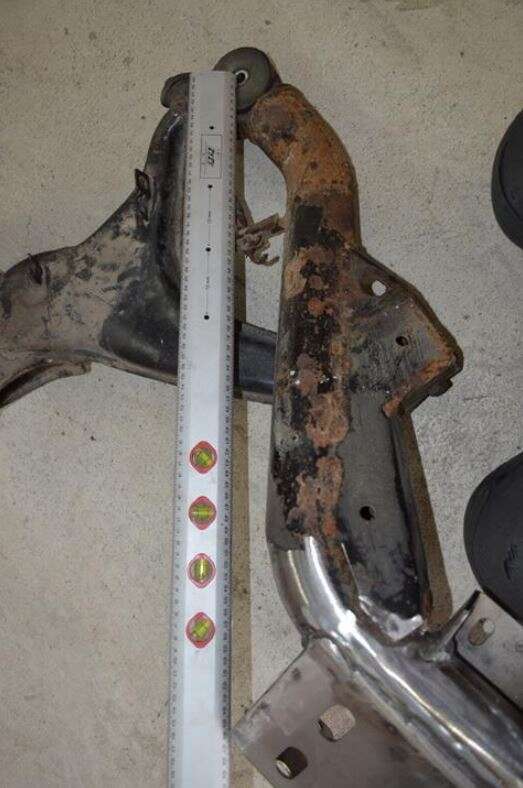
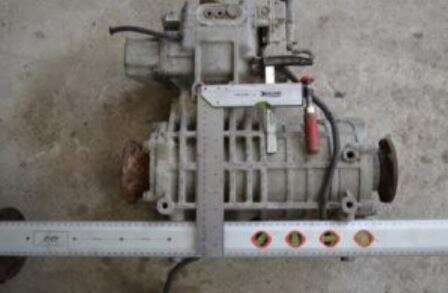
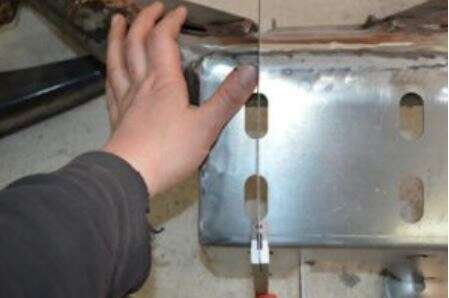
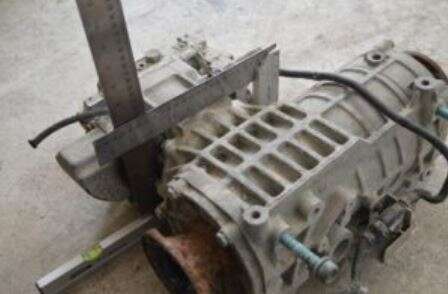
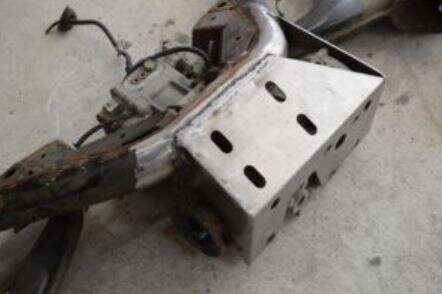
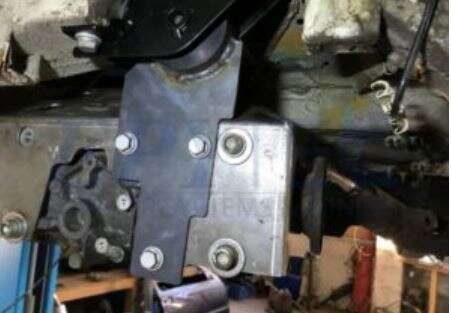
Here you can see how the axle has been placed with the Haldex "basket" underneath and how it should look.

It may be that the axle, as in our case, minimally touches the gearbox (left driver's side), in which case minimal reworking is required, this varies depending on the type of axle.

This can also be the case on the passenger side, in which case minimal reworking is required.

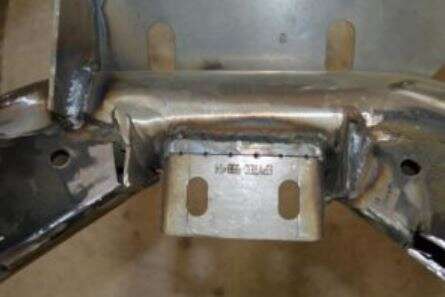
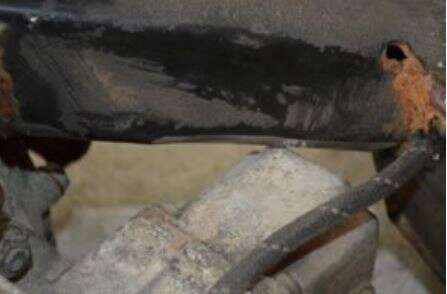
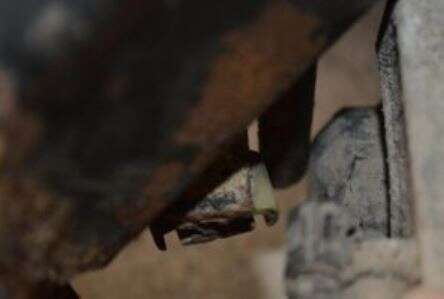
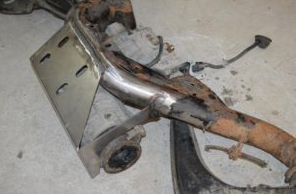
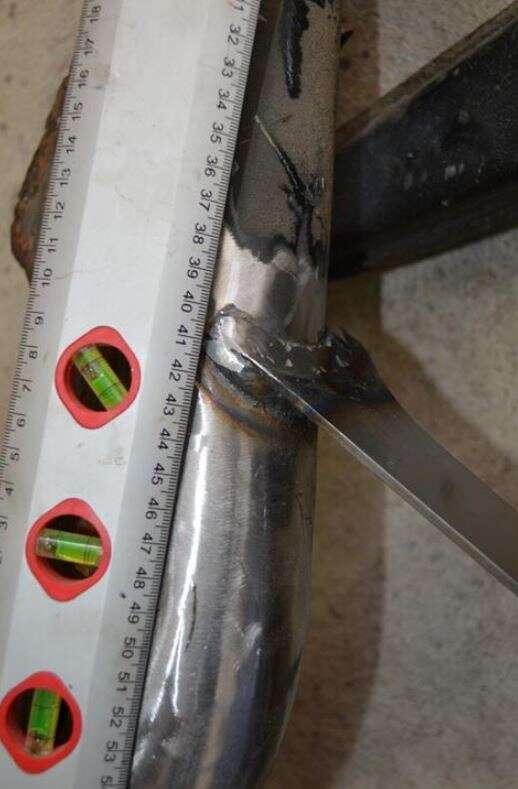
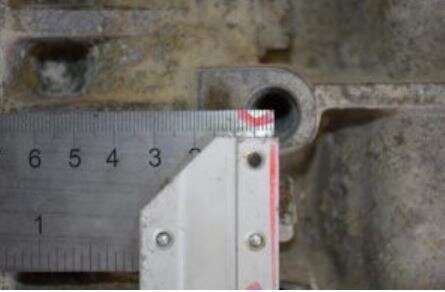
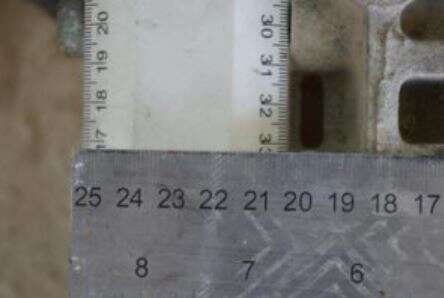
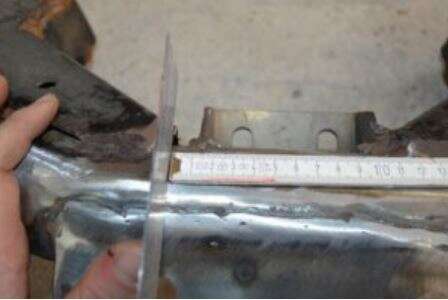
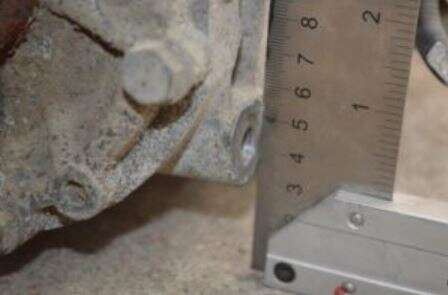
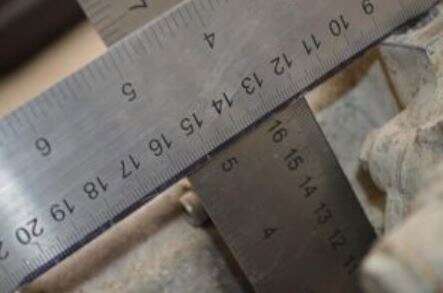
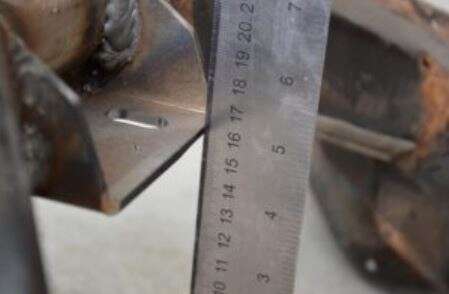
On the underside of the axle (turned) / weld seams, the areas where the axle collided with the gearbox are visible here and have been roughly cut out once. The holder for the brake force regulator has also been removed here.

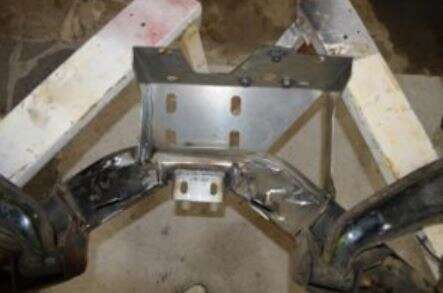
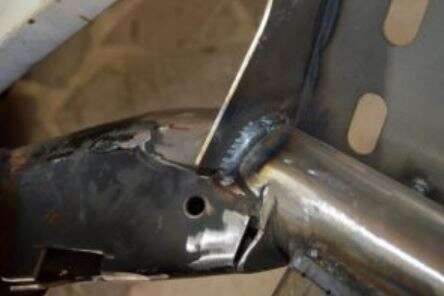
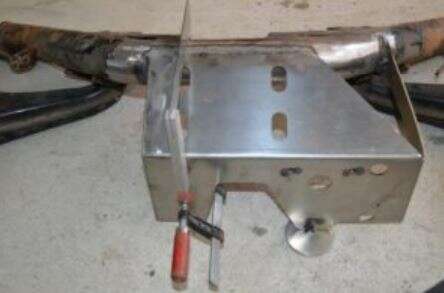
Afterwards, it makes sense to test-fit the whole thing on the vehicle. Then all the corners that have been cut out can be welded again. 

Questions and answers about the Haldex conversion kit. 

Why are the holes for the Haldex mounting in the sheet metal so large?  
Answer: This is absolutely necessary in order to be able to align the Haldex correctly after welding on the Epytec plates. When aligning (always align with drive shafts), take the enclosed bushings with you. As soon as everything is aligned, the bushes (see below) can be fitted at the same time.
What are the bushings for, where should they be installed? 
Answer : The bushings are there to provide additional stability after alignment of the Haldex.
Where are the small L-shaped plates welded?
Answer : These are welded to the axle for additional stability.
Why were the parts partially cut with a laser?
Answer: This allows the mounting to be precisely adjusted once the Haldex has been fitted.
Important!!
Only score in advance, then install completely and align the sheets perfectly again so that no tension arises.
VW Golf MK3 Corrado Haldex Rear Axle Differential Conversion Kit VR6 Turbo 4Motion 16V
  • ✓ conversion kit to convert the Syncro rear axle of Golf Corrado and Vento MK3 to the Haldex differential from S3 R32 TT, etc

€237.61*
Artikelnummer: 598

Do you have any questions or requests? 

Then simply get in touch  our contact form (click here)
You can find out everything about your order via your -> View customer account