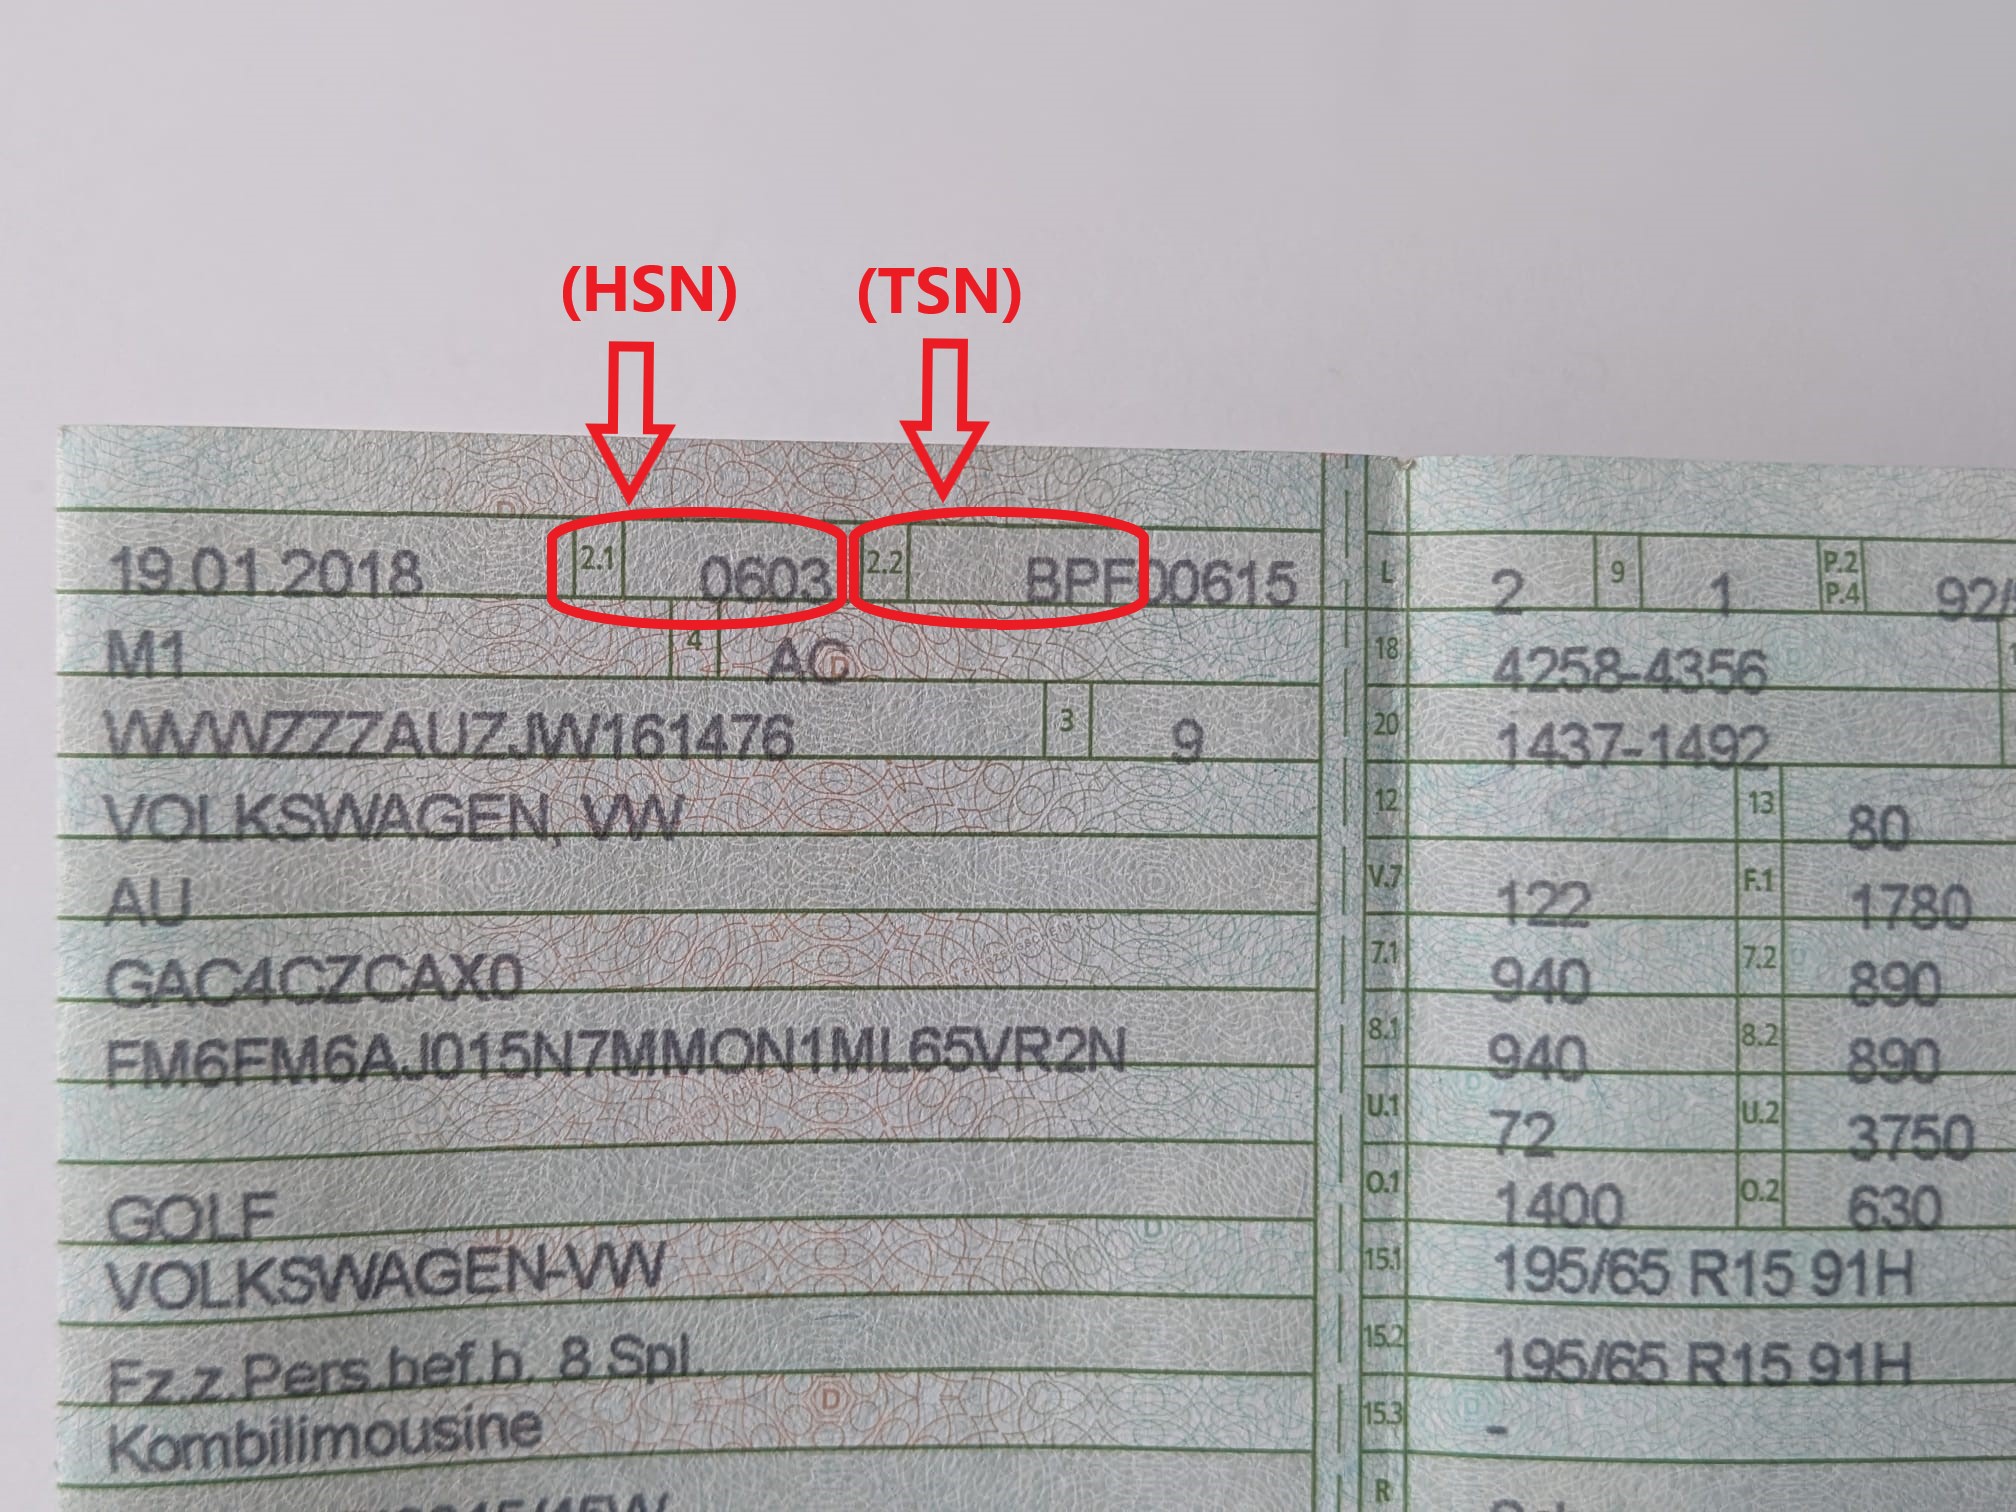
407 Fitting instructions brake caliper adapter fits the original brake calipers in combination with the 335x22 brake disc from Audi A8
Fitting instructions for article no.407, here you will be shown how to proceed step by step.

Please note
Please read these instructions carefully before starting the work. If the conversion is too difficult for you, please commission a specialist garage to carry out the installation. We cannot accept any liability for consequential damage caused by improper installation. Correct installation and adjustment saves time, costs and trouble.
Disassembly:
- Old brake system (brake disc, brake caliper and brake caliper carrier)
- Remove or process the air baffle or brake baffle or anchor plate (we prefer the removal, as the ventilation of the brake is better ensured).
!!Important!!:
What do you need to do this?
- Depending on your technical knowledge, about 1-2 hours of time
- Torque spanner with suitable attachments
- Liquid threadlocker
Preparation: Assembly

Preparation: Disassembly
First you have to remove carefully the brake caliper from the holder.
To loosen the bolts you need a spanner with a 13mm spanner size, for counterholding the sliding bolt usually has a spanner size of 15mm, which fixes the brake caliper to the caliper holder.
The bolts must be loosened carefully to ensure that they are not damaged or deformed.
Once the bolts are loosened, you can carefully remove the caliper from the holder.
In some cases, however, you may need to loosen the caliper slide bolt first to separate it completely from the holder.

To unhook the parking brake cable, you must first completely remove the brake caliper from the brake caliper holder as described in the previous step.
Then you must detach the parking brake cable by removing the marked clip that secures the parking brake cable to the brake caliper.

To remove the anchor plate, first remove the wheel and the brake caliper as described in the previous step.

Then you must loosen the three bolts that secure the anchor plate to the wheel hub.
These bolts are usually placed around the anchor plate and require a spanner size of 10 mm.

It is important to be careful when loosening the bolts so as not to damage the anchor plate and the bolts. Avoid over loosening or over tightening the bolts to avoid damage.
Once you have removed all the bolts, you can carefully detach the anchor plate from the brake caliper and wheel hub. We recommend leaving this plate off for better ventilation.
After the anchor plate has been removed, the contact surfaces of the brake caliper holder and the wheel hub must be thoroughly cleaned and sanded to ensure an optimal contact surface for the new brake disc (click here) and the brake caliper holder.
It is best to use a grinder or grindstone for this and grind the contact surfaces evenly and carefully. Remove all bumps and dirt particles to ensure that the new brake disc (click here) and caliper holder are flat and even.
Be careful not to remove too much material as this can affect the operation of the braking system. It is important that the contact surfaces are clean and even in order to achieve an even braking effect.
Once the contact surfaces are clean and smooth, you should clean them thoroughly with a clean cloth to ensure that no dirt particles remain. You should then apply brake service paste (click here) to the contact surfaces to ensure optimum adhesion of the new brake disc (click here) and caliper holder (click here).

After the contact surfaces of the brake caliper holder and the wheel hub have been rubbed with brake service paste (click here), the tuning adapter (click here) can be mounted on the car.
Use the screws supplied to attach the caliper bracket to the adapter (click here). These screws have a hexagonal head shape and a size of 10 mm.
Place the caliper holder on the adapter (click here) and insert the screws through the holes provided. Tighten the bolts with a suitable spanner or ratchet spanner until the caliper bracket is securely in place.
It is important to tighten the bolts evenly to ensure that the caliper bracket sits straight on the adapter (click here) and the brake disc (click here) is positioned correctly.

After the brake caliper holder is in place, you can now fit the new brake disc (click here) onto the wheel hub.
Make sure that the brake disc (click here) is correctly aligned and flush with the wheel hub. Then you can secure the brake disc (click here) with a wheel bolt.
Tighten the wheel bolt with a suitable spanner or torque spanner. Observe the torque specified by the manufacturer to avoid damage to the brake disc (click here) or the wheel hub.

With the installation of the brake disc (click here), the technical work on the brakes is complete.
Now the brake pads (click here) must be inserted, the brake calliper fitted and the handbrake cable connected before the brakes can be bled.

- No pressure loss when applying the brakes, noticeably exact pressure point
- no swelling as with rubber lines
- Cost savings, as steel braided lines have an almost unlimited service life and do not have to be replaced every 3-5 years.
- Shorter braking distance
- Protection against martens
- Optics
Now you can mount the rim again.
When fitting the rim, make sure that the brake caliper does not rub against the rim. If this is the case, you can counteract this with wheel spacers, if necessary, so that the rim has enough distance to the brake calliper. Click here for our wheel spacers (click here).
The conversion with the original brake calipers and the Audi A8 brake disc is almost complete.
Finally, the clearance of the new brake system has to be checked. To do this, turn the car completely to the left and right and check that nothing is rubbing against anything, or that nothing is touching anything, such as the suspension joint, wishbone, etc. The whole process must be carried out in the sprung and braked position.
The whole procedure must be carried out with the suspension on and off.
If there is a collision at full steering angle, it may be possible to counteract it with steering angle limiters (click here for our steering angle limiters).

Here is the matching product to the installation instructions
- ✓ 335x22 4E0615601L 240122-02141 Audi A8 brake disc
- ✓ original brake caliper
- ✓ rear axle


