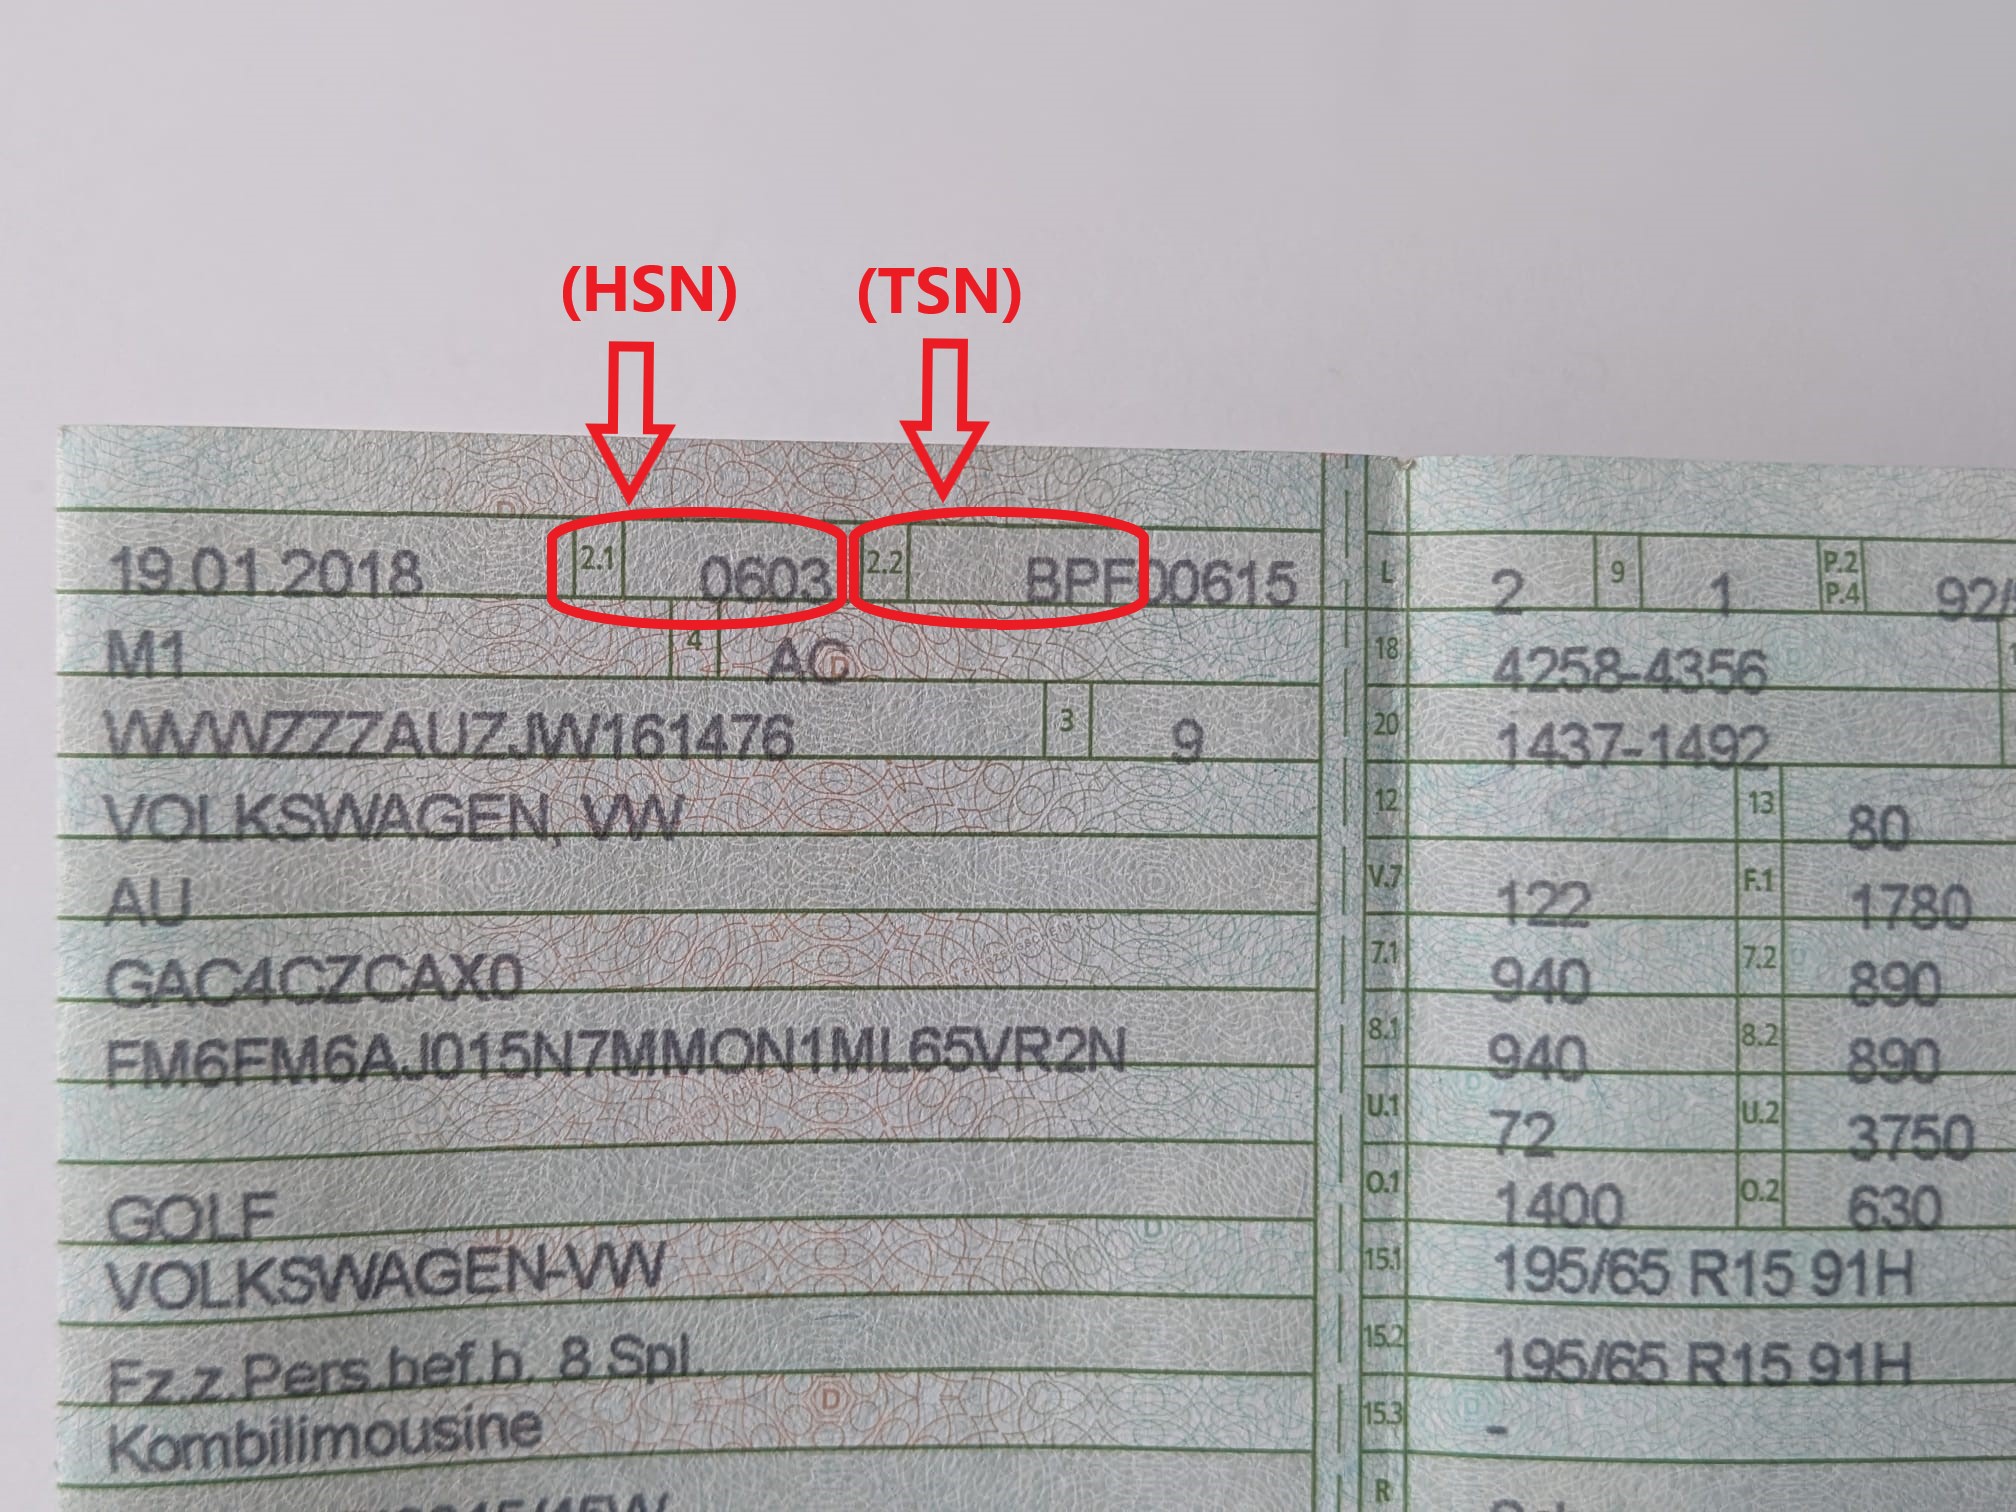
Installation instructions for article 194Caddy 14D lowering kit
Installation instructions for article 194Caddy 14D lowering kit
Here you will learn step by step how to lower your Caddy 14D 120-140mm.

There are 2 options
1. Either remove the axle and place the Epytec adapters on the leaf springs. To do this, however, you have to disconnect the brake line and the handbrake cable.
2. Or you can remove the leaf springs and place them under the axle. The advantage of this is that you do not have to bleed and dismantle the entire brake.
In these instructions we have chosen the 2 option with the leaf springs.
Note that the screws may have to be shortened, it always depends on the size of the block.
Here is another good tip from our customer Leander O!!
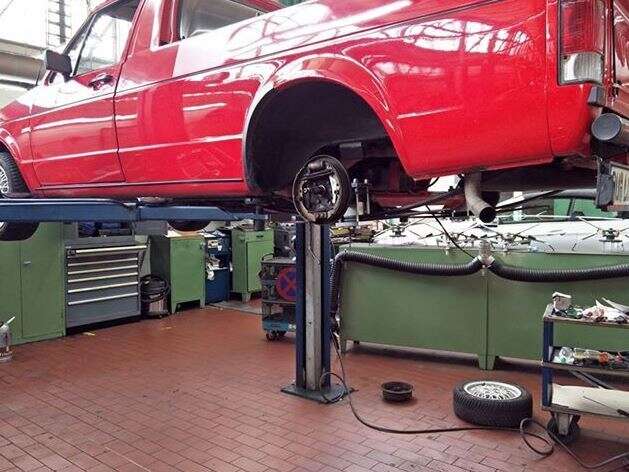
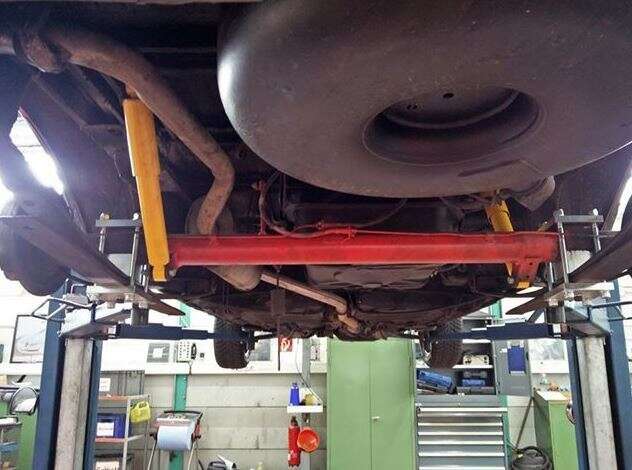
I loosened the axle from the leaf springs, preferably on a car lift, and put a gear jack under the axle. Then I loosened the handbrake cables in the brake drum and turned the axle in a little so that the right side was facing in the direction of travel. Then I simply lifted it and put it over the leaf springs, first the right then the left side. The rest of the installation was like in your instructions. The advantage is that you don't have to loosen the leaf springs and you don't have to bleed the brakes because you don't have to dismantle the brake hoses.
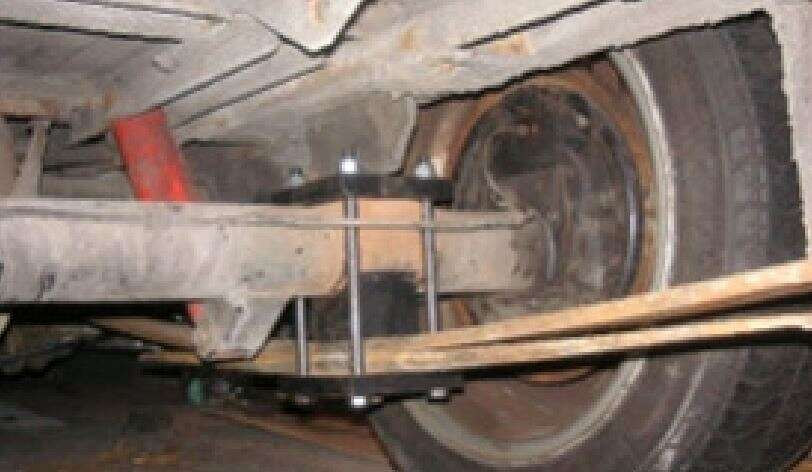
You can find matching pictures of Leander here:
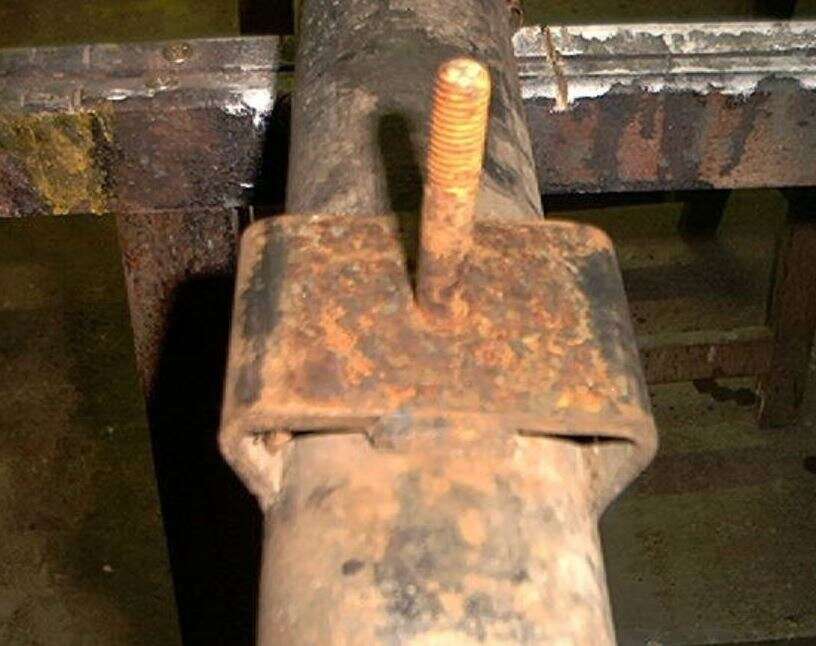
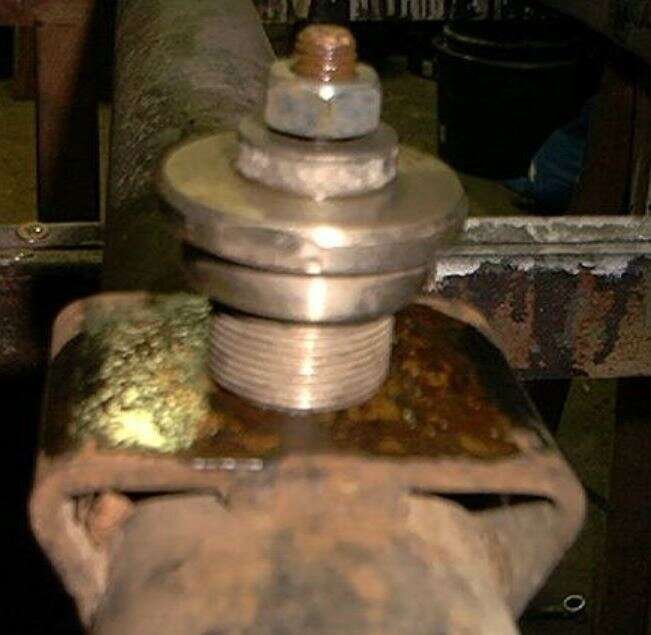
If this does not work and the thread breaks off, then the heart bolt must be shortened to 10-15mm so that you have the centring for the upper retaining plate.
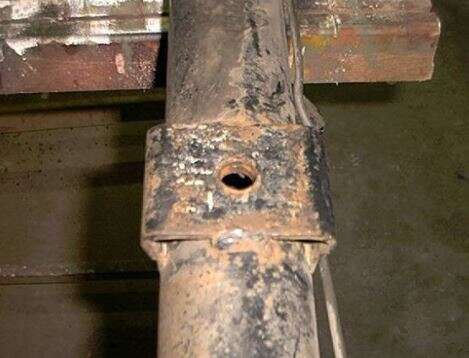
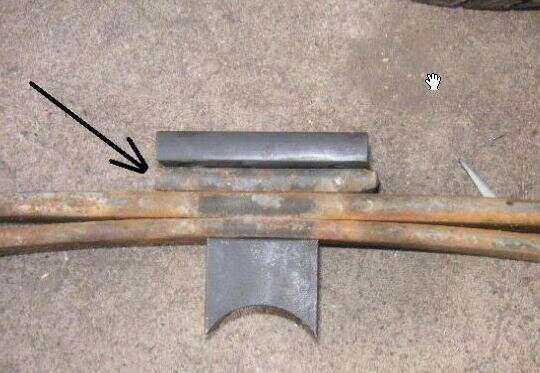
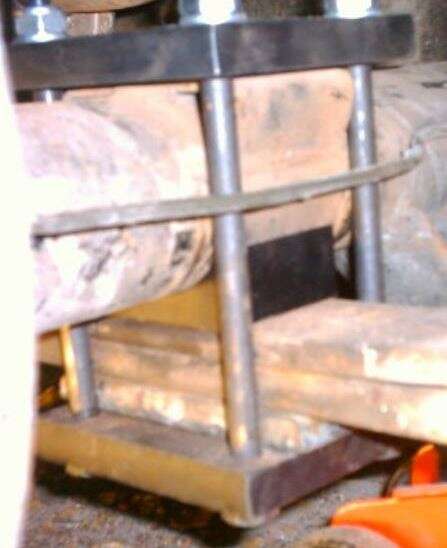
Then you have to reassemble everything and tighten the screws evenly.
Important!!
- ✓ Over 55mm Deeper
- ✓ Plug & Play
- ✓ For Caddy 14d
- ✓ Up to 100mm higher length
- ✓ installation only takes approx. 1 hour
- ✓ Caddy 14D

