


Einbauanleitung Erleichterte Schwungscheiben Kupplungsmontage Ratgeber Getriebe Kupplung Montage Hinweiß
Installation instructions for lightened flywheels in combination with original and tuned clutches
Here you will find out how to proceed step by step in order to be able to install our lightened flywheels or clutch set.
General Information
Please read the instructions and notes carefully to avoid mistakes.The installation may only be made by qualified technicians or a garage.
We do not accept any guarantee or warranty for improper installation of the parts.Please check the delivered goods to ensure that they really fit your vehicle, as well as the screw length of the crankshaft and the SAC of the pressure plate (if included in the set), which must be fully reset.
Important: Before installation, be sure to compare all relevant dimensions of the single-mass flywheel with the original dual-mass flywheel to ensure a perfect fit and proper function. Parts can only be exchanged if they show no signs of assembly and are returned neatly packaged.
Installation guide
Please observe the following instructions to ensure that the coupling is installed correctly.
Preparation:
The friction surface of the flywheel, the threads of the crankshaft, the crankshaft screws (only if these do not have a thread lock) and the clutch screws must be cleaned of grease, dirt and dust with a cleaner (e.g. brake cleaner), otherwise the clutch may slip after installation.The screws with thread lock must be wetted "medium strength".
Installation:
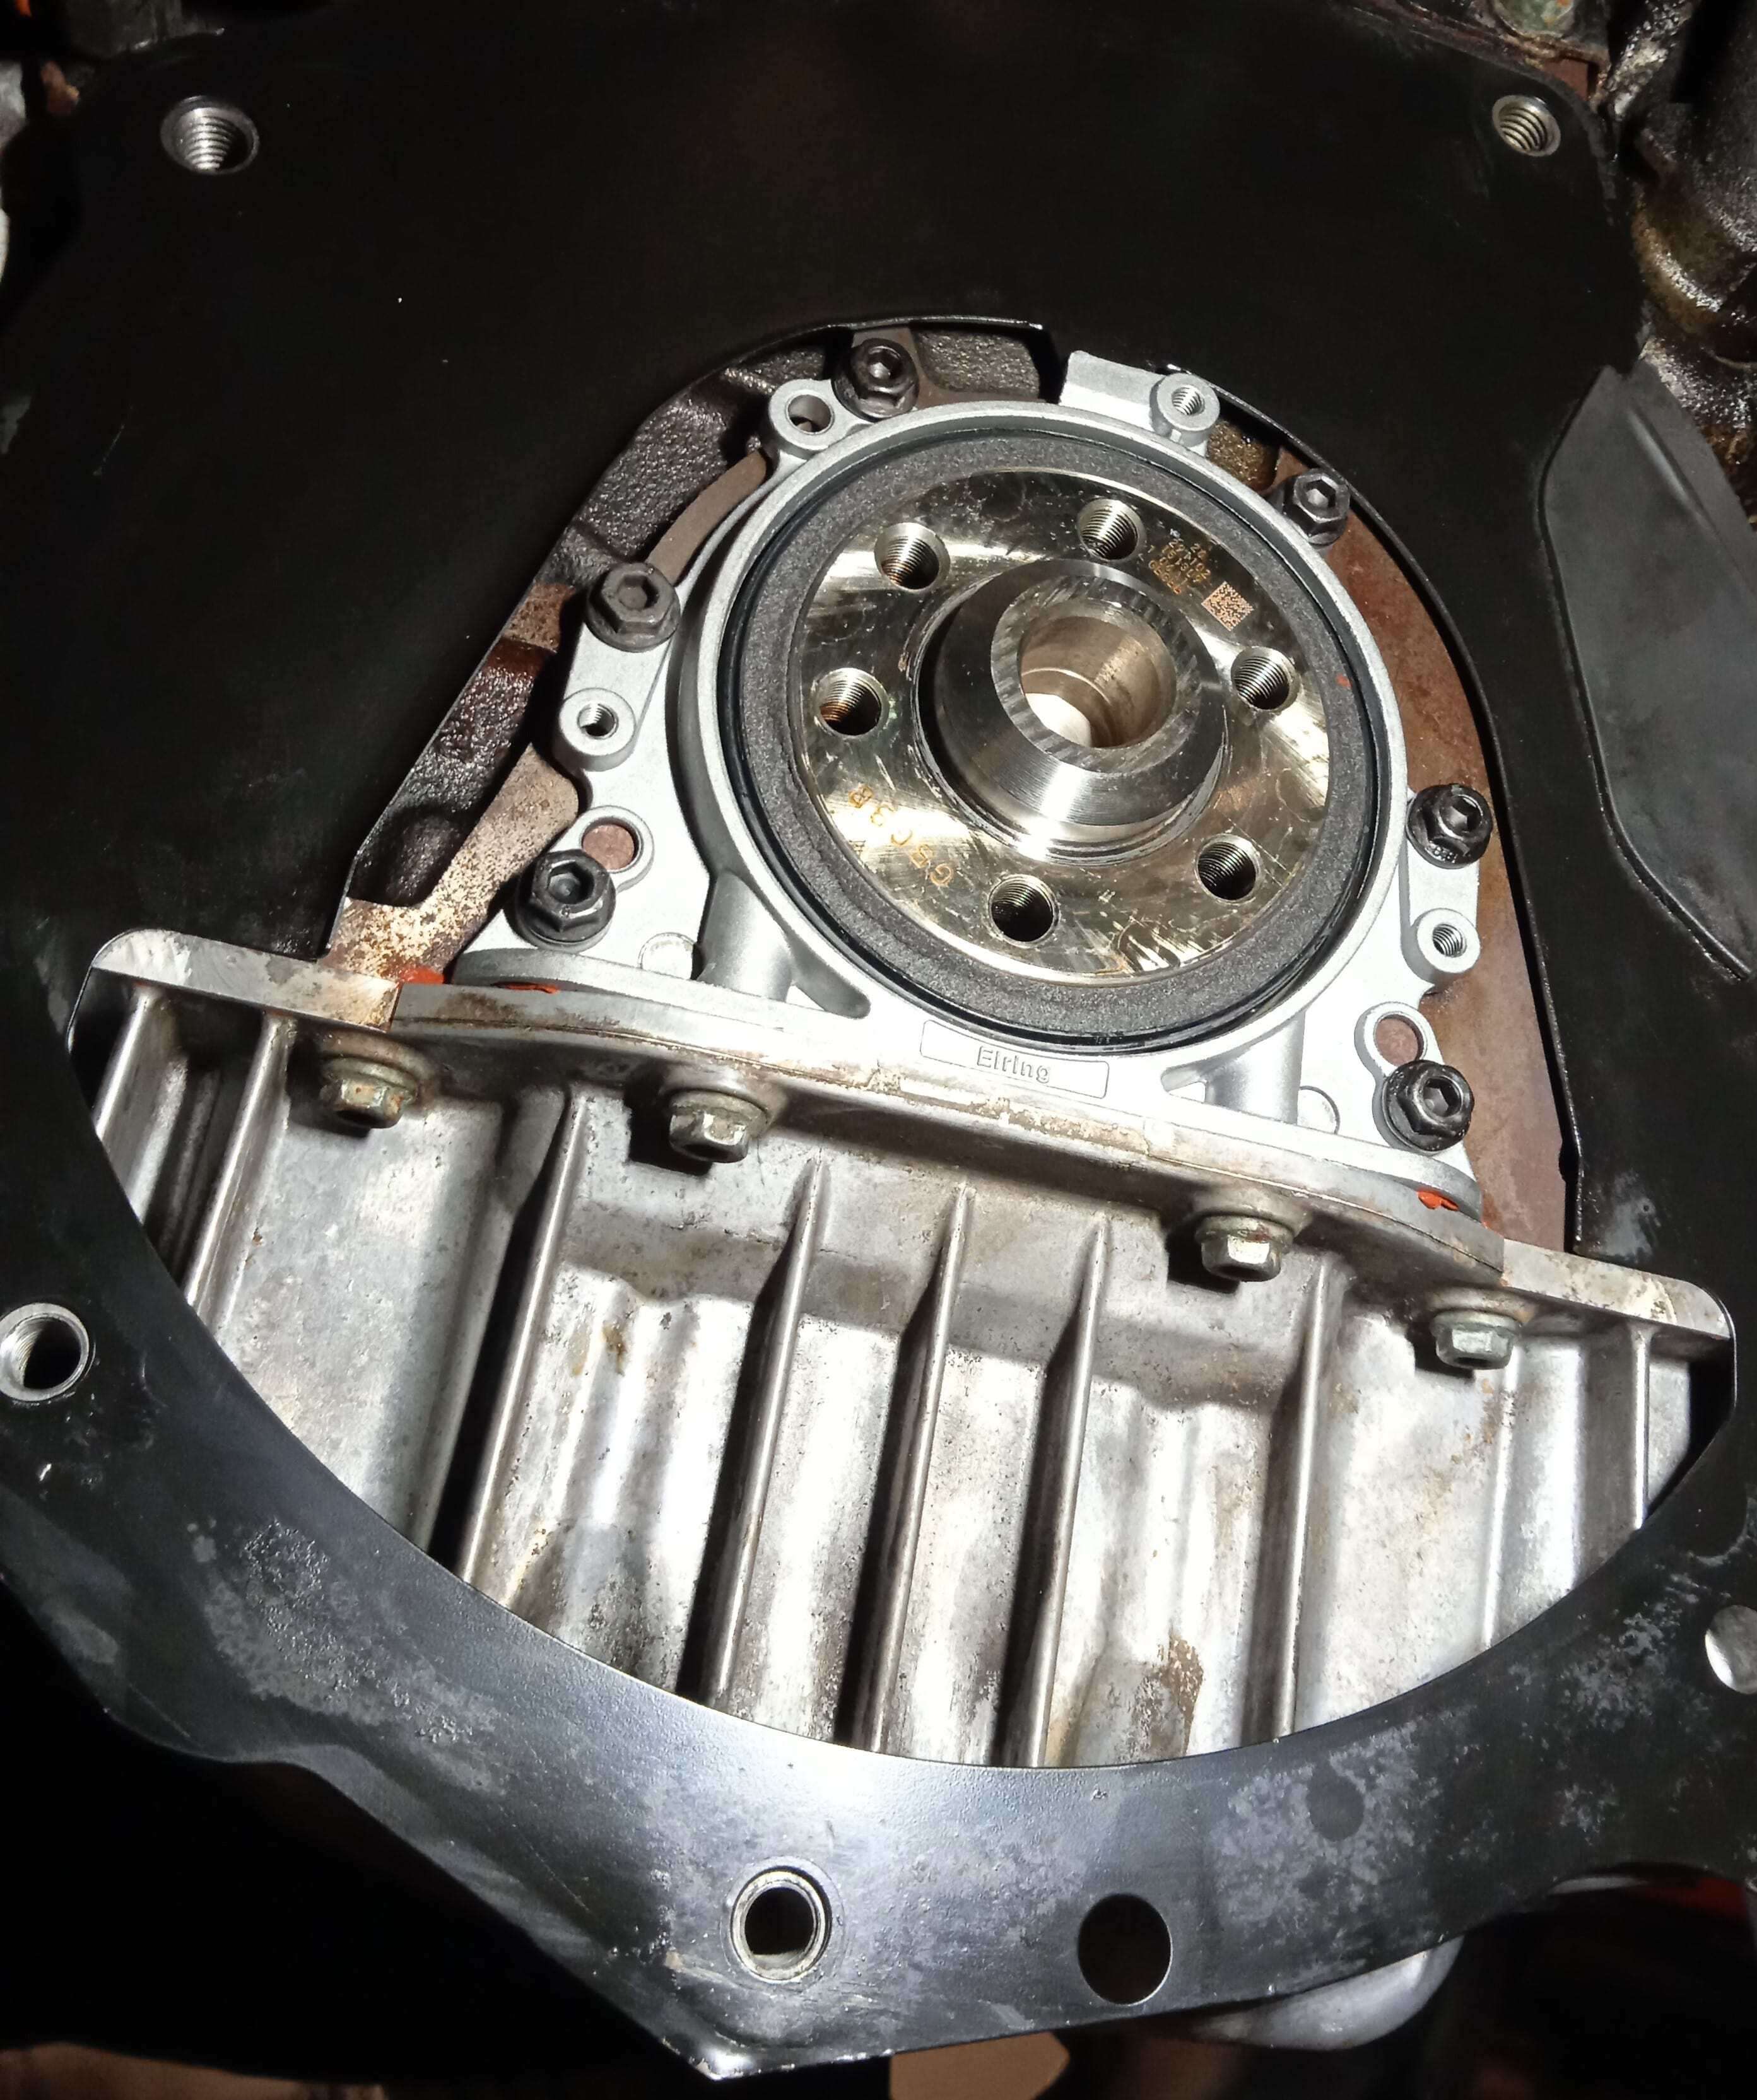
The flywheel must be placed on the crankshaft and aligned accordingly according to the drilling diagram (often not symmetrically arranged).
Then check that the flywheel rests flat on the crankshaft.
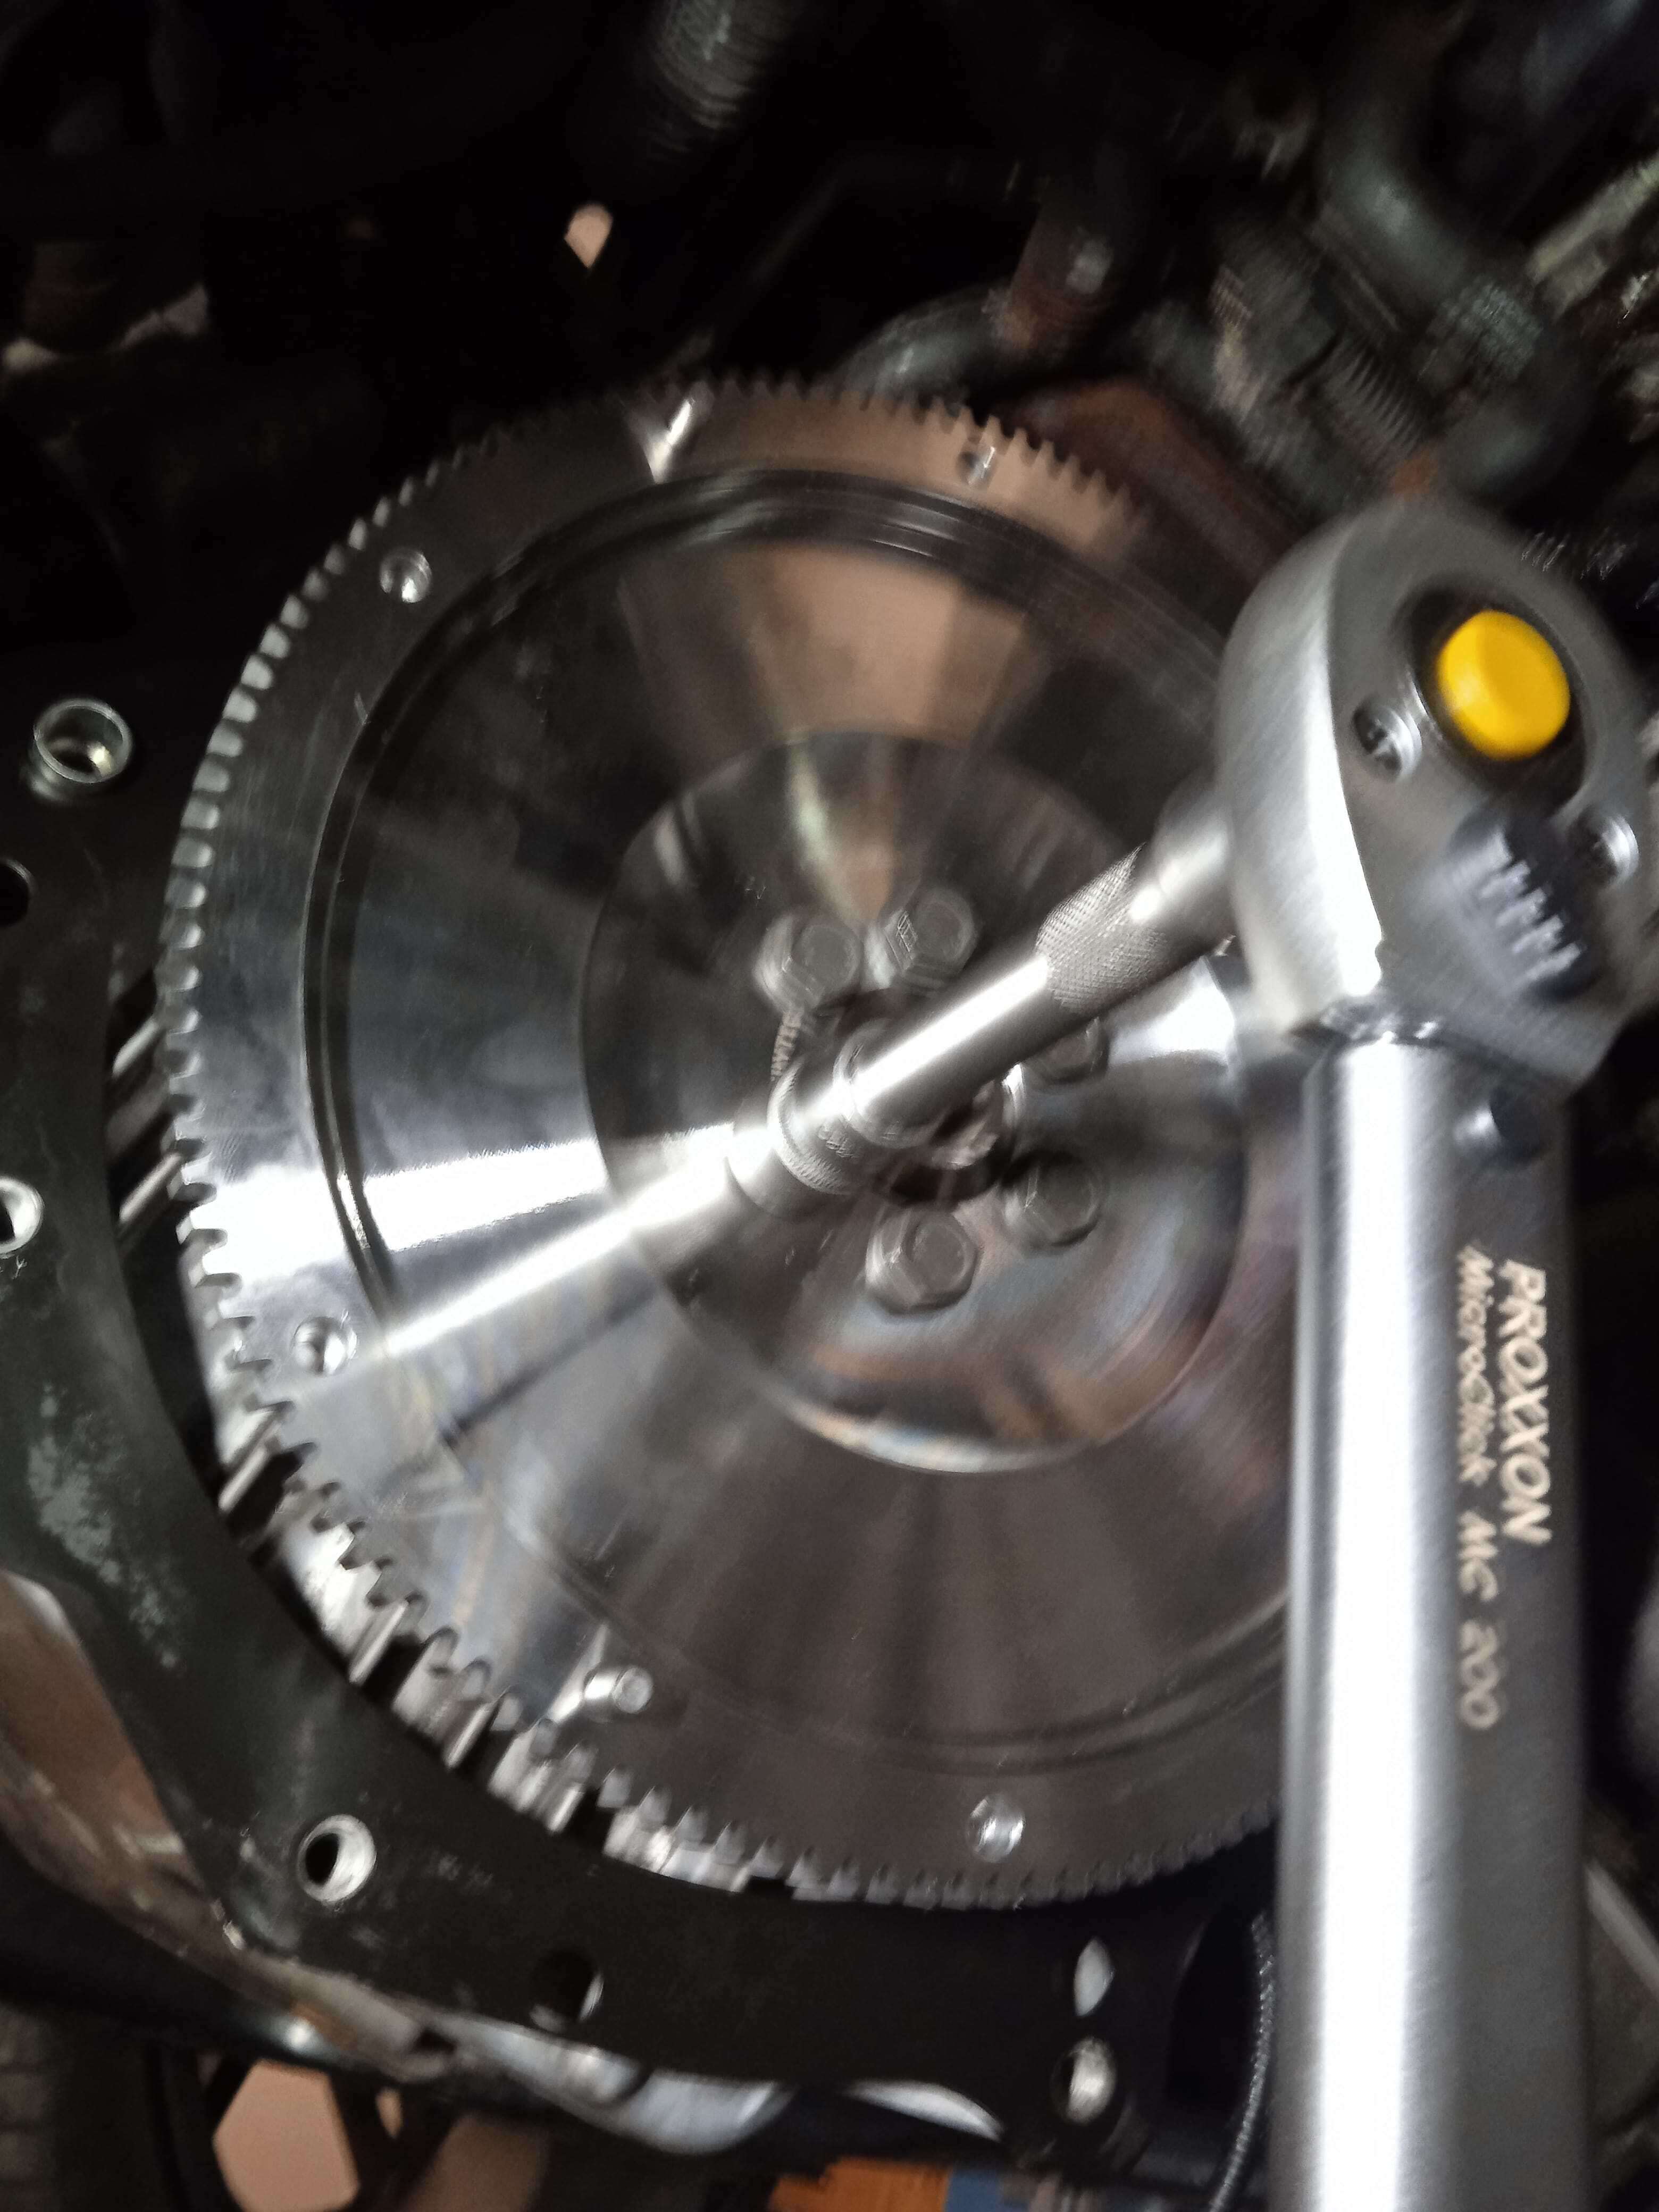
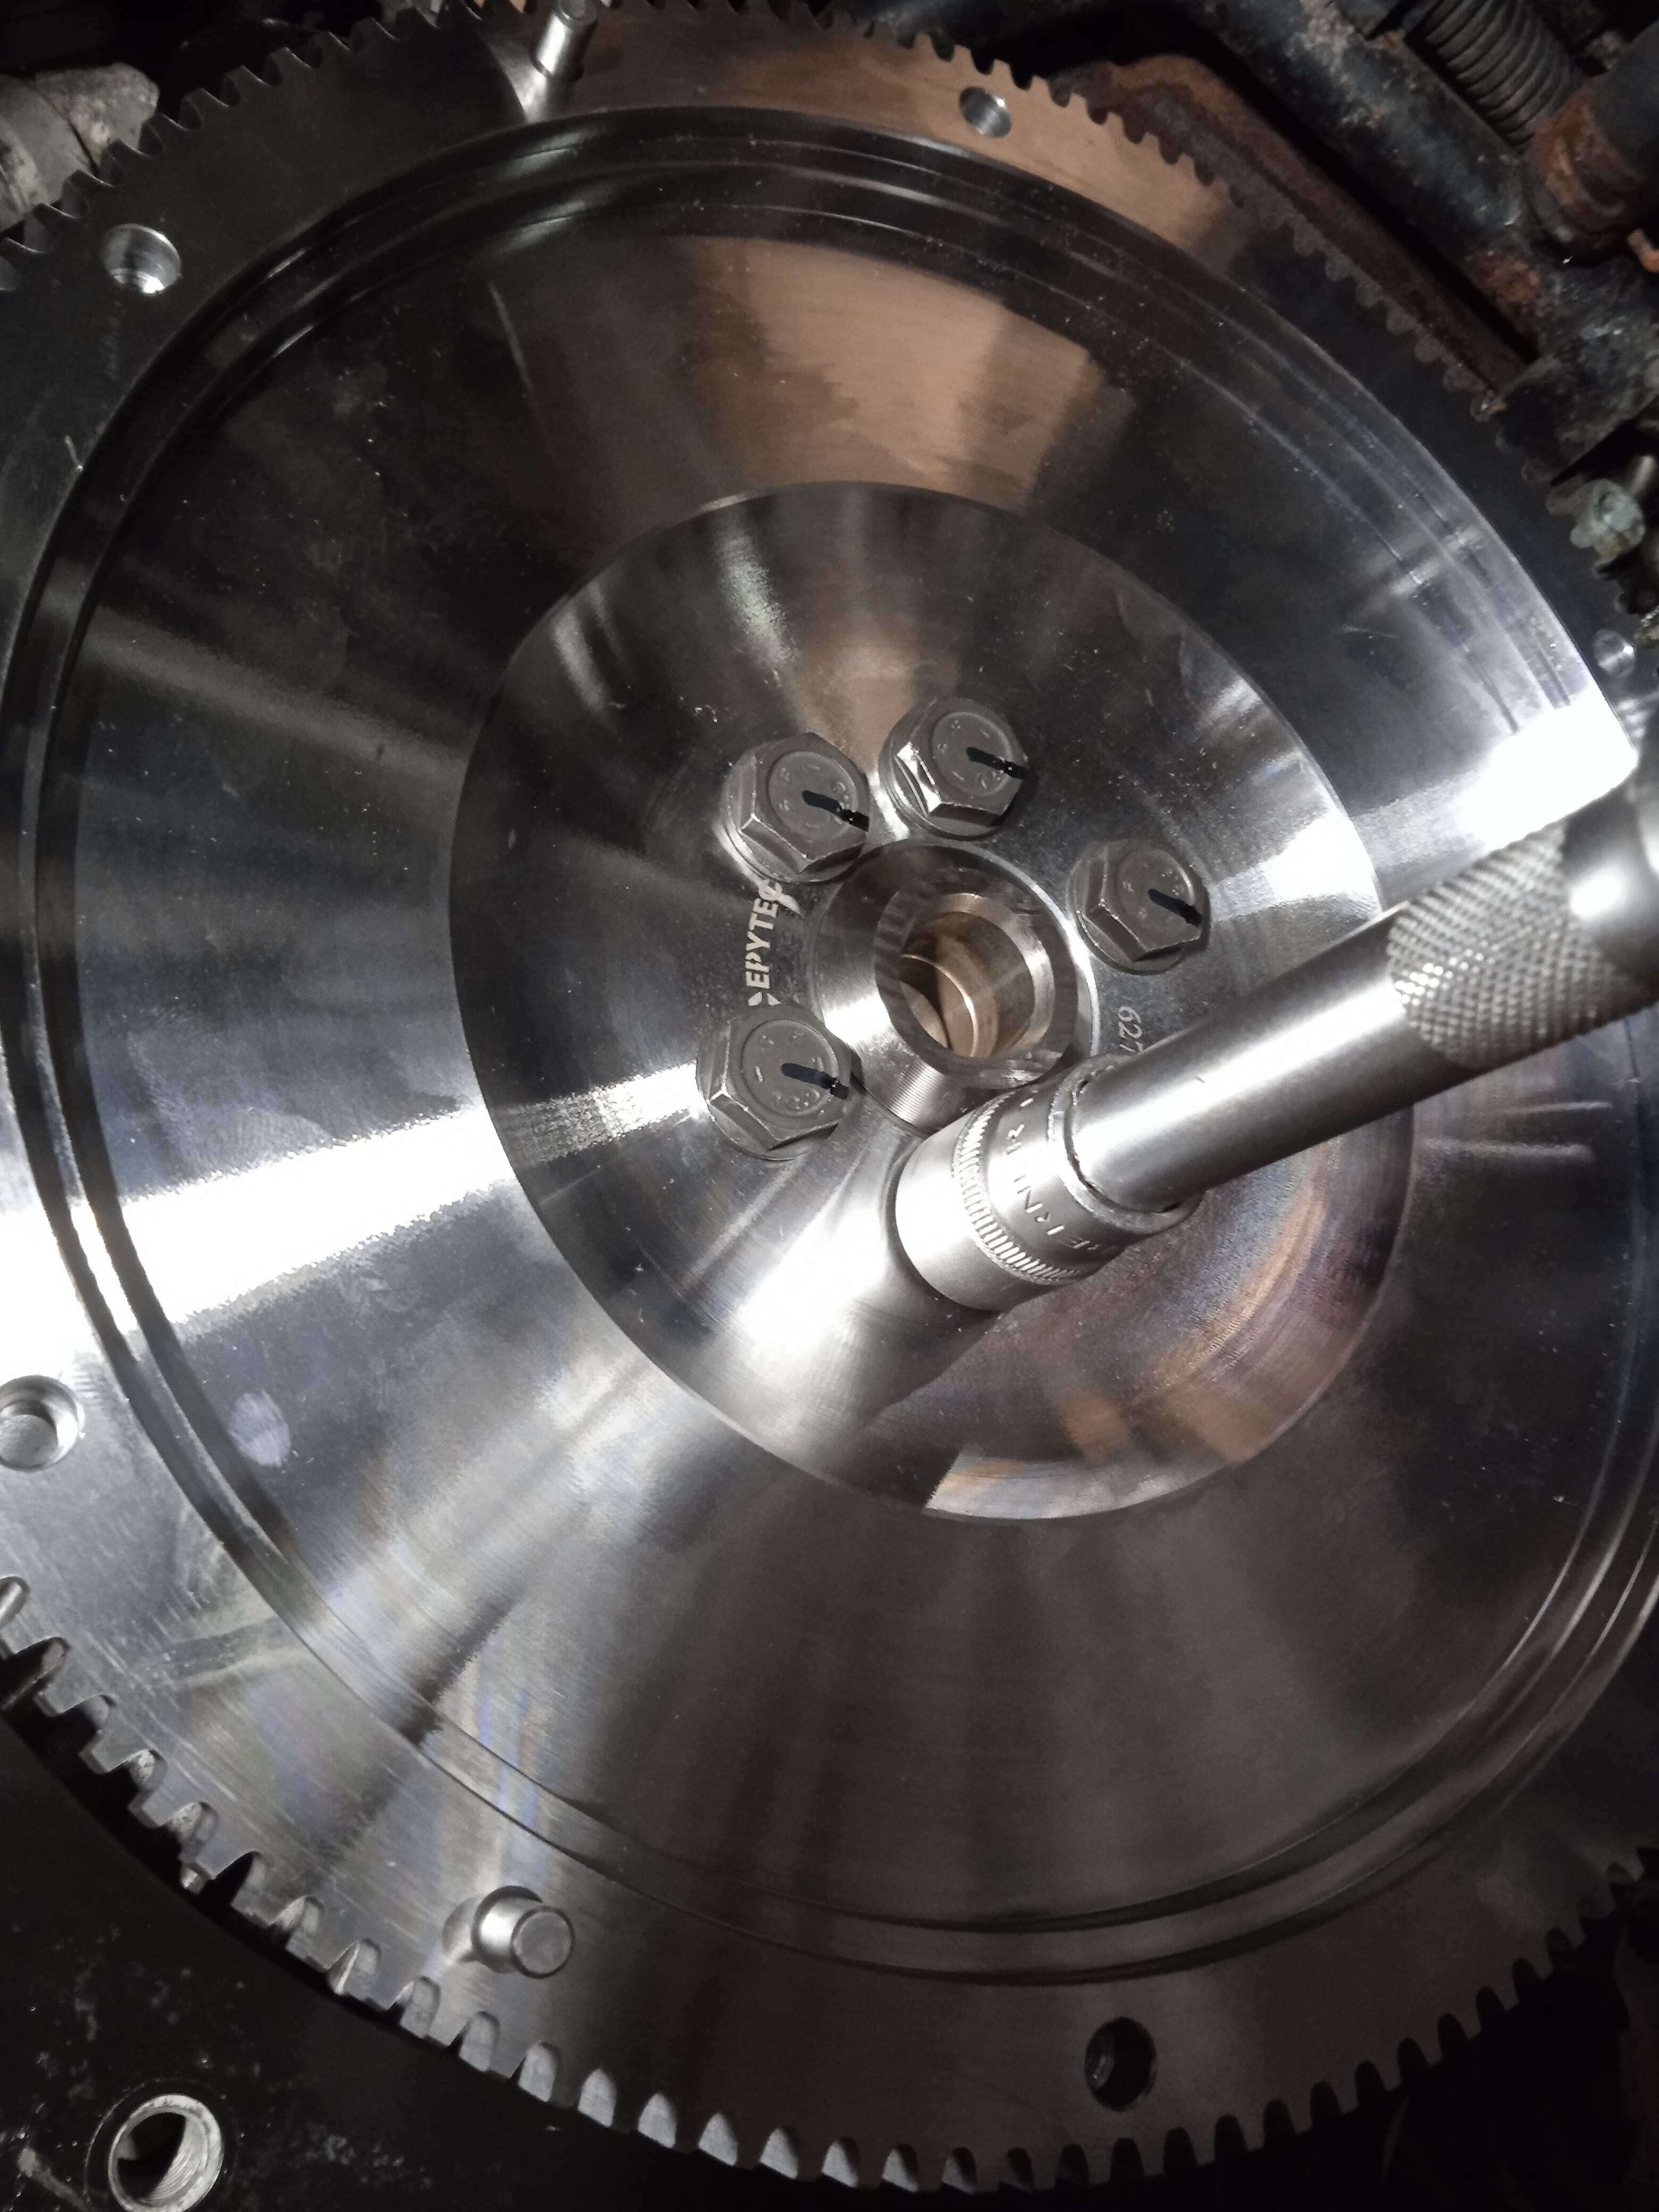
Crankshaft bolts
Make sure that they are screwed straight into the thread.
In the first step, tighten tight by hand and then tighten evenly "crosswise" to 116NM with a torque spanner. (1st step approx. 65NM - 2nd step 116NM)
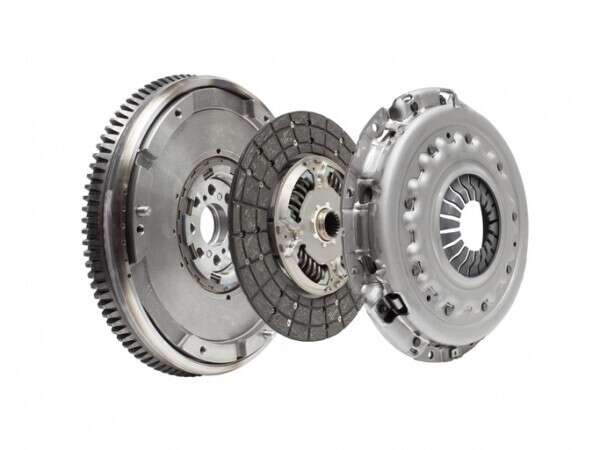
The friction surface (organic as well as sintered) is equipped with a "spring cage".
In order not to impair the function of the clutch, the friction disc must be mounted with the spring basket side facing the flywheel.
The friction disc is aligned centrally on the flywheel by means of a centring mandrel (not included in the scope of delivery).
The pressure plate is then pressed onto the pins of the flywheel and screwed in place.
Make sure that the friction disc is centred if no centring mandrel is available for installation.
Screw on the pressure plate with the cleaned screws (see above).
Proceed as follows:
1.Screw in the screws crosswise and evenly until the pressure plate lies flat on the flywheel (uneven screwing in of the screws can lead to distortion).
2.Tighten all bolts evenly to 25NM using a torque spanner.
To ensure that the kit is fitted correctly, we recommend fitting the gearbox and then turning the engine by hand. If the installation is correct, everything is free to move and you can proceed with the installation. Please note that installation with an impact wrench may damage the threads of the crankshaft and flywheel.
INSTALLING THE CLUTCH
!!ATTENTION!!
Plastic coated release bearings must not be greased.
- Align the clutch disc with the flywheel using a suitable centring tool.
- Mount the clutch pressure plate in the correct position on the flywheel using the dowel pins.
- For truck clutch pressure plates, centring is done using the centring diameter of the pressure plate housing. The correct fit of the clutch pressure plate and the flywheel must be insured
- Screw the clutch pressure plate crosswise with the manufacturer-specific tightening torque.
- When assembling the gearbox, make sure that it slips easily into the teeth of the clutch disc and that the hub is not damaged.
- If more force is required, the gearbox shaft may have to be realigned. Use a gear jack to do this. This will prevent the gearbox from being flanged on without support and with its full weight. Failure to do so may result in damage to the clutch system.
- Screw on the gearbox according to the manufacturer's instructions. .
- Bleed the release system or adjust the clutch cable/clutch pedal according to the manufacturer's specifications.
TO BE CHECKED ADDITIONALLY!!
- Engine bearings Gearbox bearings
- Cardan shaft bearing/hardy disc/drive shaft bearing
- Crankshaft vibration damper
These installation instructions serve as a recommendation/help. Only the installation instructions of the car manufacturer are binding!
Questions and answers
Please observe the following instructions to ensure that the clutch functions and correctly installed is
Why do I have to drive in my clutch?
The principle of a clutch works similarly to that of a brake system. The different materials / surfaces must first adapt to each other. This happens through friction. This happens relatively quickly with standard clutches or organic pads, as the material of the pad is "softer" than that of sintered metal pads.
What is the best way to proceed?
The correct "running-in", especially with a sintered metal disc, requires feeling when starting. The disc reacts sensitively to too long grinding or too high a speed when starting.
It is important to treat the clutch gently for the first hundred kilometres. The clutch should be engaged quickly and not too abruptly. We recommend moving the vehicle carefully in Stop&Go mode. The procedure should be repeated a maximum of 3 times to avoid overheating the clutch.
How do I know that my clutch is worn in?
The first clutch operations are much less comfortable and can be a bit rough. As the pads gradually equalise, the feeling will improve. After about 500 km of mixed driving (city, country and motorway) the set should have worn in.
What do the springs (torsion springs) in the clutch disc ?
The springs help to absorb torque peaks and thus protect the engine and the gearbox. The springs do not (!) help when starting.
Why are sintered metal discs "rougher" than organic discs?
The material of the pads is decisive for power transmission. Since the friction coefficient of a sintered metal disc is much higher than that of an organic disc, it can transmit more power. However, a higher friction coefficient also means a higher resistance when grinding the pads, which in turn affects the feeling when engaging the clutch. The number of sintered pads is decisive for power transmission and comfort when starting. More pads -> more comfort -> less wear
Why doesn't my pressure plate fit on the flywheel?
If the pressure plate doesn't fit on the flywheel, it could be because it's the wrong version. Sachs Performance has two different types of pressure plates depending on the vehicle:
1. Pressure plate based on the original flywheel
2. Pressure plate based on the Sachs Performance flywheel
It is important to check whether the pressure plate you are using is actually intended for the original flywheel. A pressure plate designed for the Sachs Performance flywheel will not fit on the original flywheel.
Therefore, make sure you always use the right pressure plate. If you are using an original flywheel, you absolutely need the pressure plate that was developed based on this flywheel. This is absolutely necessary for correct function and safe installation.
Why does the starter grind with the new flywheel?The installed starter is still the original one – what could be the cause?
A grinding noise when starting usually does not indicate a defect in the starter itself, but rather an issue with the interaction between the starter and the flywheel. Typical causes include:
- Installation / Spacing Issue
- Wear on the Starter Pinion or the Flywheel
- Incorrect Position due to Clutch or Gearbox
👉 Important: Check the clearance and engagement of the starter pinion – it should engage about 2/3 of the tooth length into the flywheel.
Should the starter motor be replaced when converting to a single-mass flywheel?
- Yes, we recommend replacing the starter motor at the same time as converting to a single-mass flywheel (SMF), if it hasn't already been done.
- The conversion slightly alters the engine's vibration and starting characteristics, which puts the starter motor under greater mechanical stress. A new or rebuilt starter motor ensures reliable starting and significantly reduces the risk of wear or starting problems.
- Since the starter motor is easily accessible when replacing the flywheel anyway, the additional work is minimal, while the reliability and longevity of the entire system are significantly improved.
- In conclusion: If the starter motor hasn't already been replaced, it should be replaced as a precaution when converting to a single-mass flywheel.