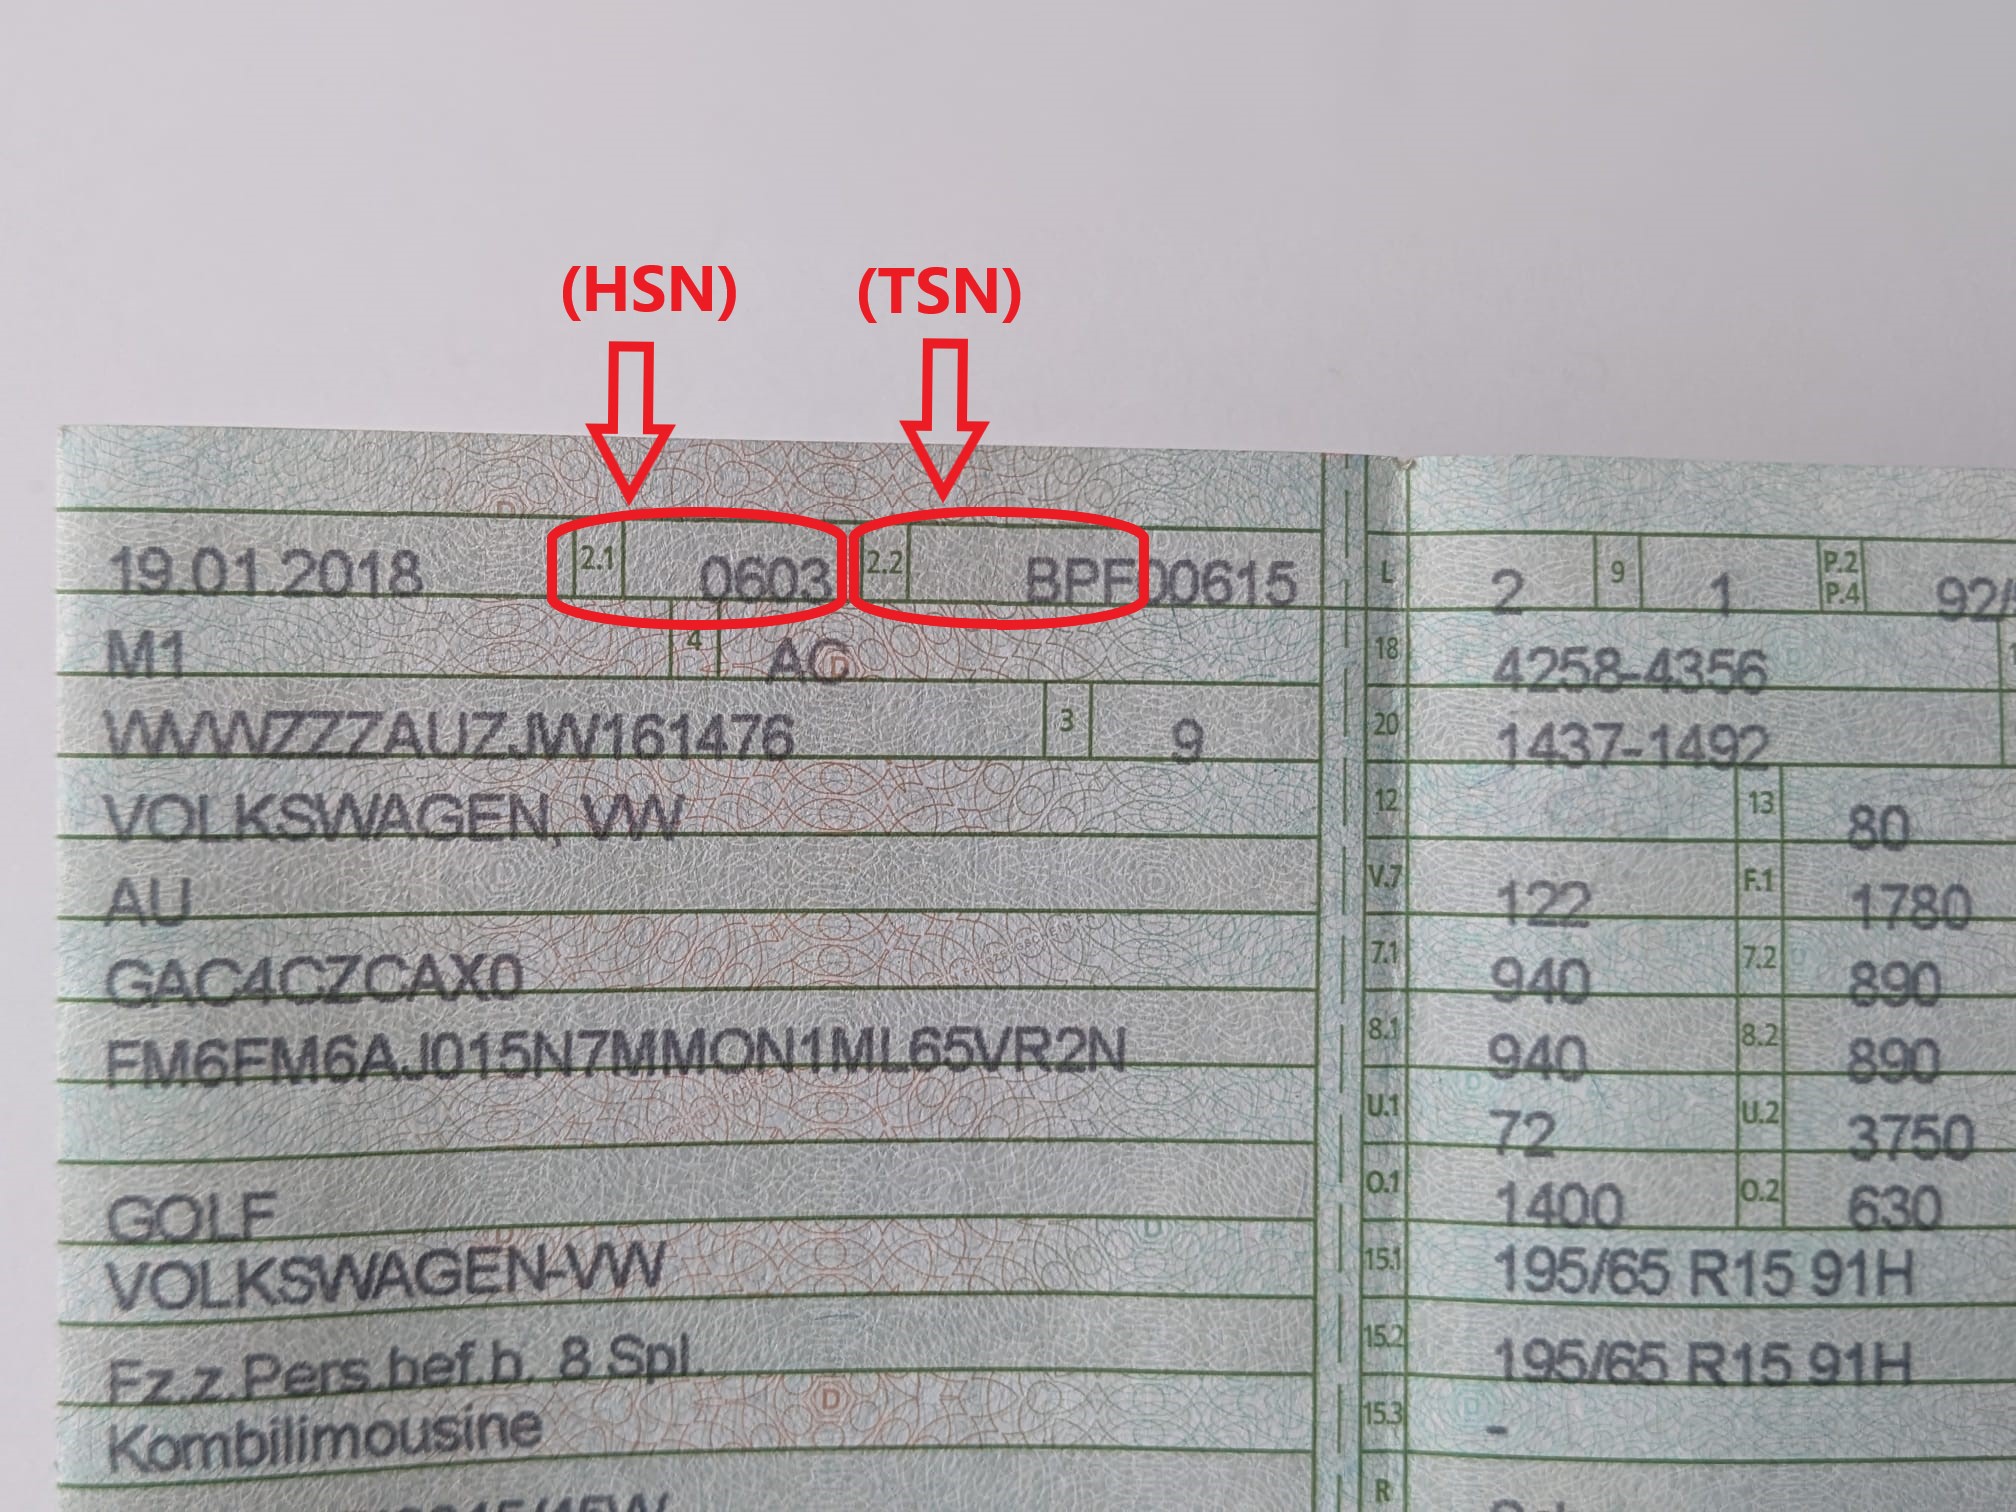
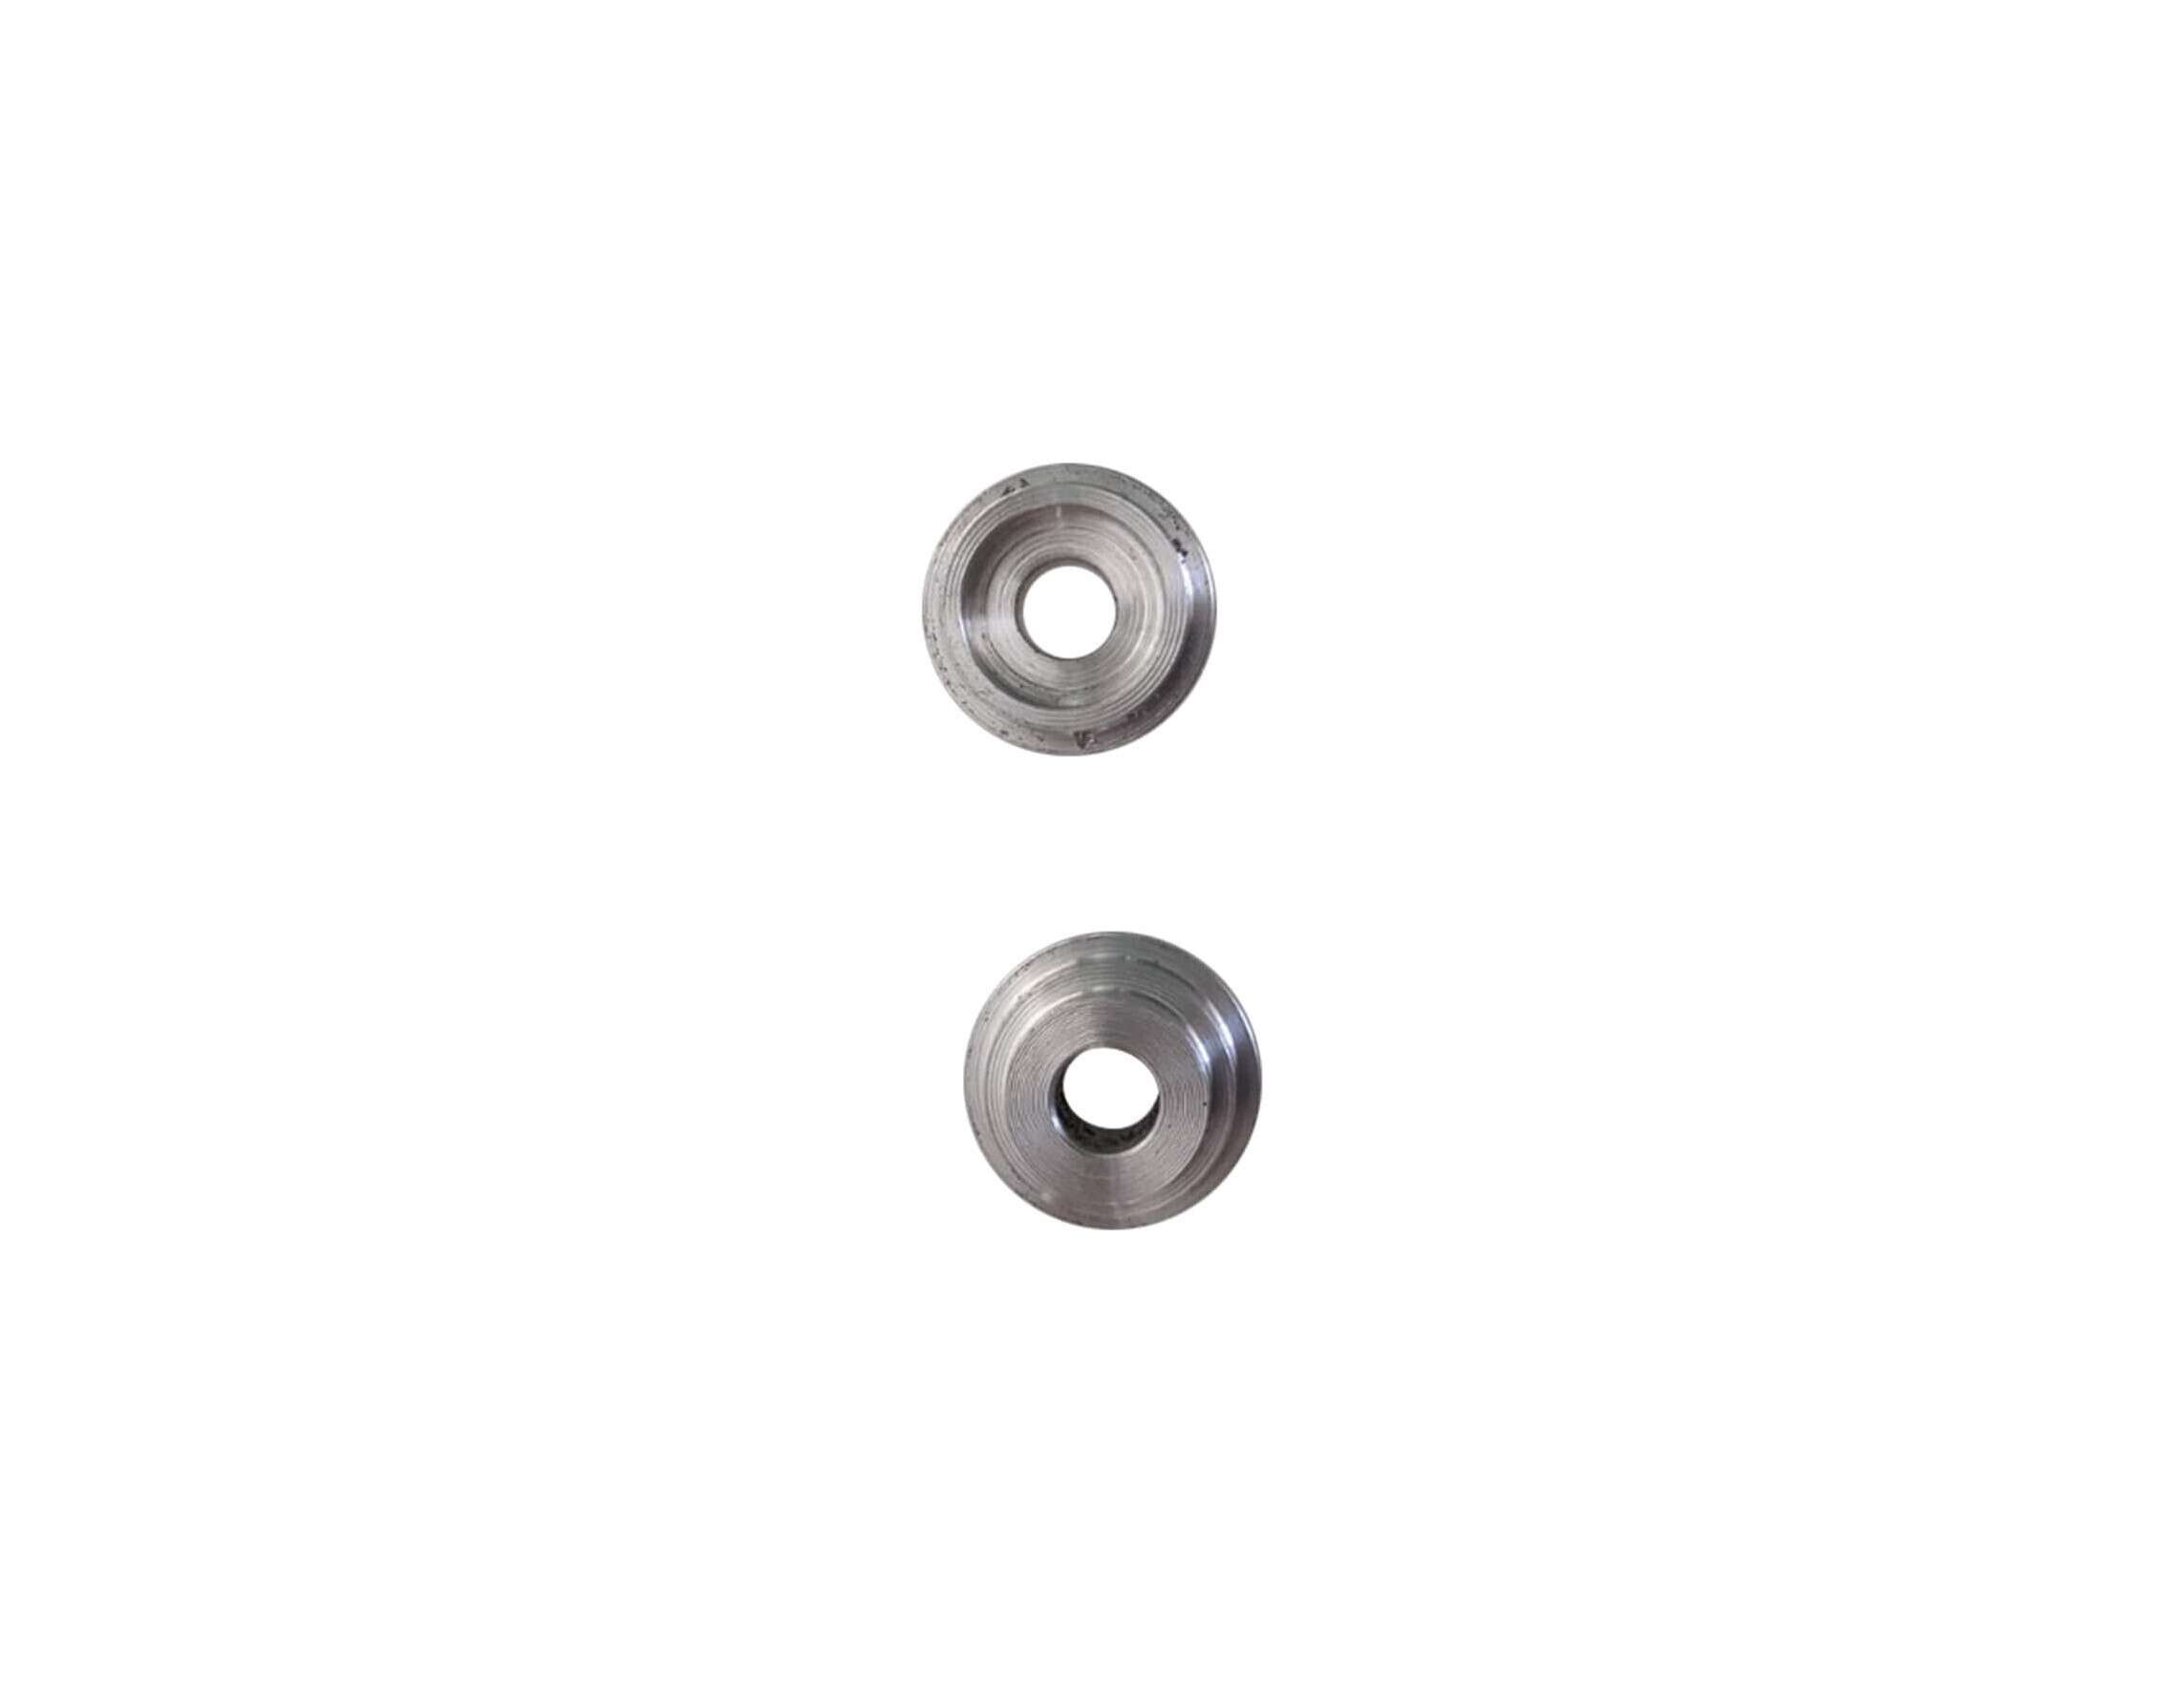
Installation instruction for article 1109 VR6 cable direct shifting through aluminium bushing gearstick bracket cable shift 57 711 969A
Installation instruction for article 1109 VR6 cable direct shift through aluminium bushing in gearstick bracket. Here you will learn how to proceed step by step.
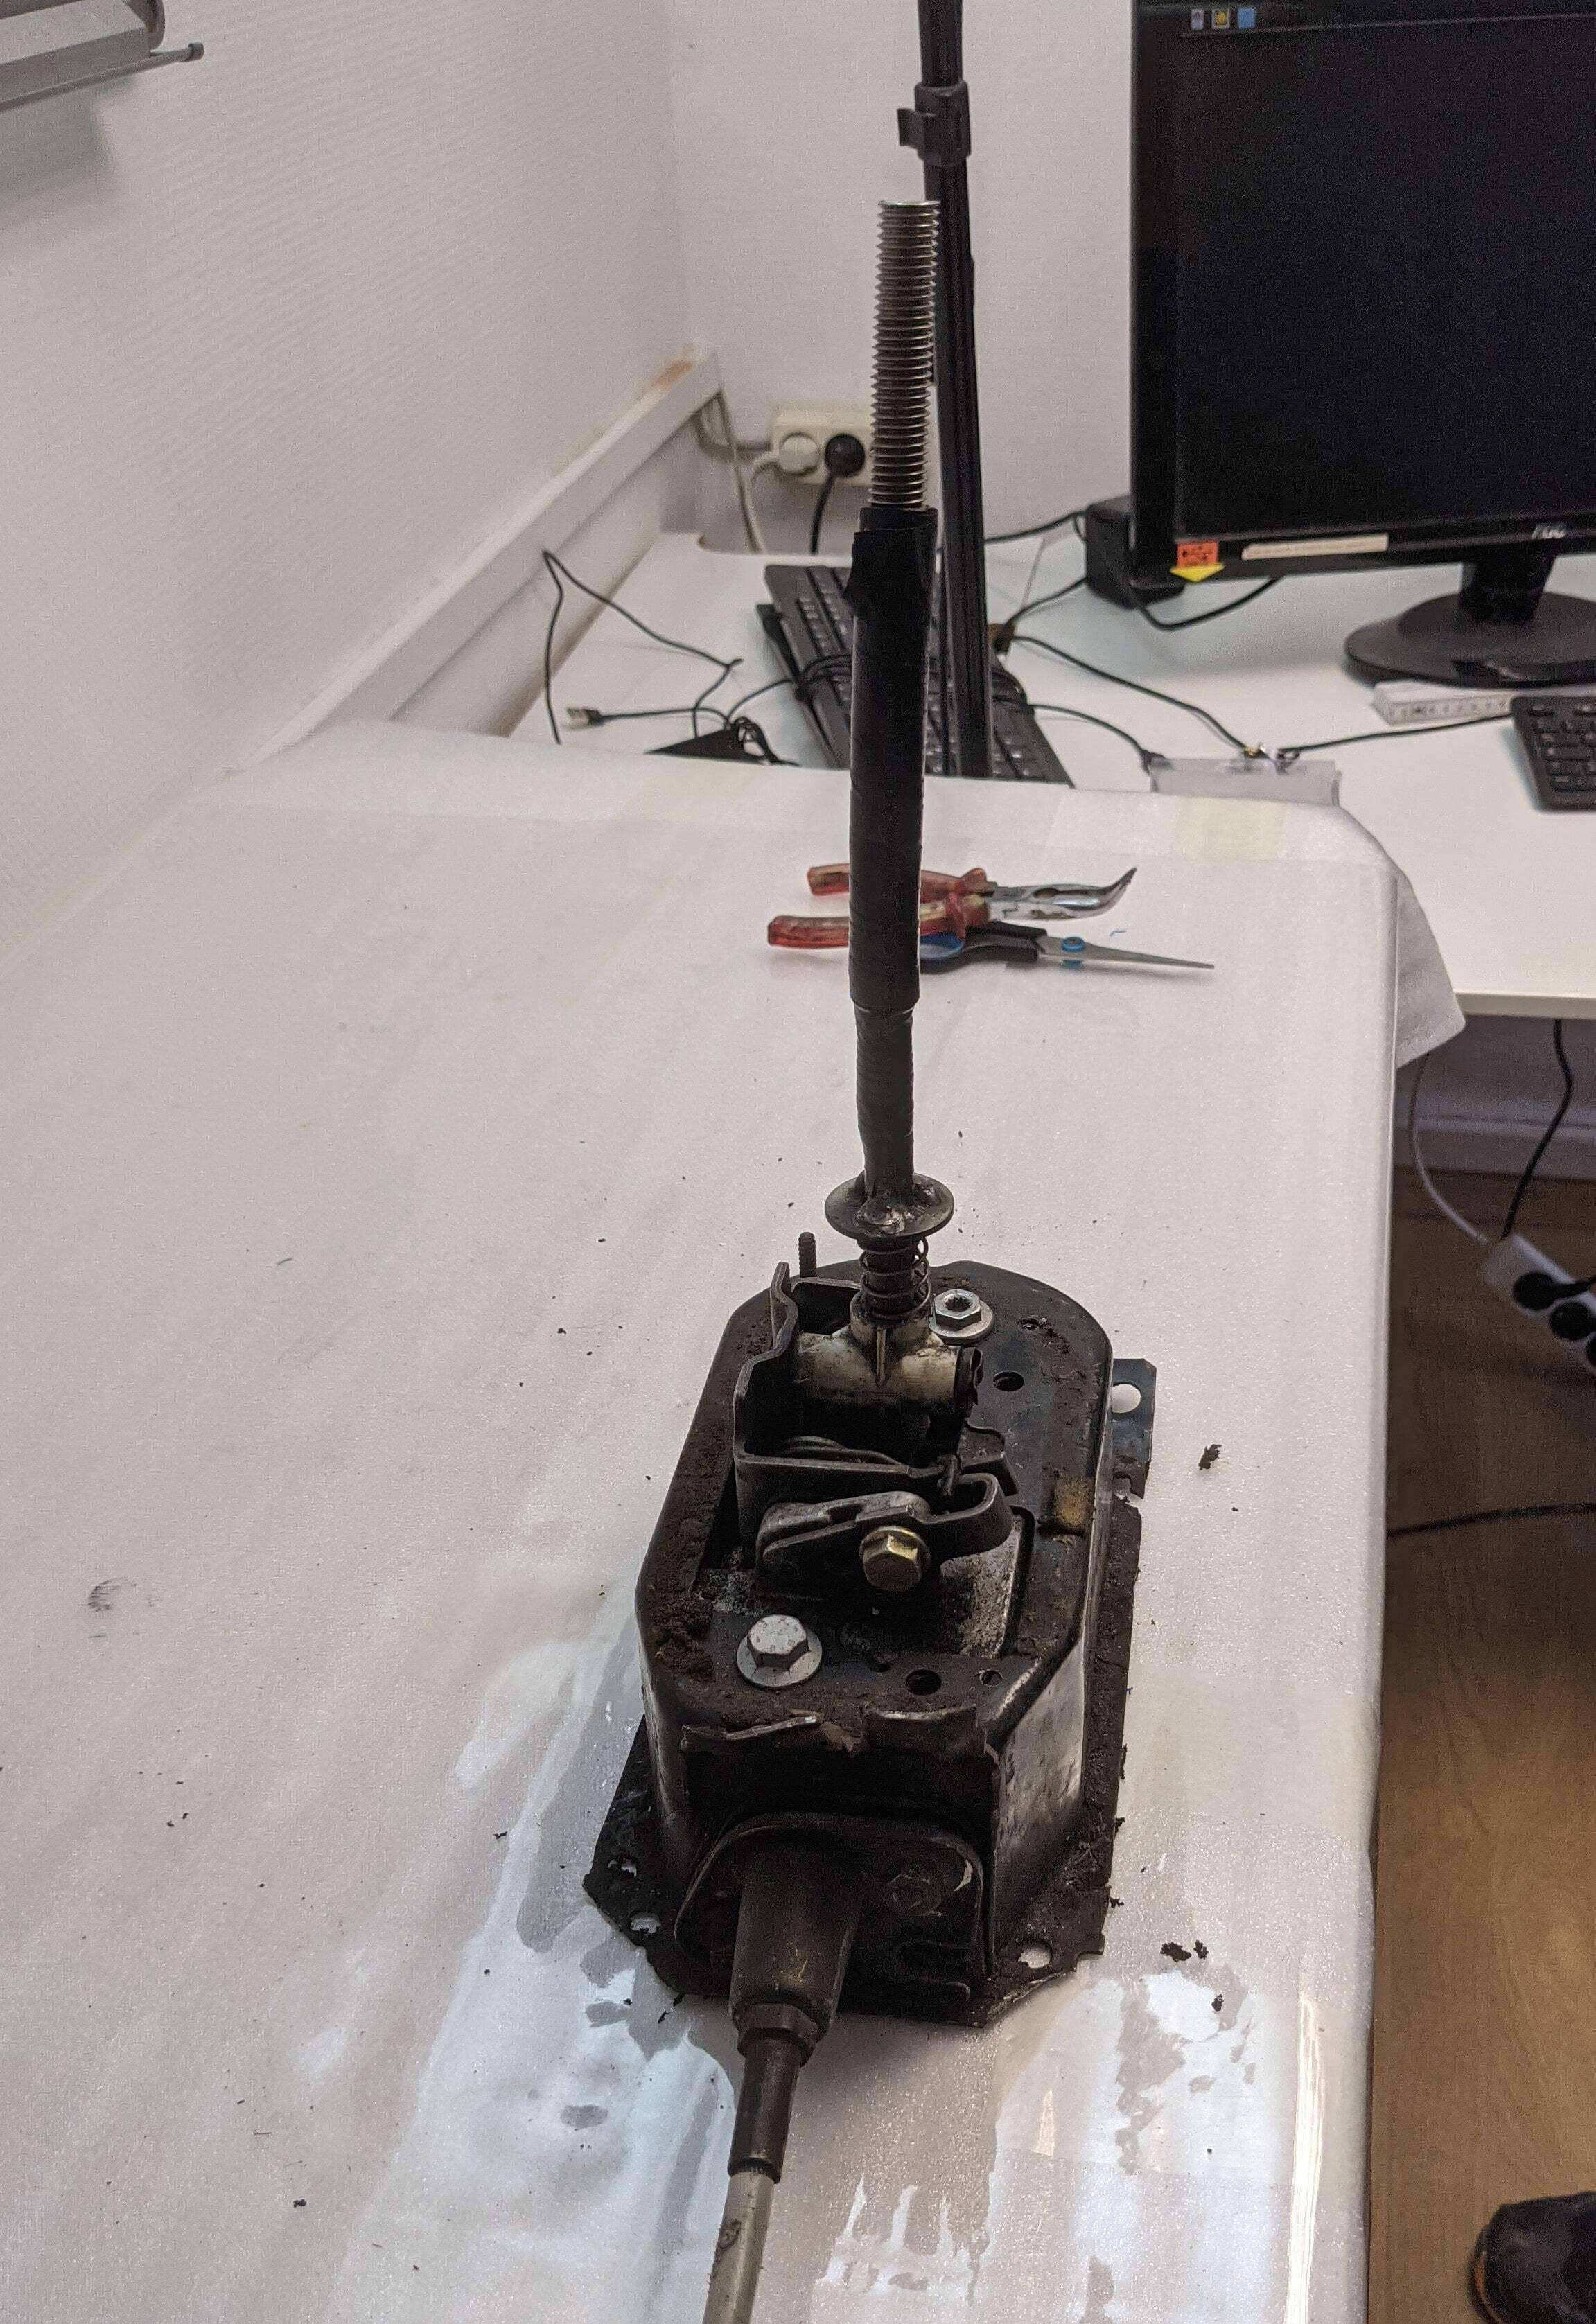
Preparation:
Everything must be prepared so that the gearshift bracket is easily accessible and the cable can be removed from it.
Installation
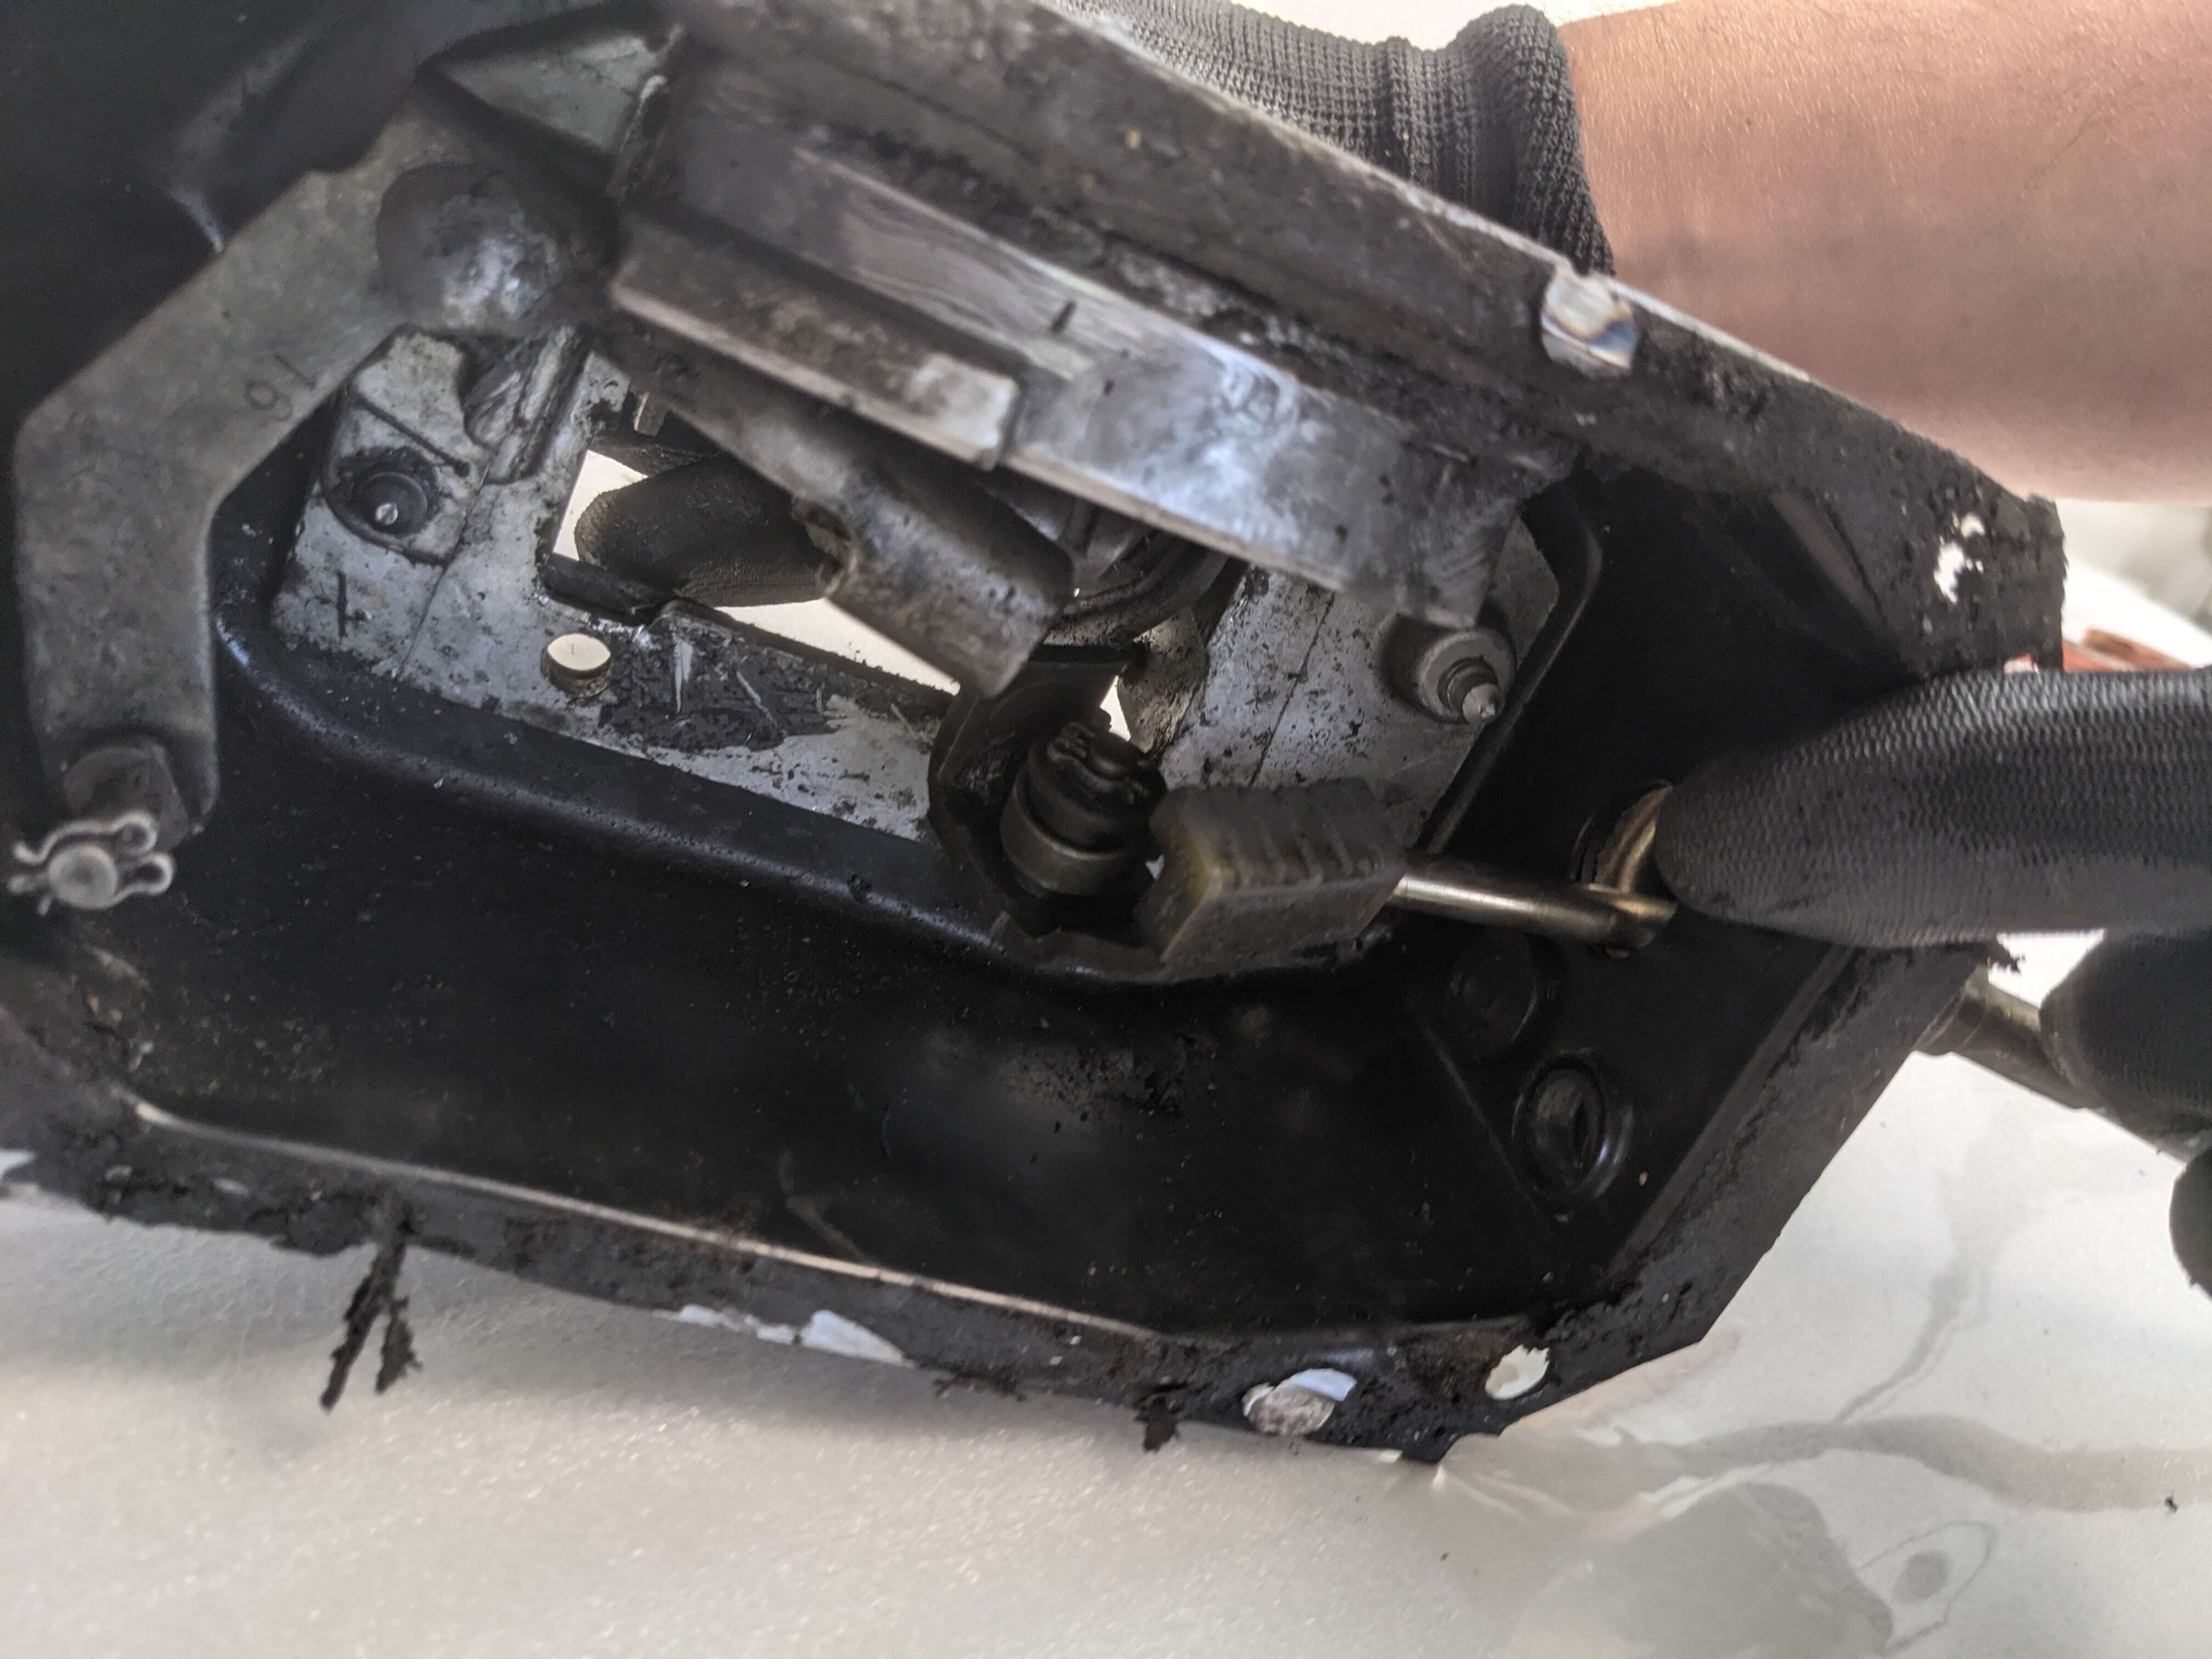
Anschließend wird der Schalthebel am besten in die kürzeste Position gestellt, damit der Seilzug nicht unter Zug ist.
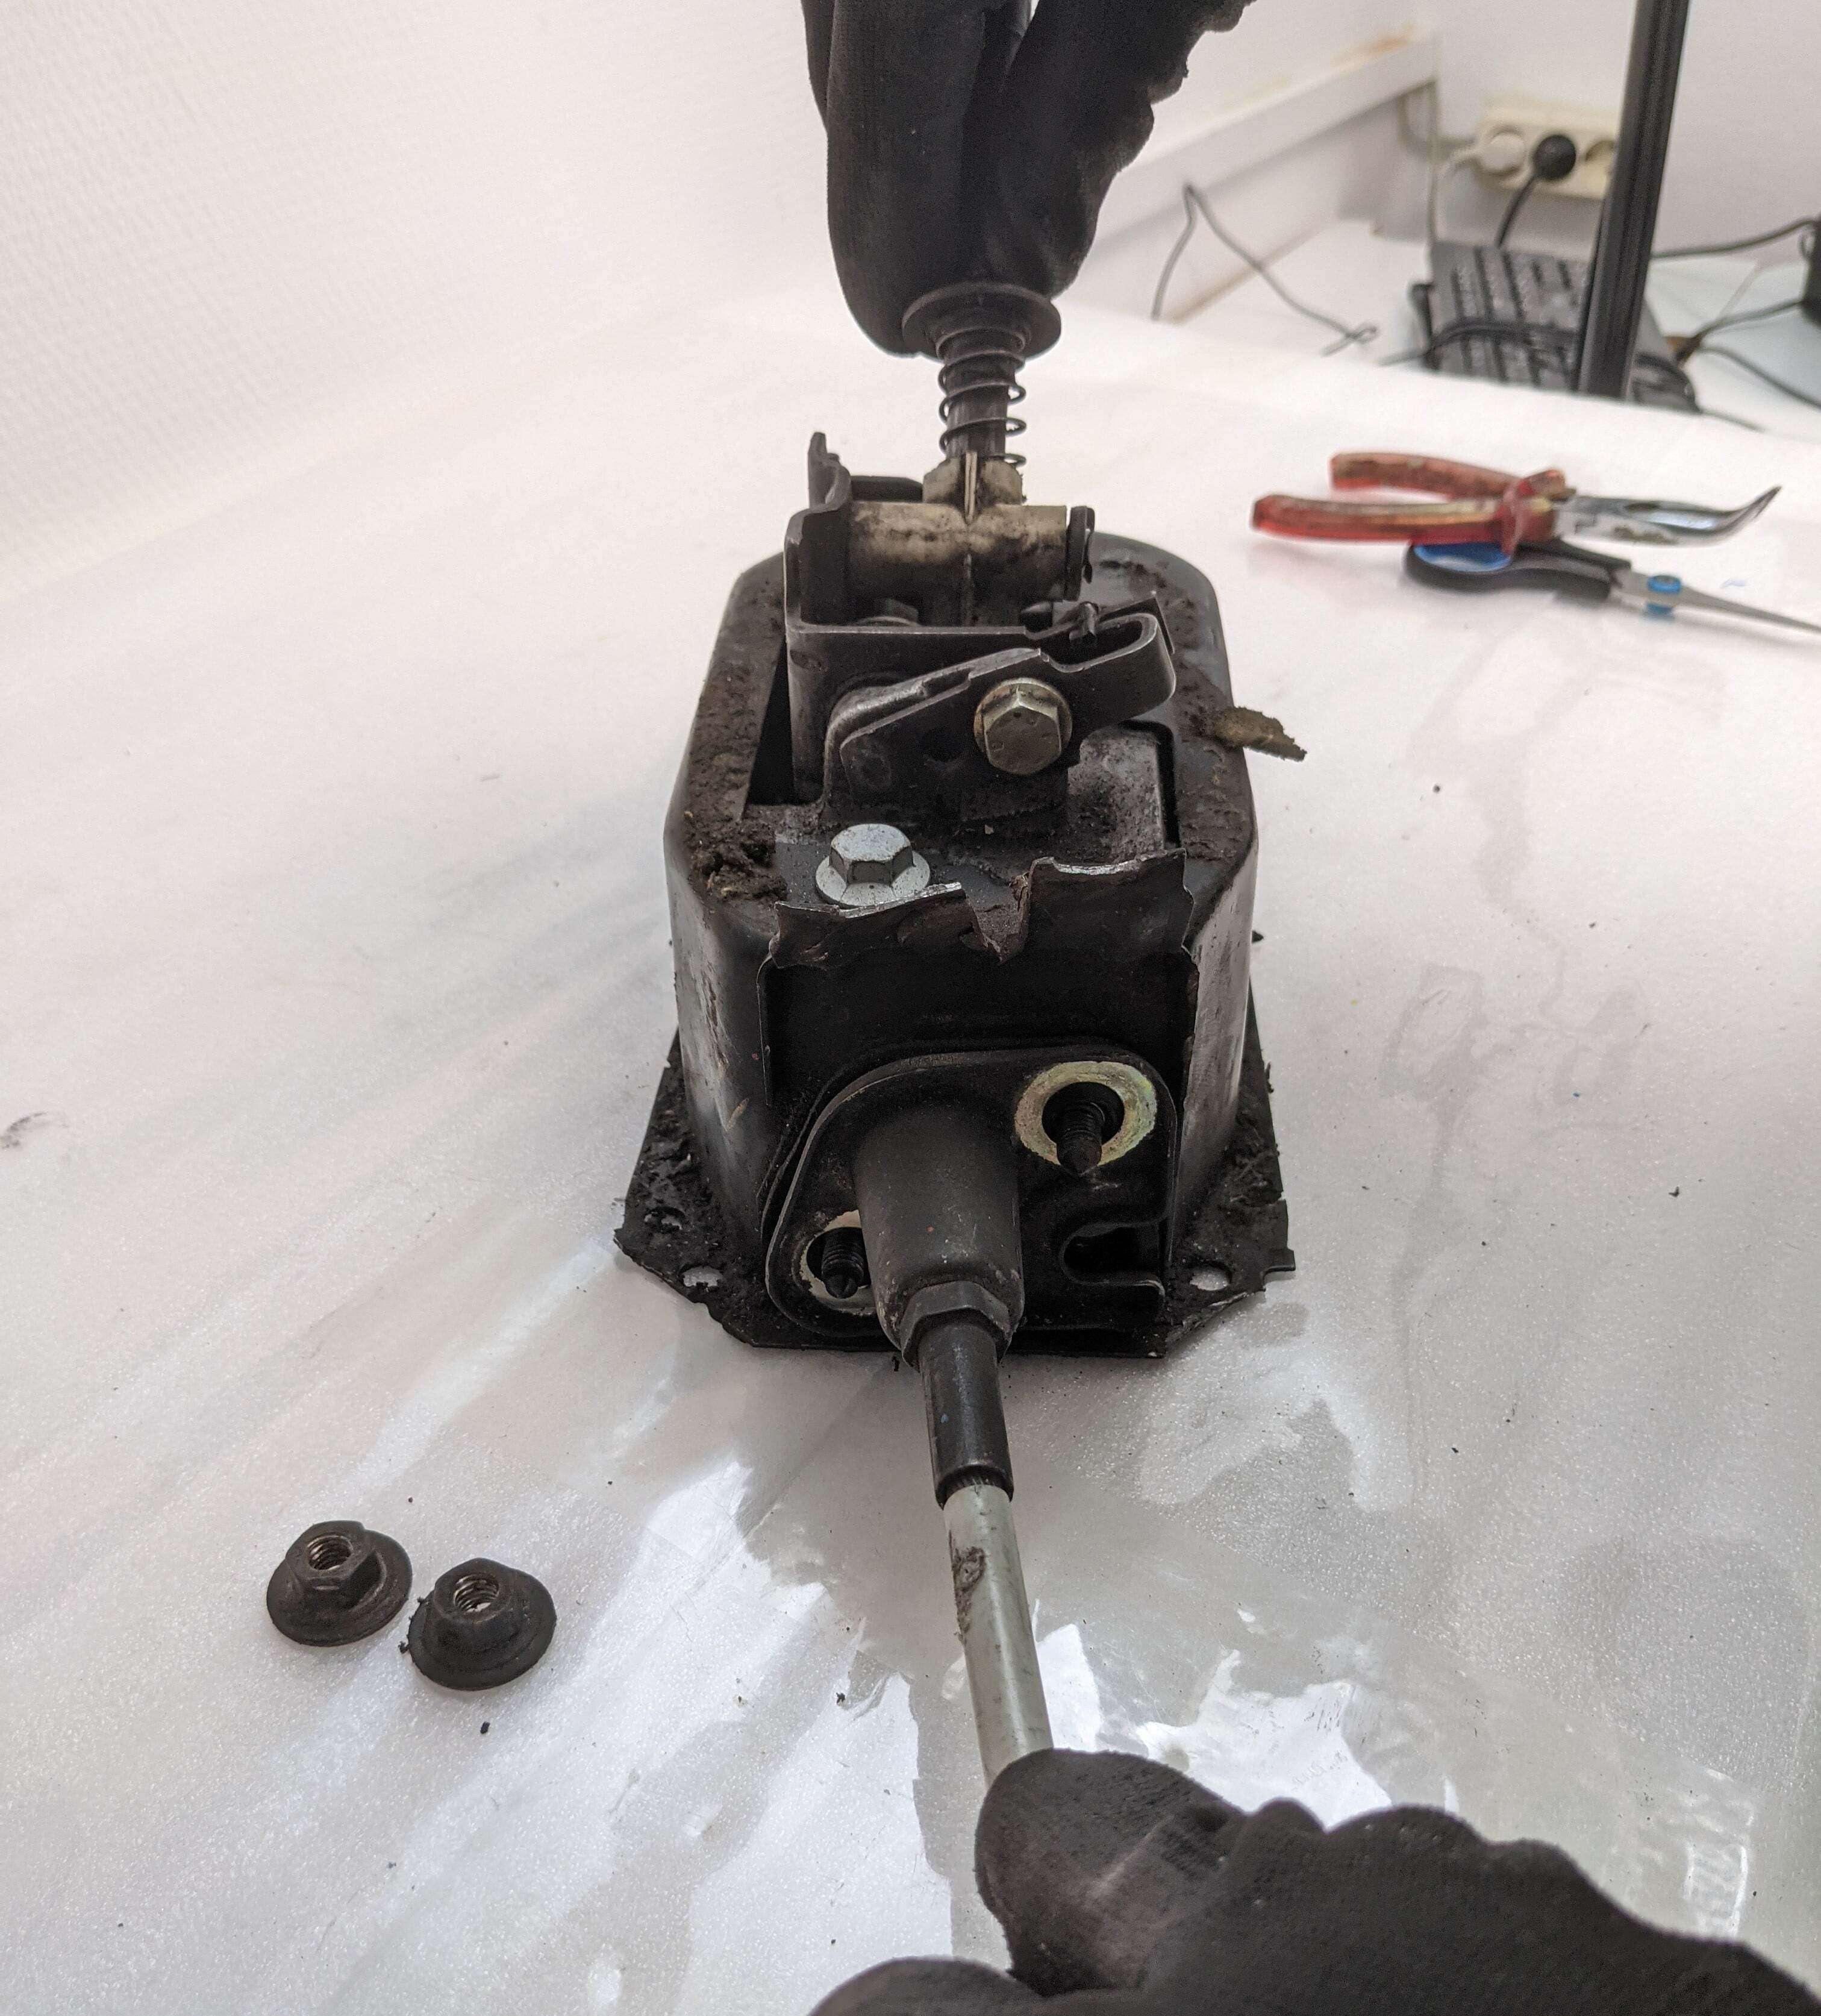
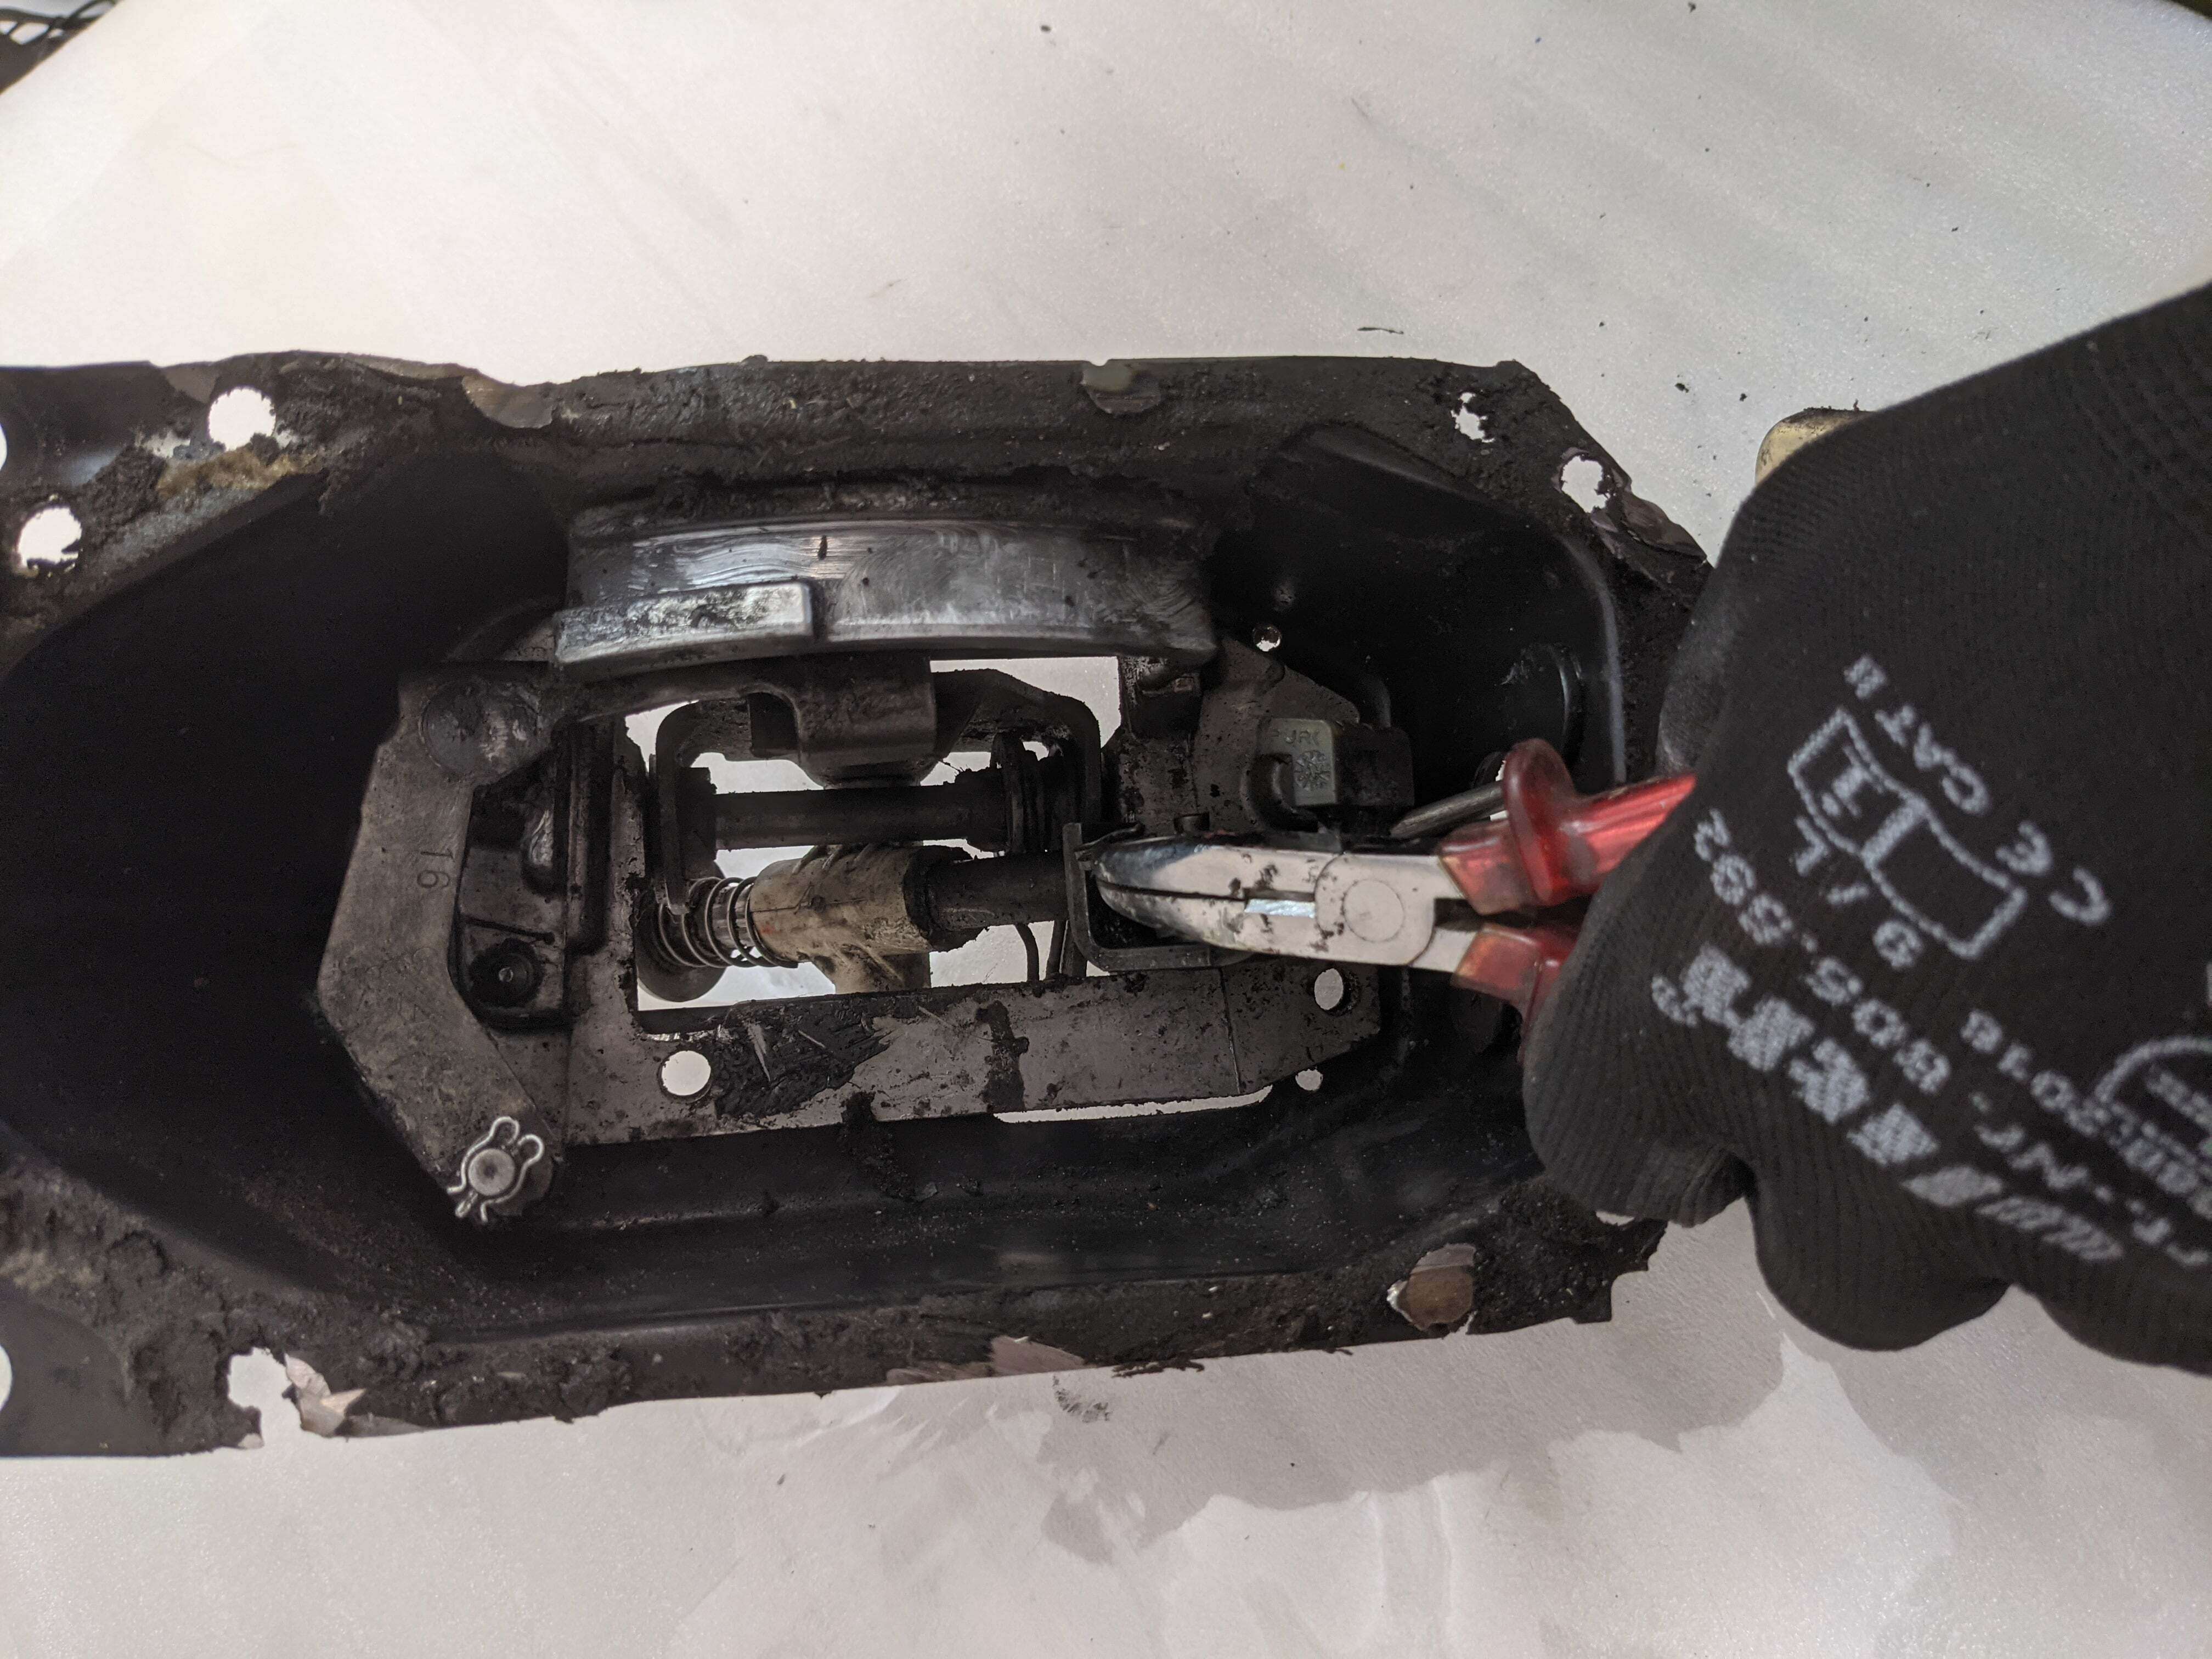
Then use pliers to remove the cotter pin from the rubber bushings and the cable from the support.
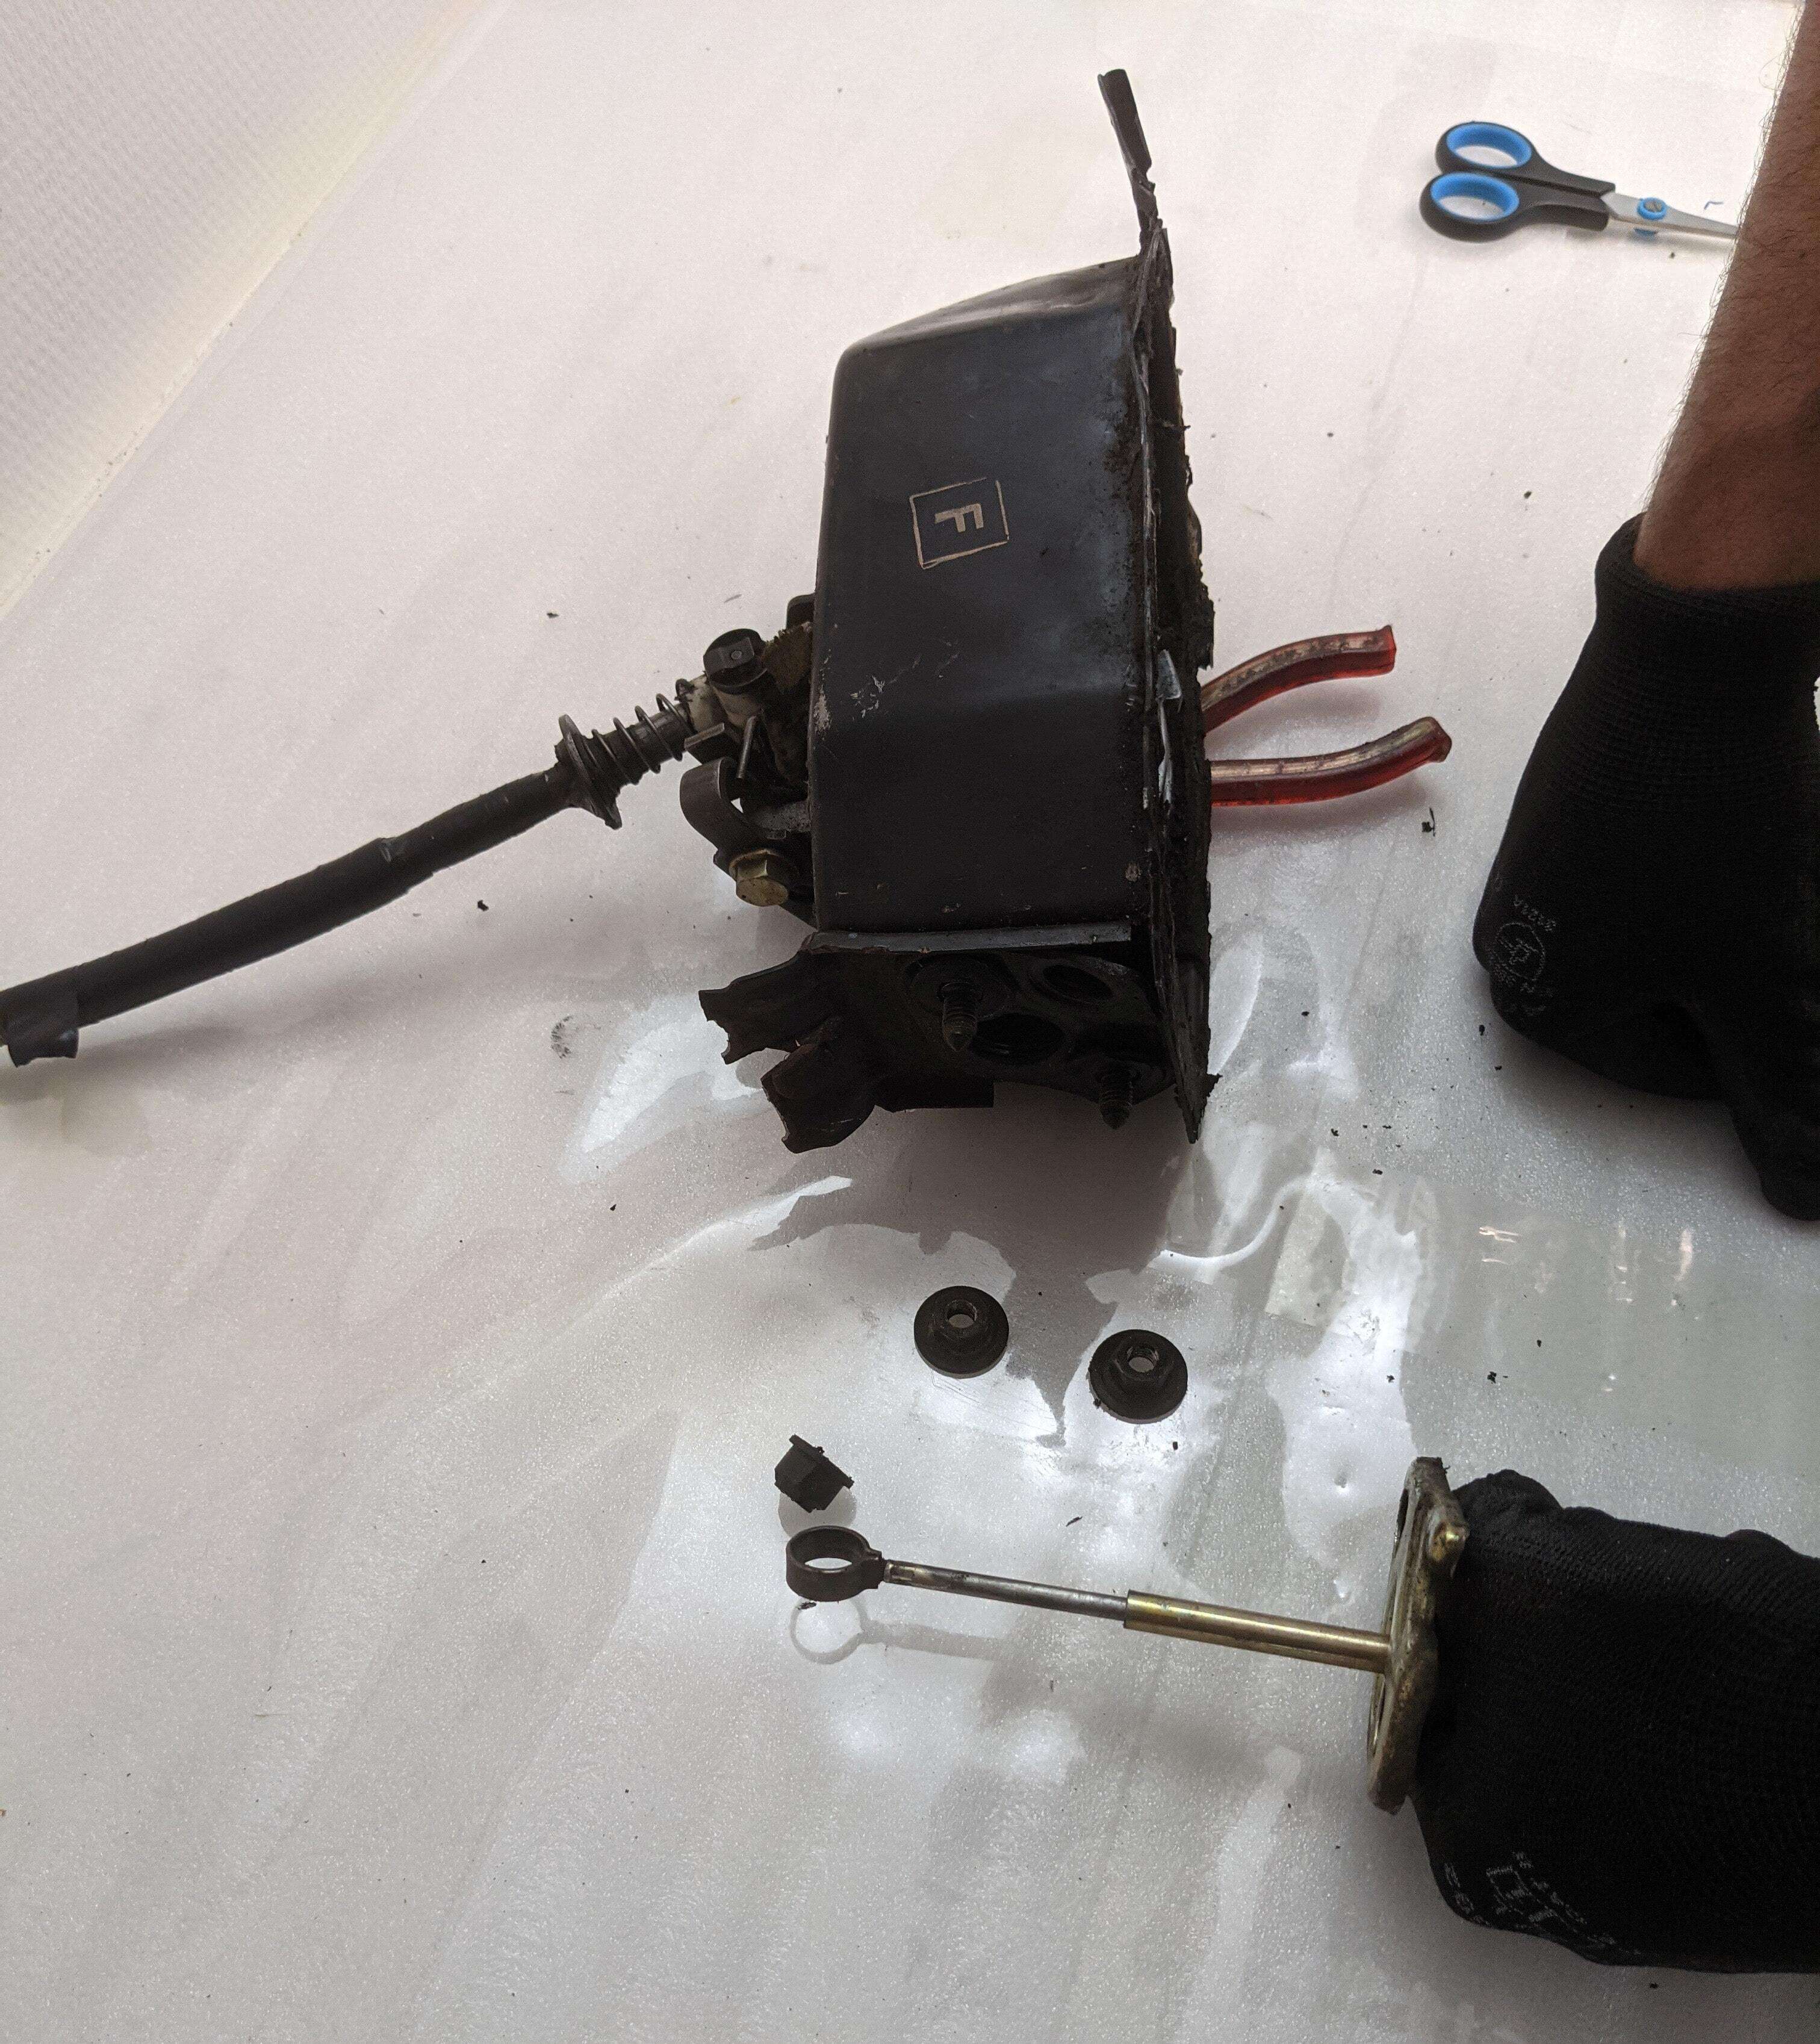
Then pull the cable off the gearshift rod and out of the gearshift box and remove the rubber bushings. In this case, you can see how porous the rubber bushings are and that direct shifting is hardly possible..
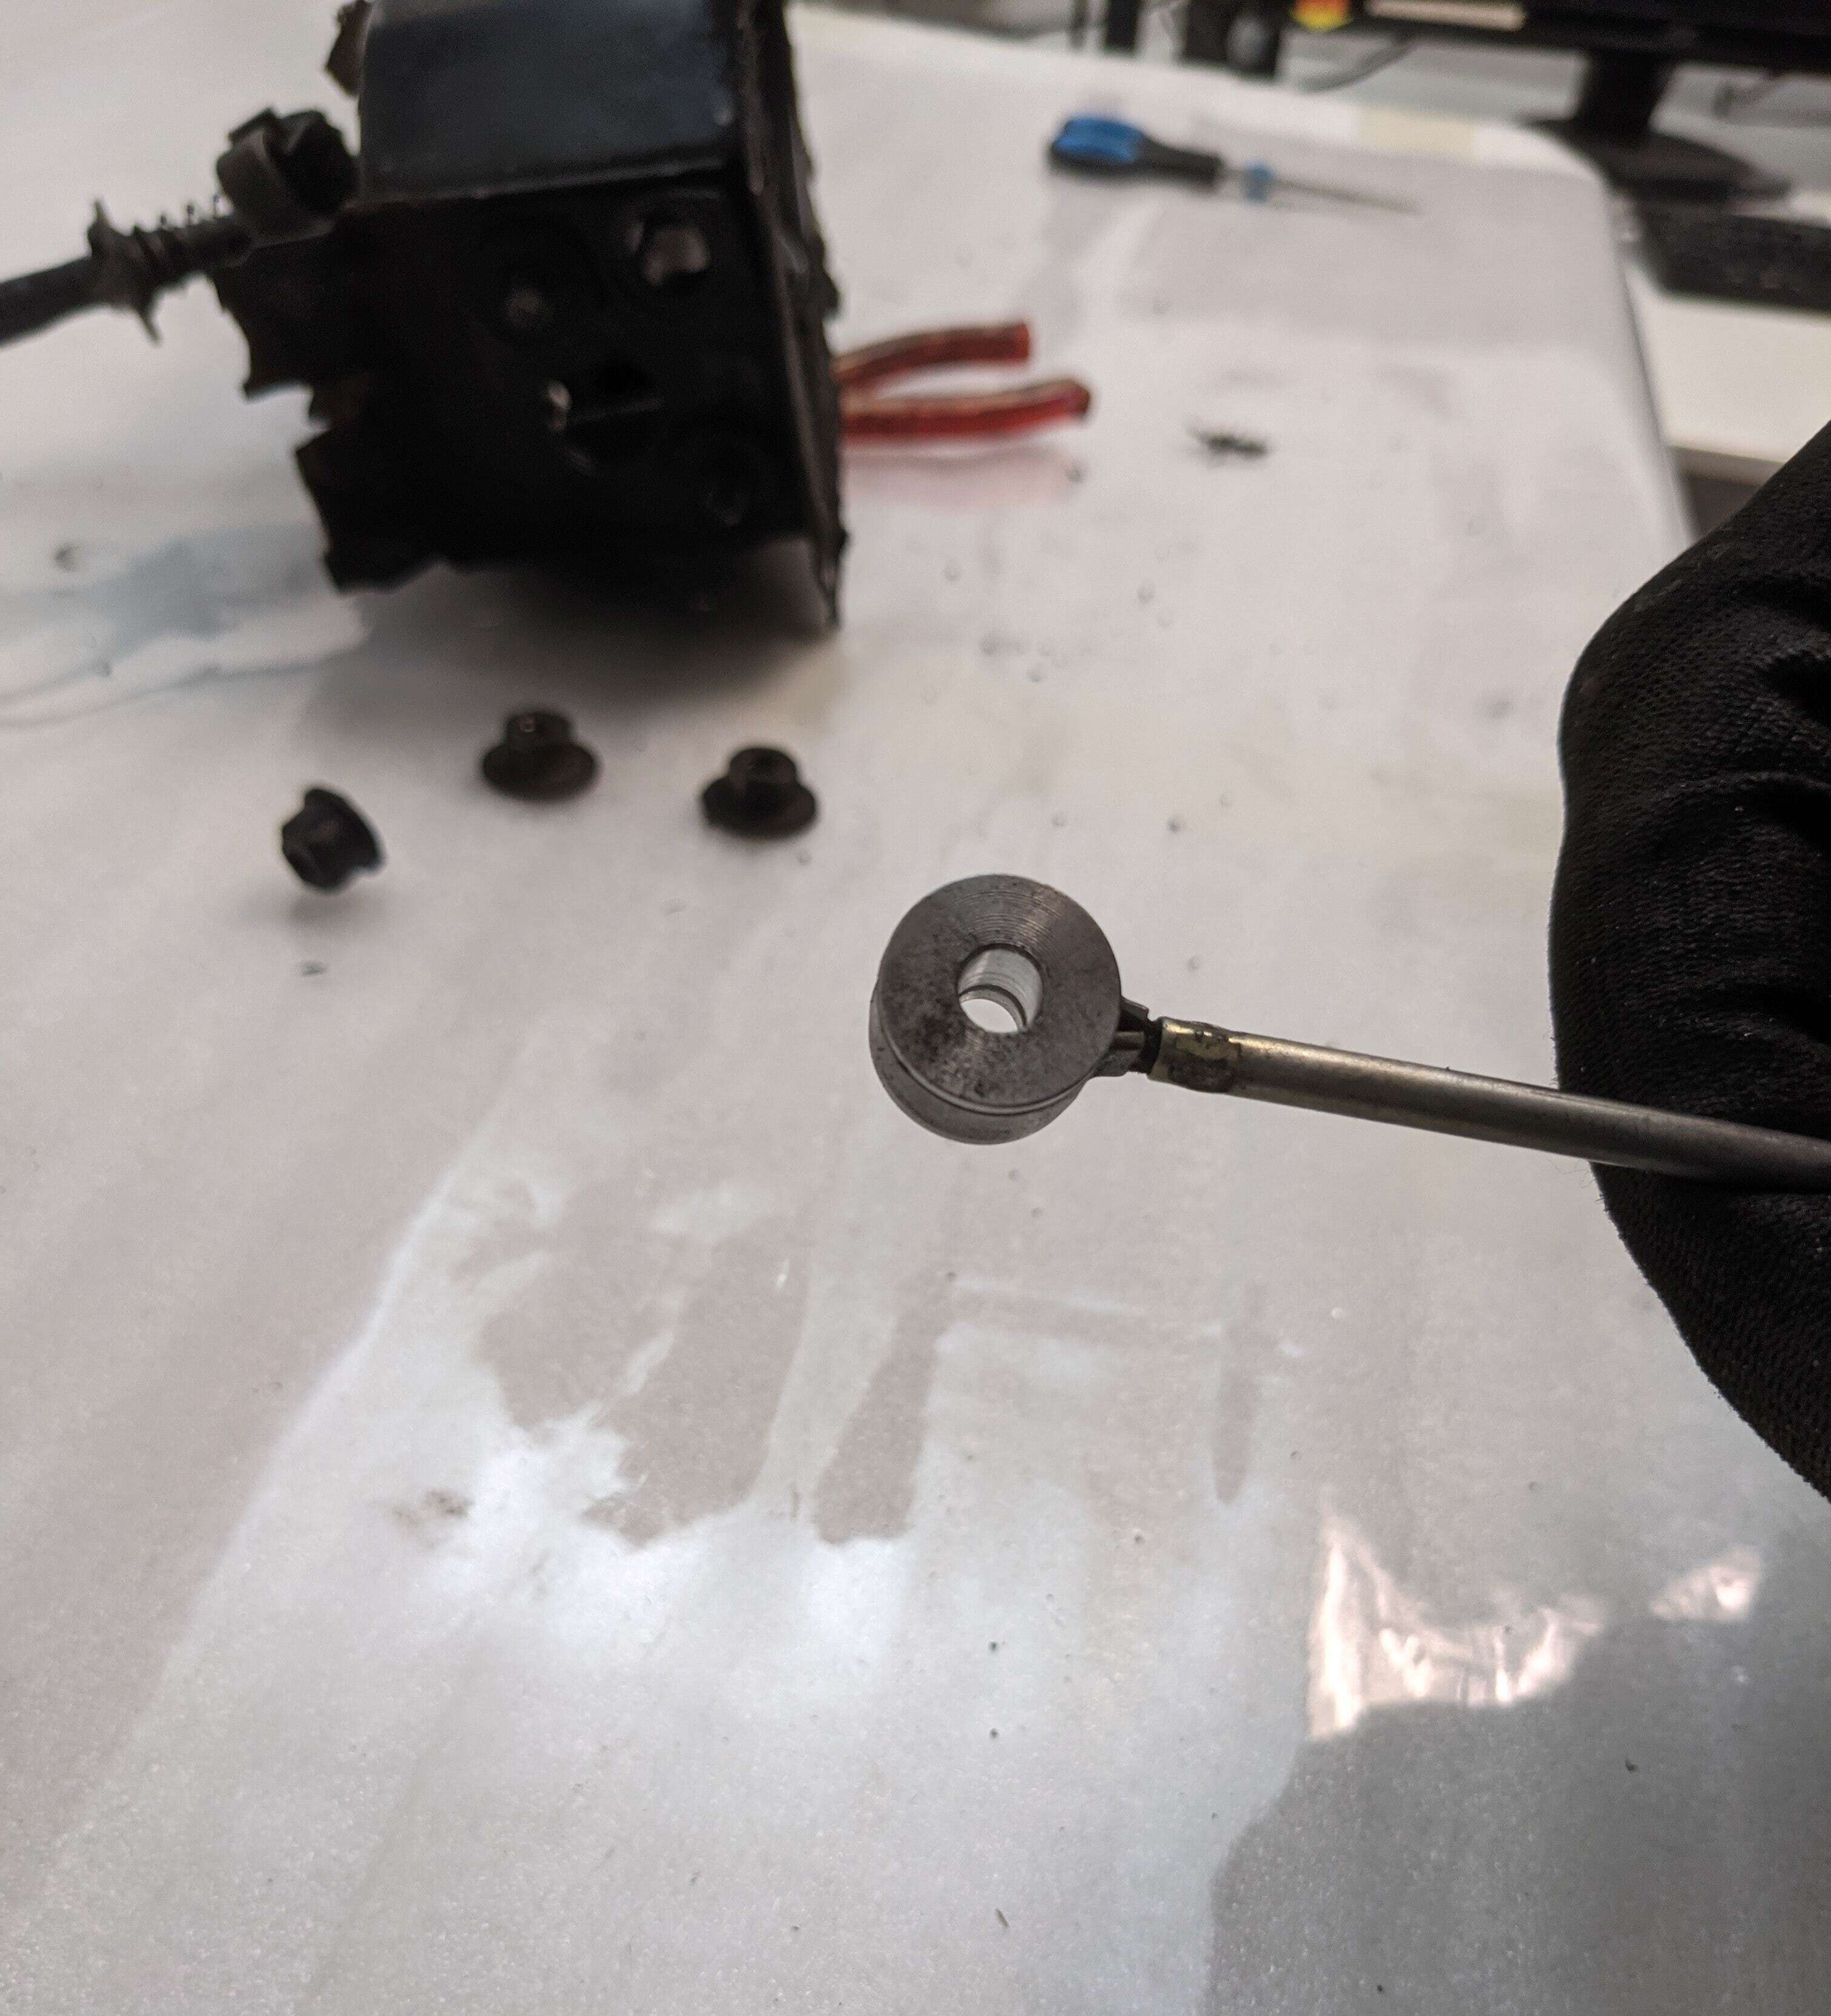
After that, the new aluminium bushings are simply clipped into the cable support.
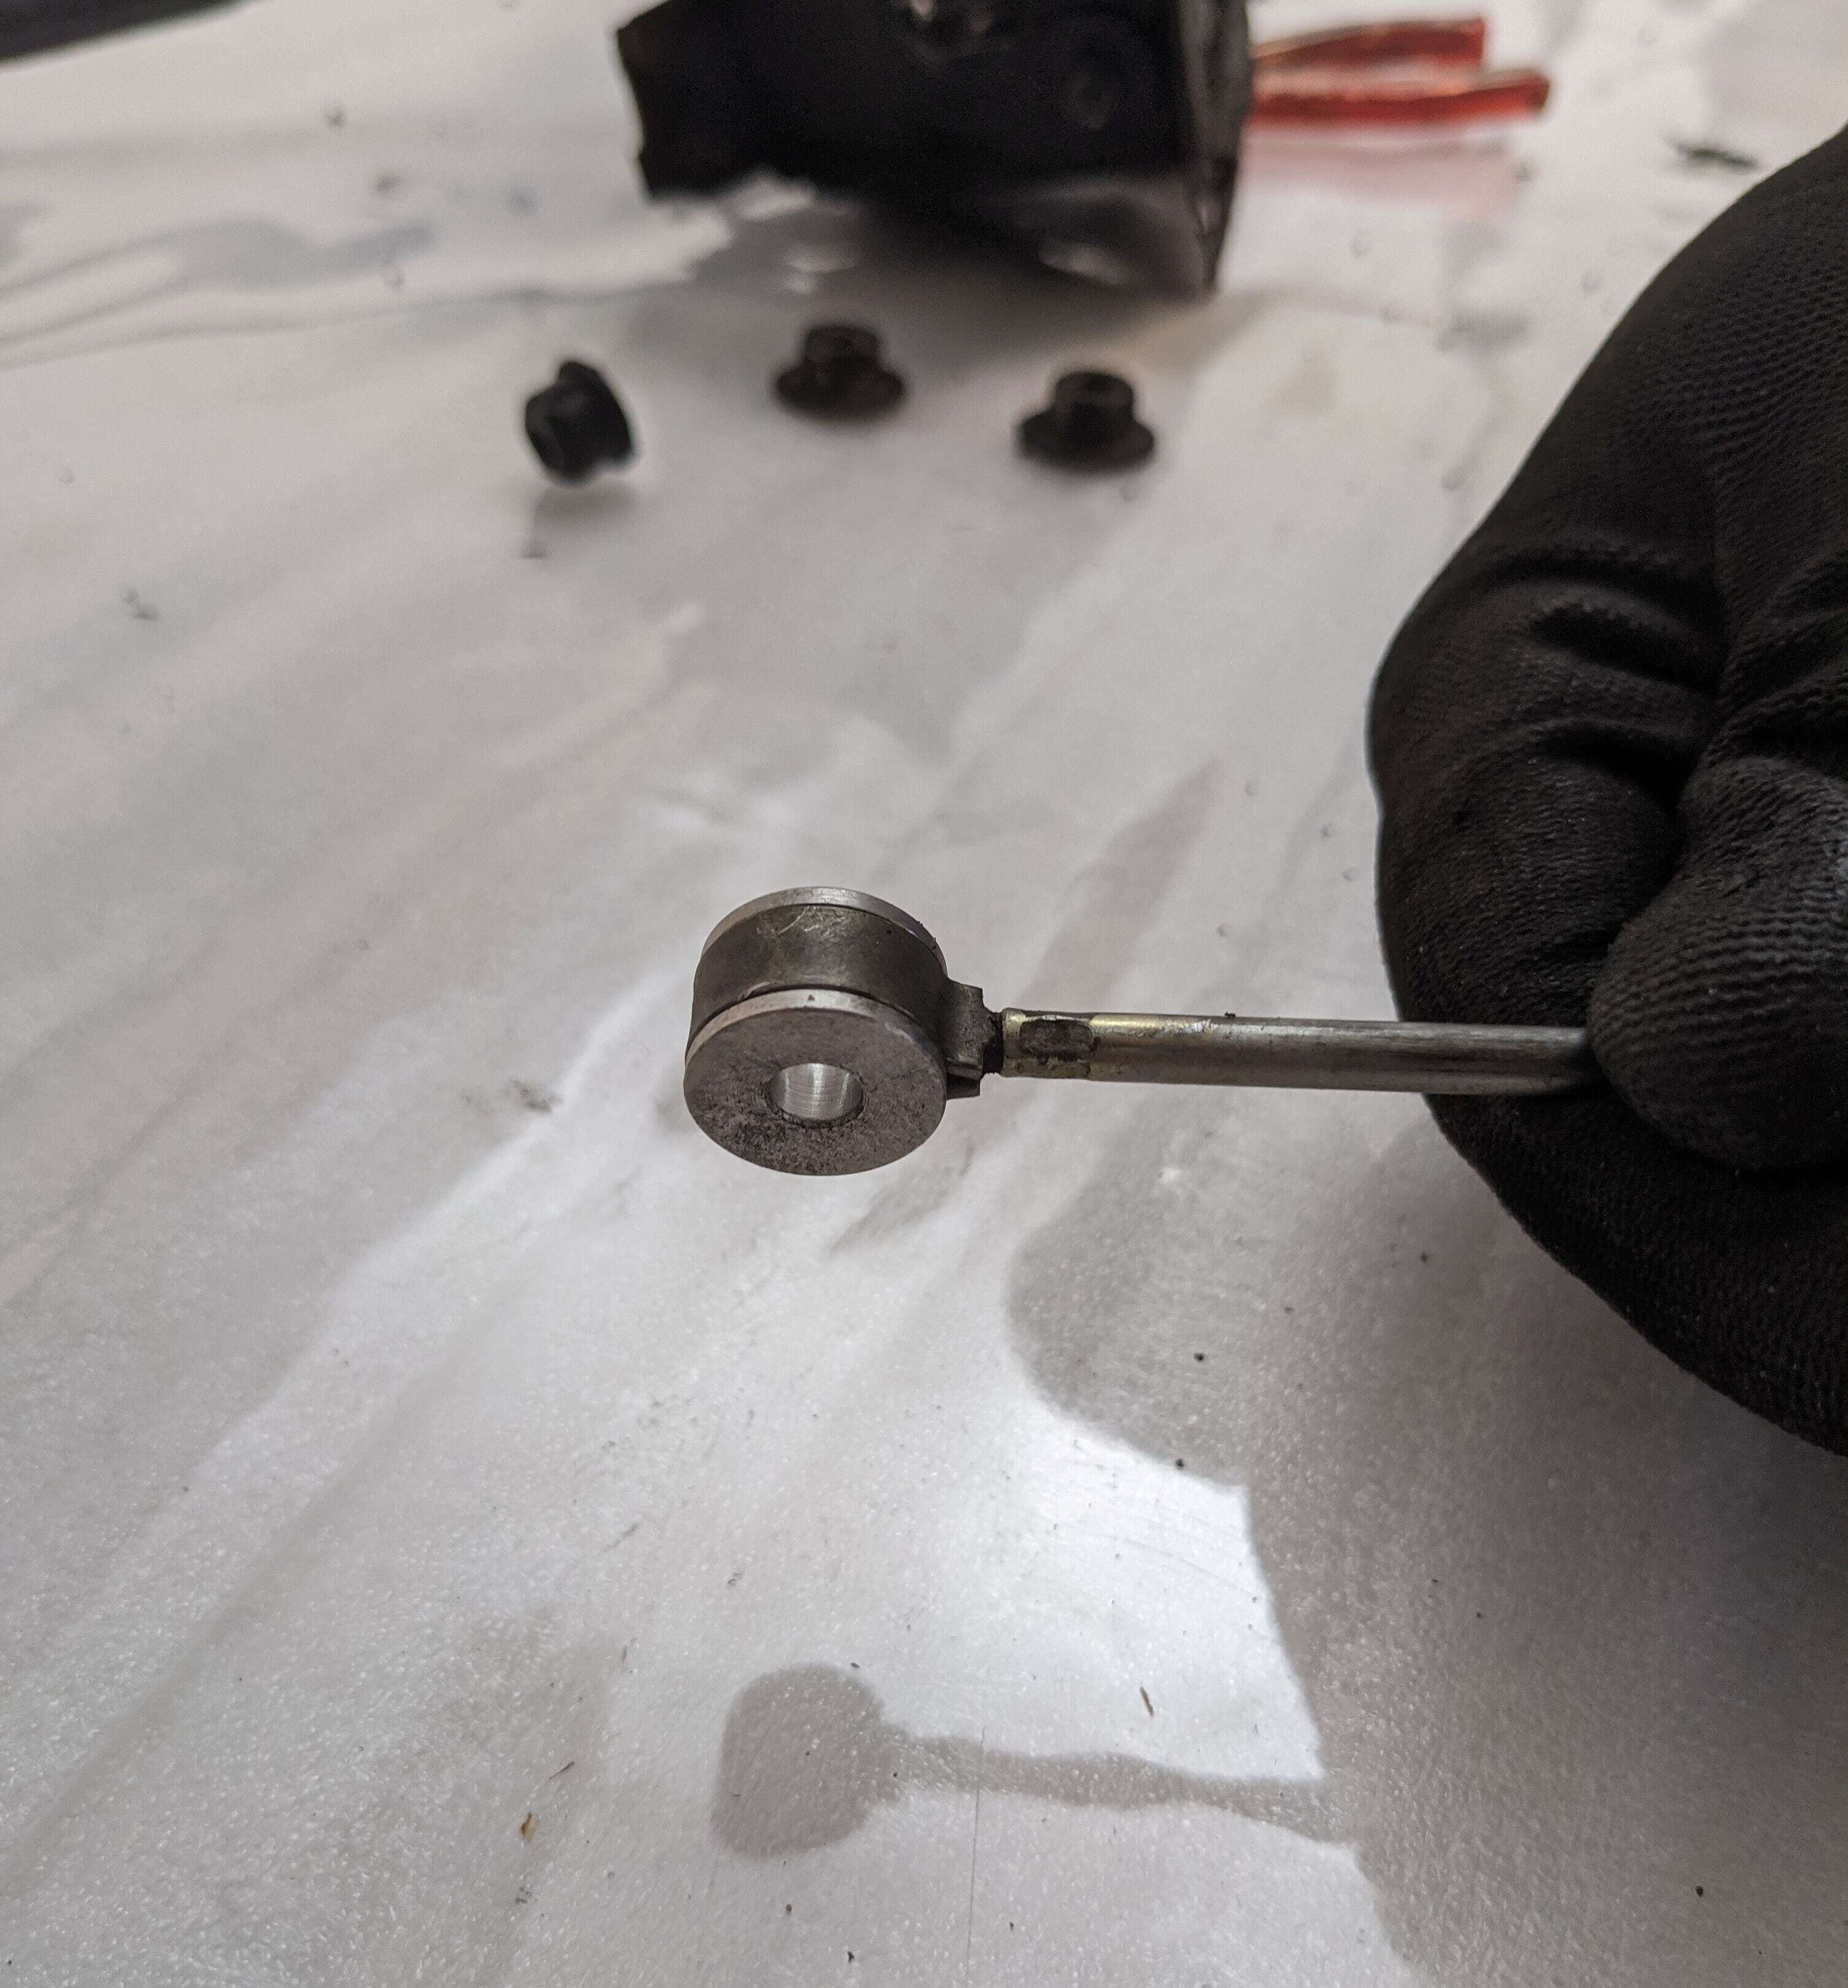
Now the cable can be guided back into the gearshift bracket and the screws can be fastened again.
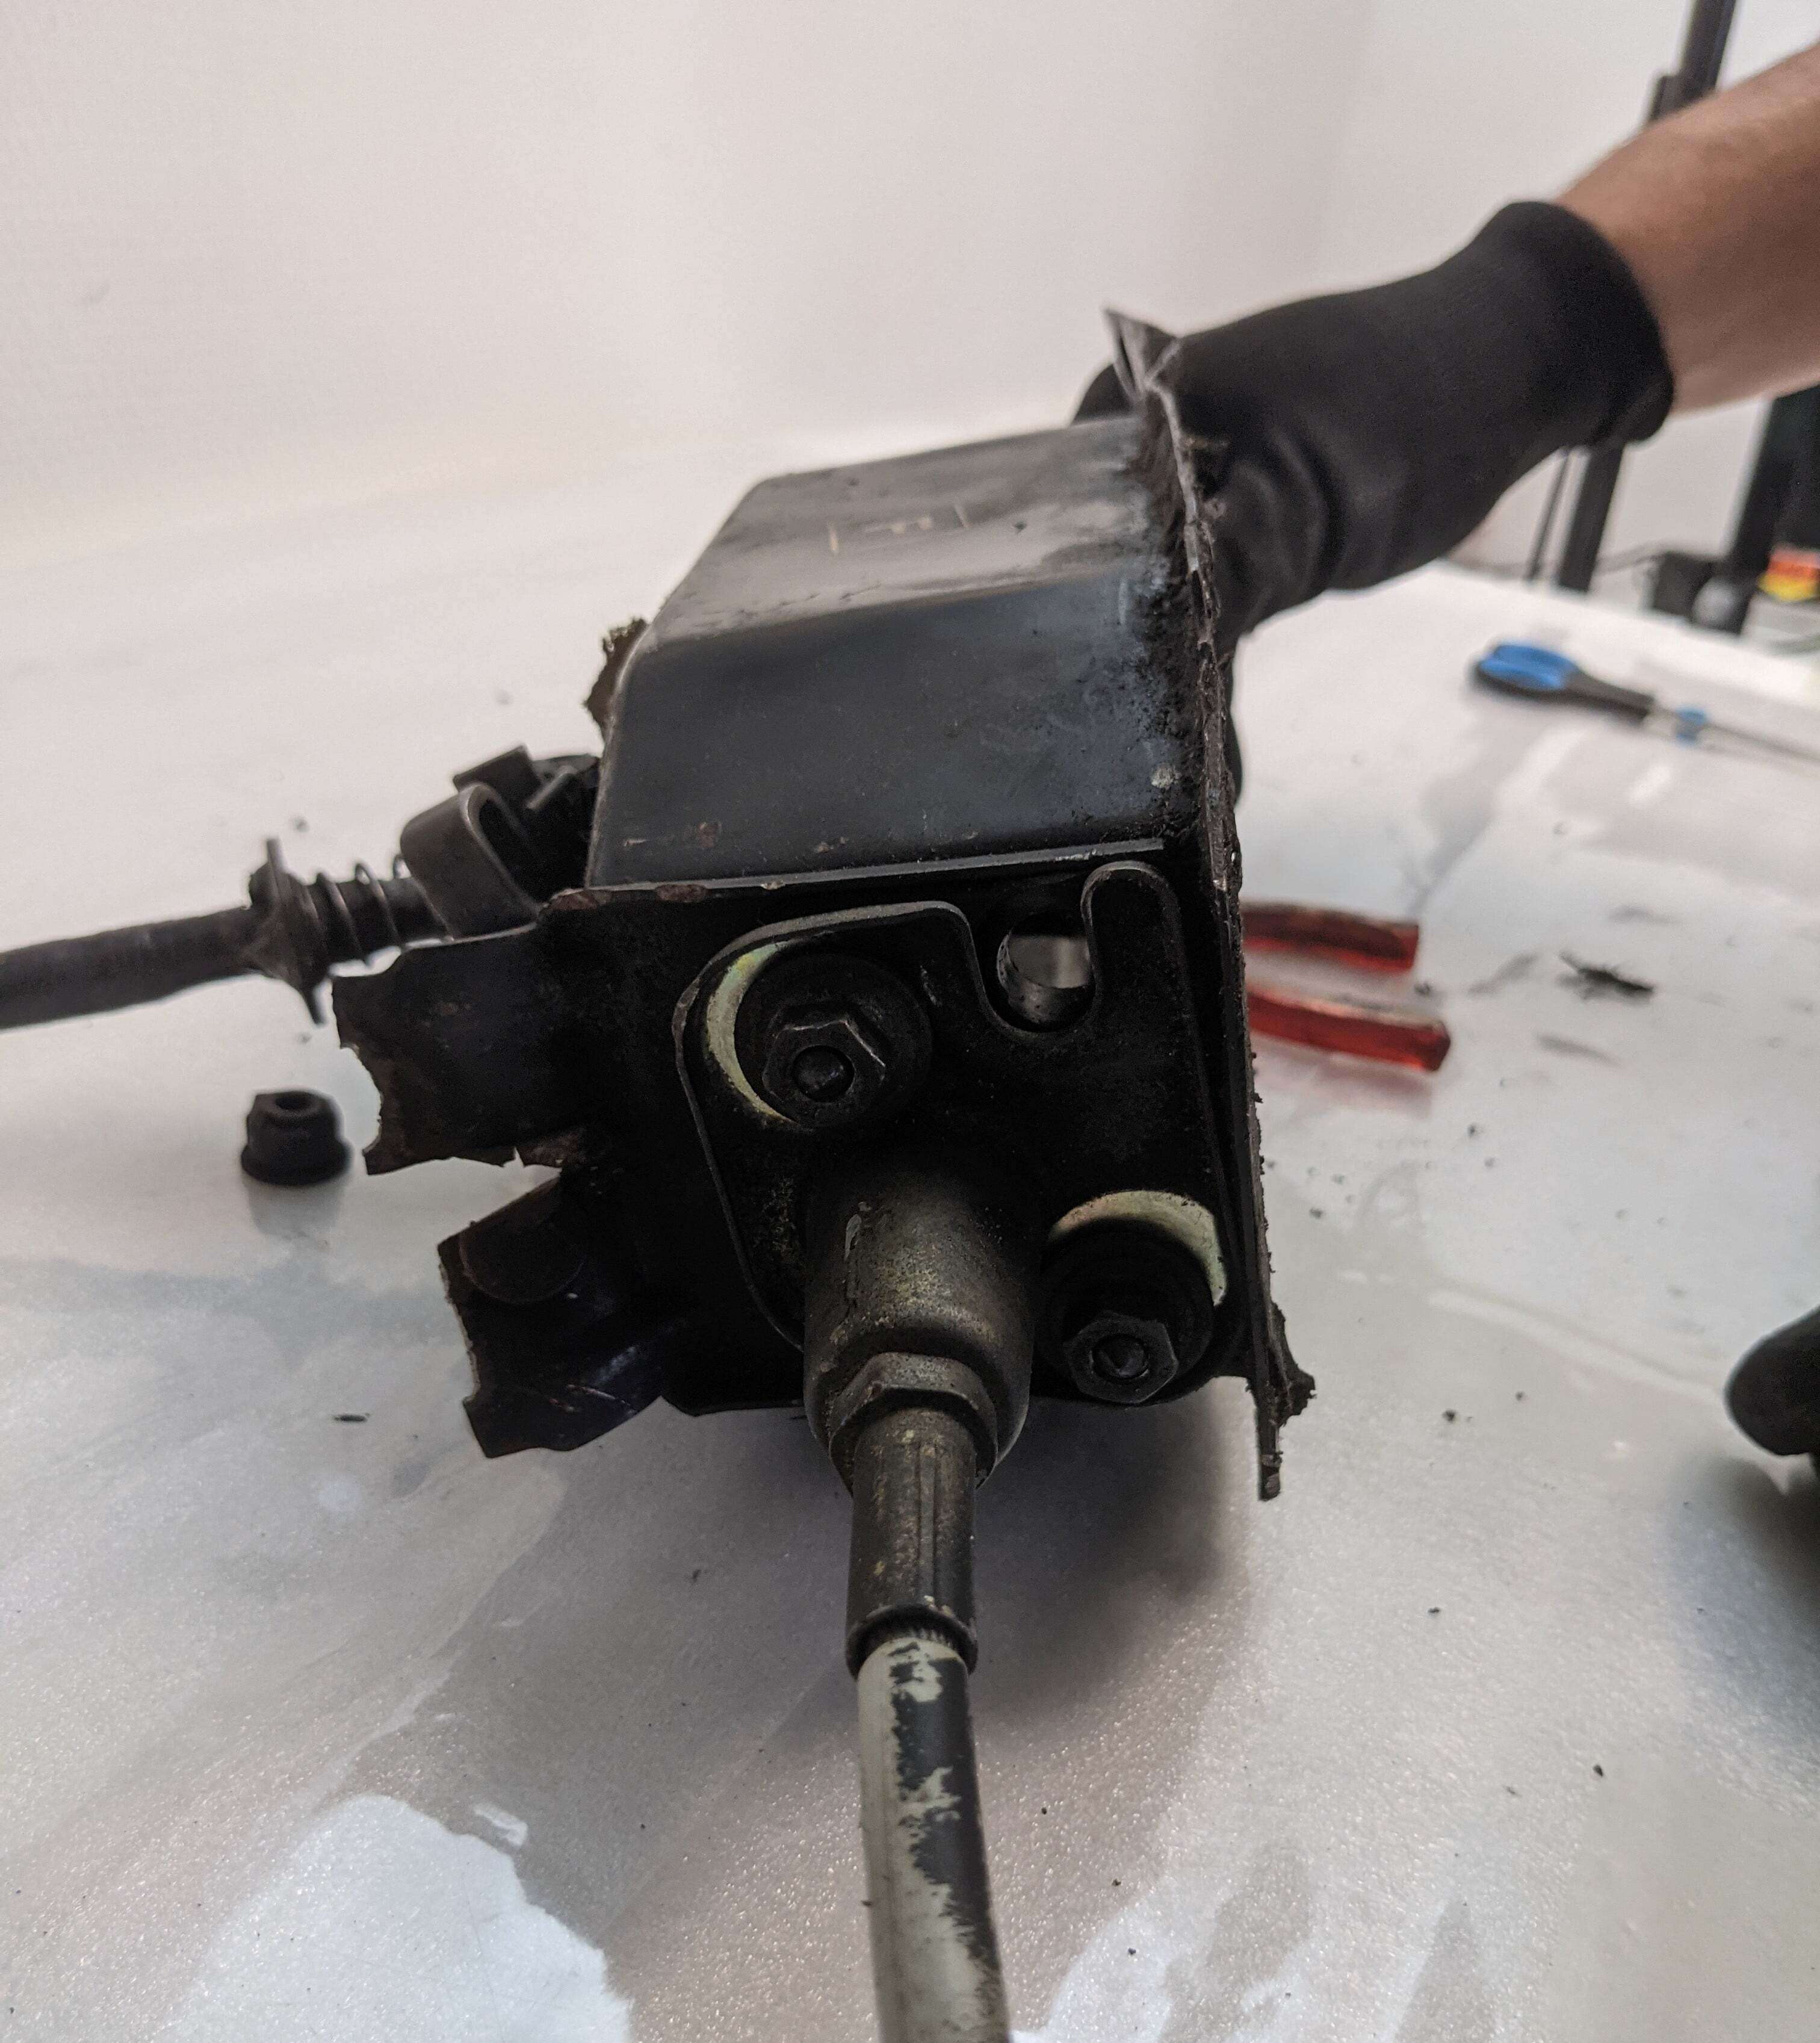
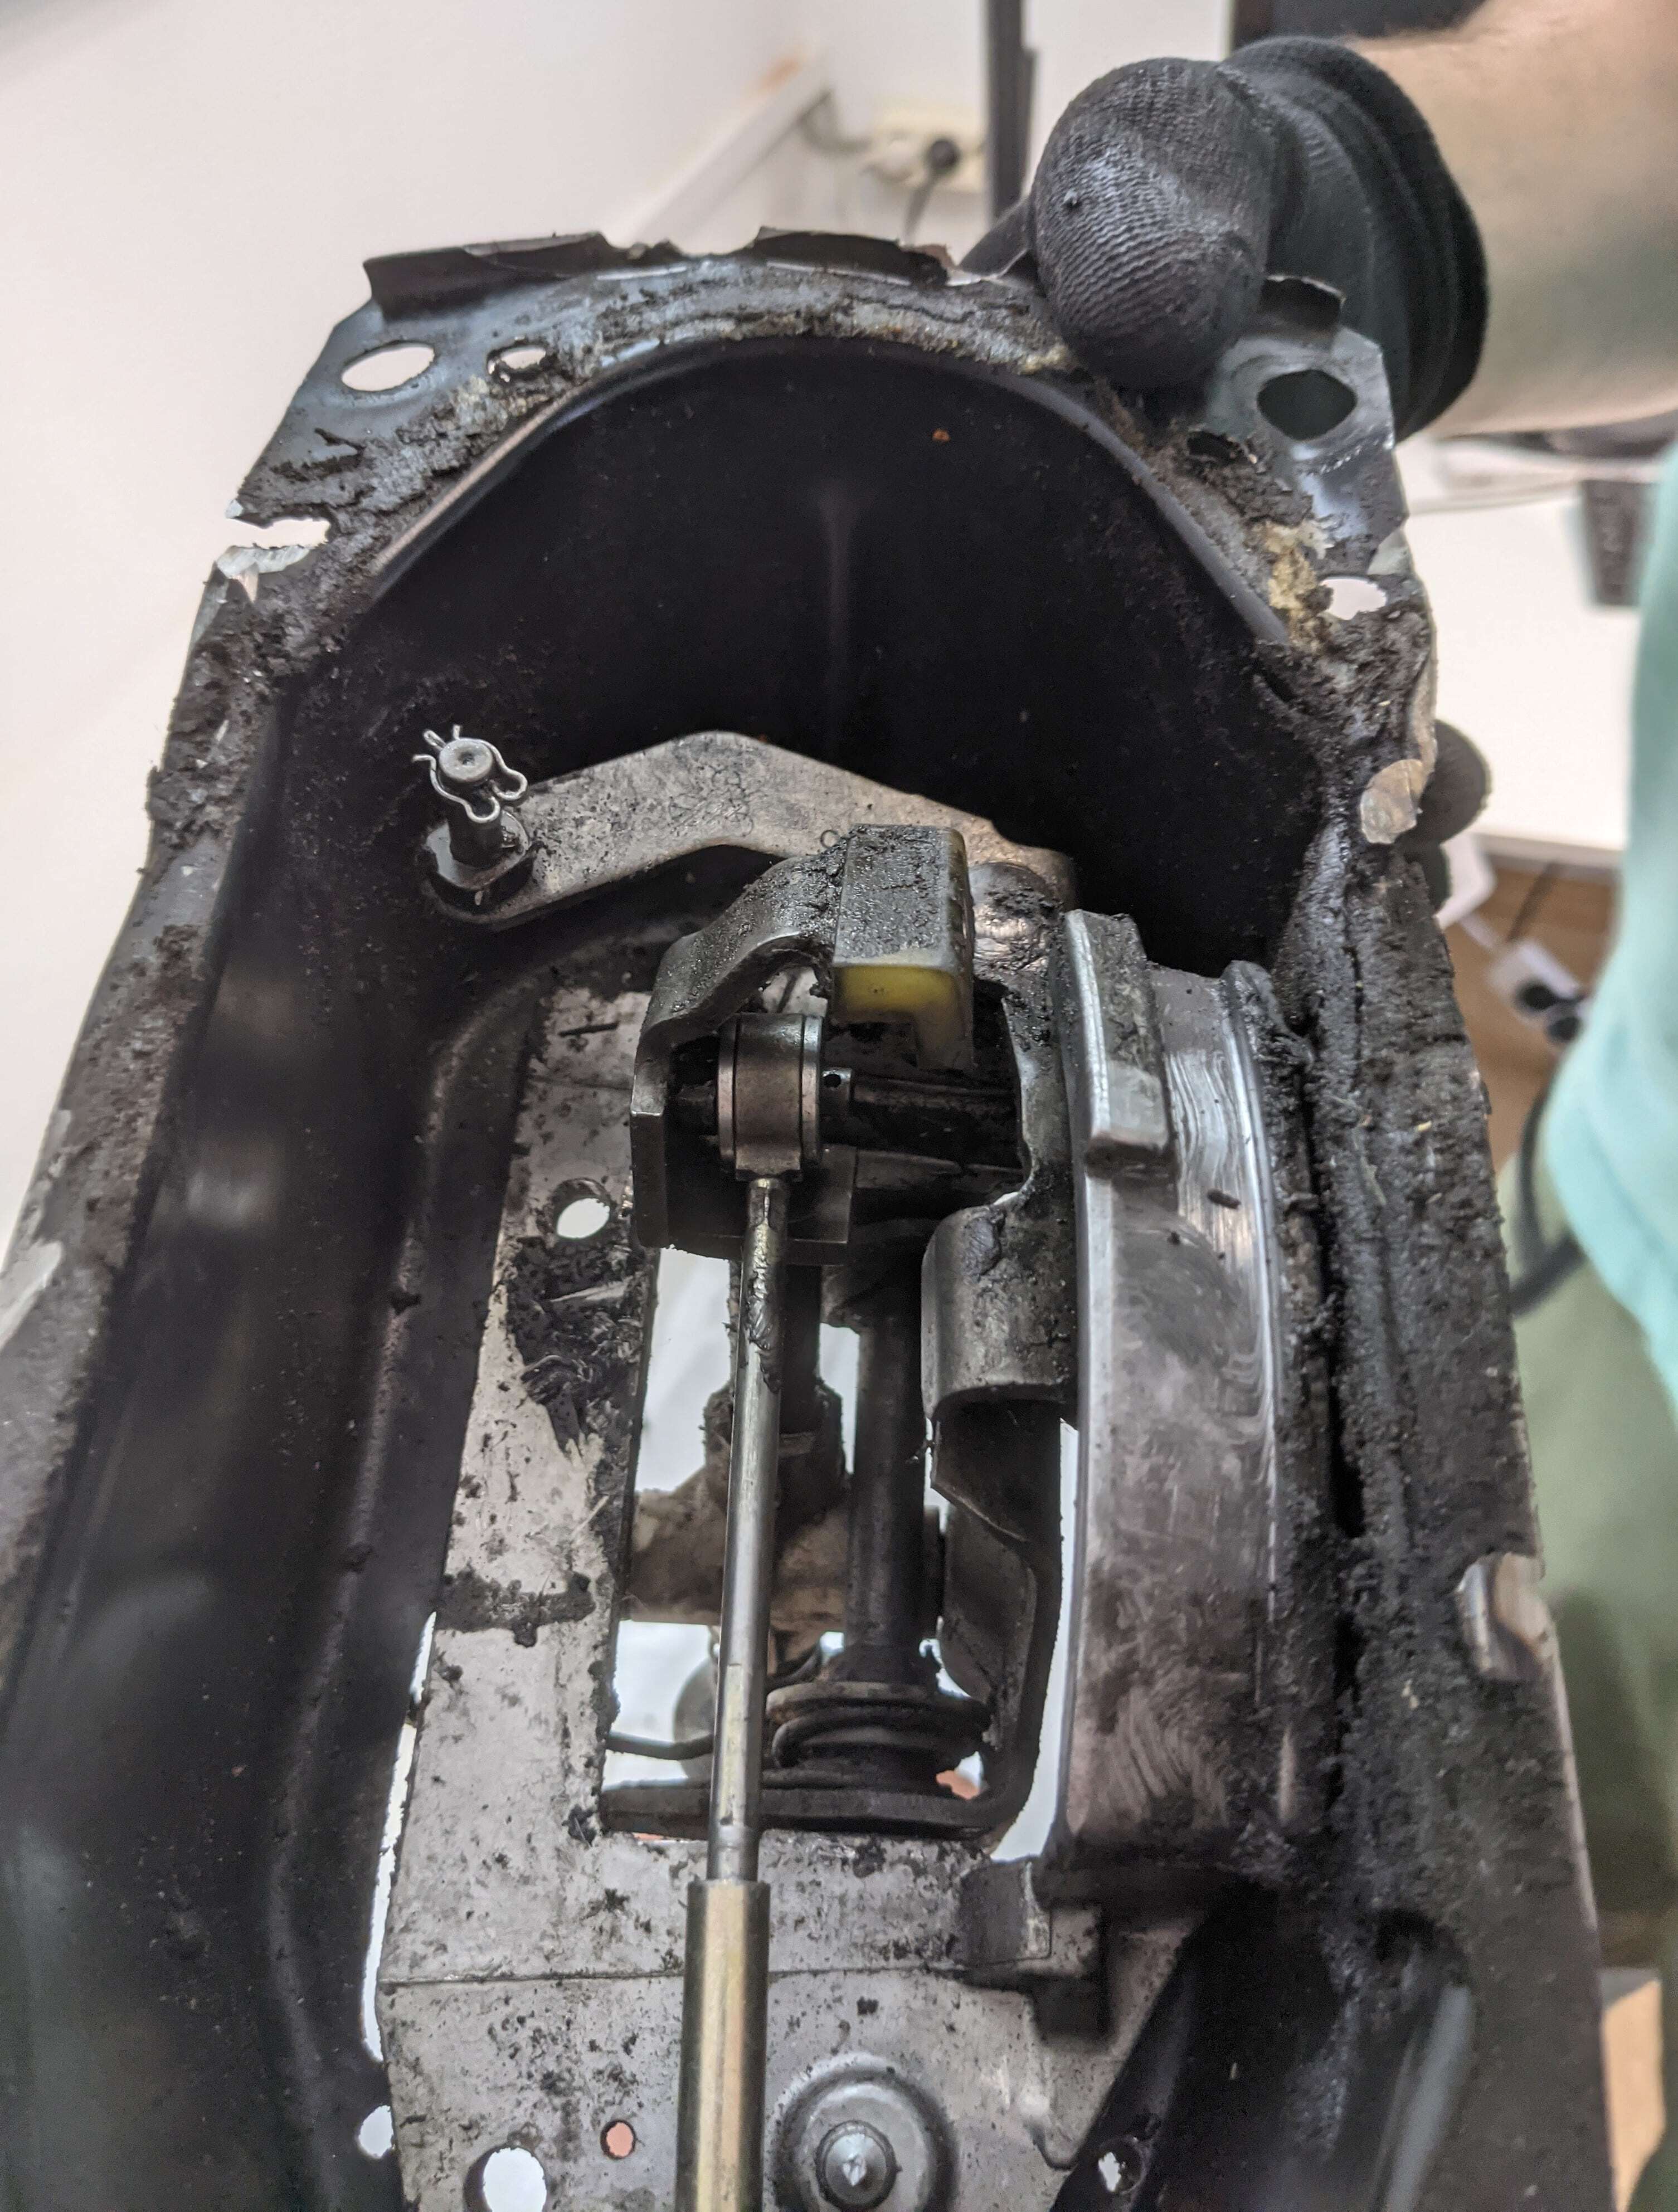
Then the cable must be mounted on the shift rod again. It is best to mount the gearstick lever in the shortest position again so that the cable can simply be plugged onto the gearshift rod.
- ✓ No more play
- ✓ high-quality aluminum
- ✓ OE number: 57711969A
Here is another customer feedback:
Good day
Yesterday I managed to install the bushing you made and I am really thrilled with the solution. With a little fiddling, it was possible to dismantle the backdrop from above, as you can see in the pictures, in order to get to the cable and replace the bushing. As I had already feared, there was not even 50 percent of the old rubber bushing left, as can also be seen in the pictures in the appendix. The bushing you made fits perfectly, there is zero play left and it shifts like new again. You can offer this part for sale to other people who have this problem without hesitation, even if the installation is a bit tricky, the work is always worth it.


