


101 Installation instructions BMW 3 Series E46 Weld-in panels Repair panels rear axle for cracks
Installation instructions BMW 3 Series E46 weld-in panels Repair panels rear axle for cracks
In the E46, cracks can occur in the rear axle mounts, regardless of body shape, engine type and year of manufacture. This can lead to the axle carrier tearing out. This is caused by barrel bearings that are too soft or have worn out over time, causing the axle to make excessive tilting movements during load changes and stressing the body to the point of cracking.
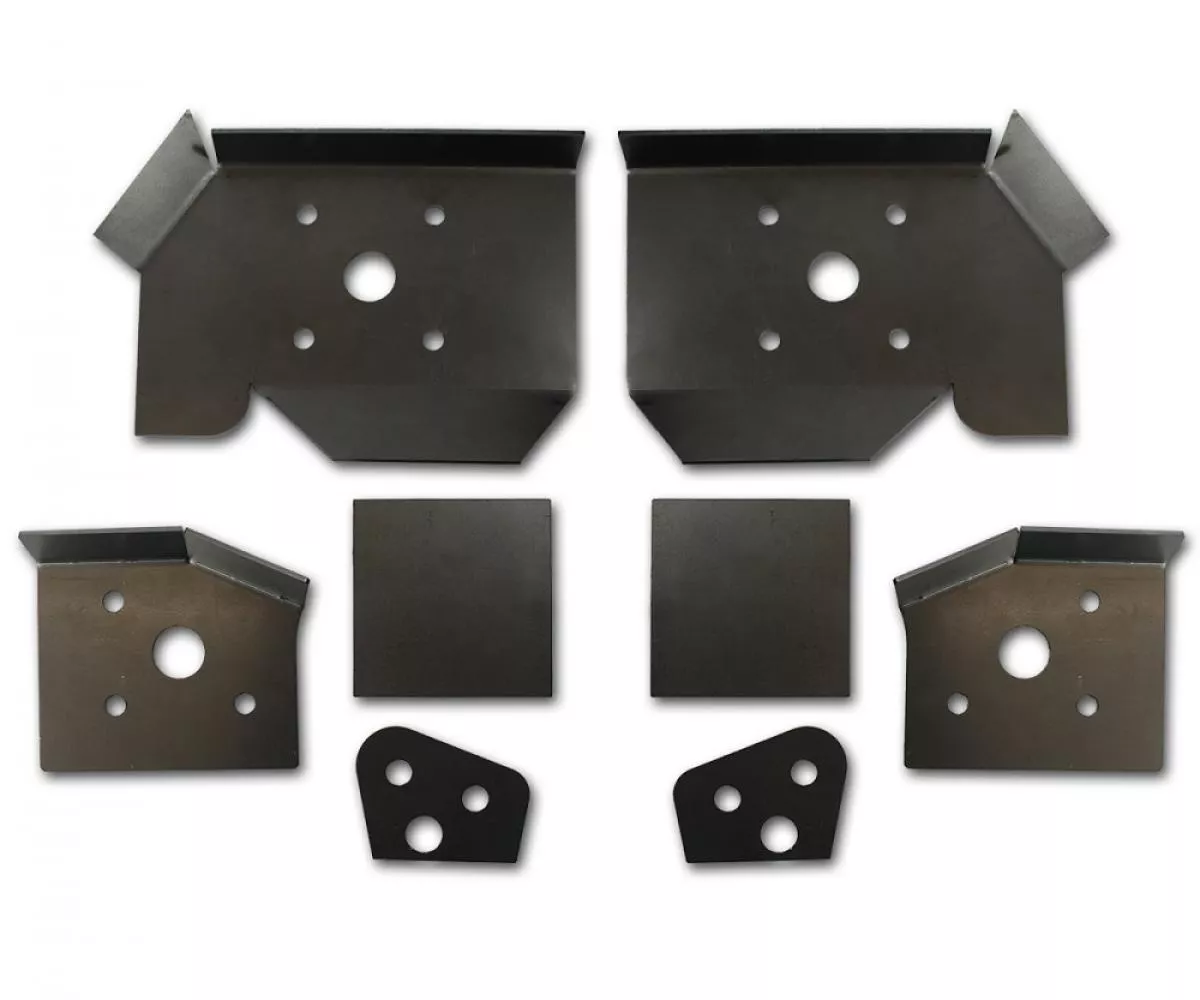
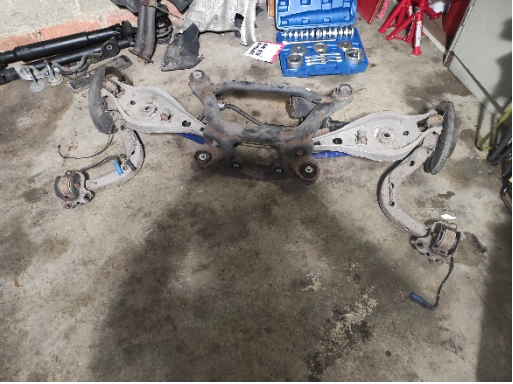
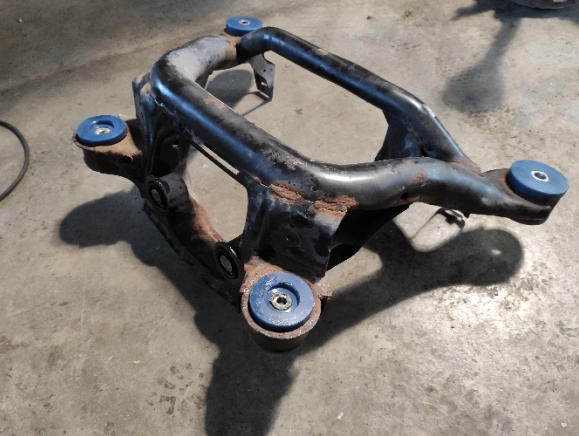
The reinforcement plates from Epytec.de can be installed to carry out a repair or counteract the problem. To do this, the axle carrier must be removed and it is advisable to work in pairs.
- Remove the exhaust, cardan shaft and differential (otherwise the axle is very heavy)
- Remove the brake callipers incl. carrier from the axle, disconnect the plug connections (ABS sensor, brake warning contact, etc.). Remove the lower damper bolts
- Remove trailing arm bolts (3 on each side, mark position beforehand as the track is adjusted here)
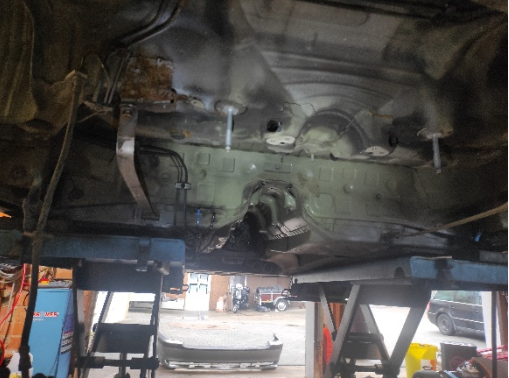
- Remove 2 nuts and 2 bolts from the rear axle carrier - Remove the fuel tank (not essential, but makes work easier and is safer when welding)
Welding the metal sheets :
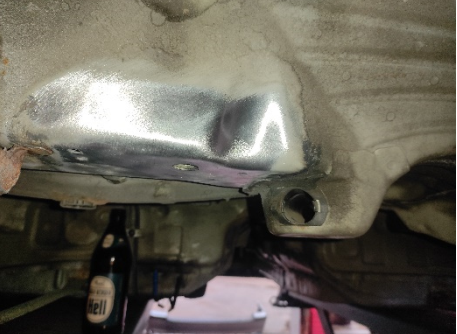
If necessary, adjust panels to the underbody.
Important!
Make sure a second person with a compressed air gun is in the car, underbody protection and interior panelling tend to catch fire here
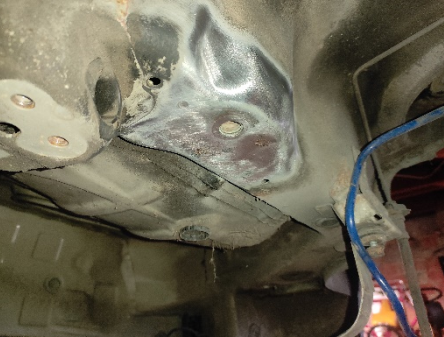
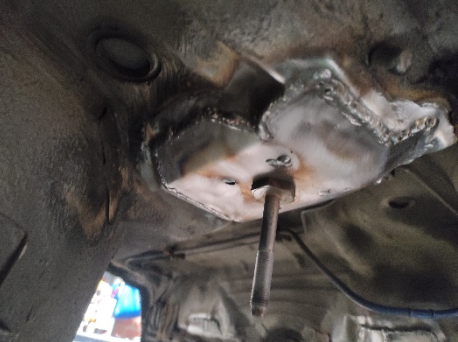
Then treat the area generously with zinc spray. Once dry, seal with body sealant and spray over with underbody protection. Make sure that the contact surfaces of the barrel bearings are as even as possible.

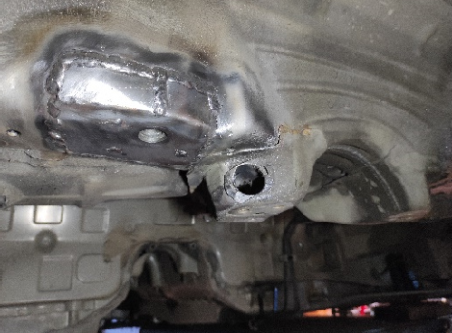
Refit the axle beam:
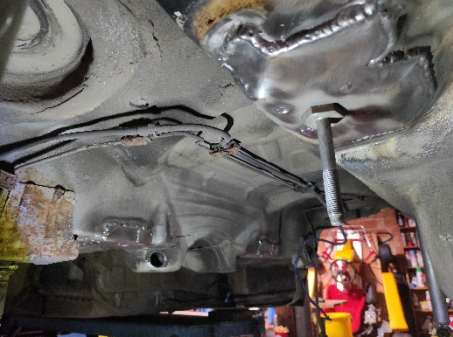
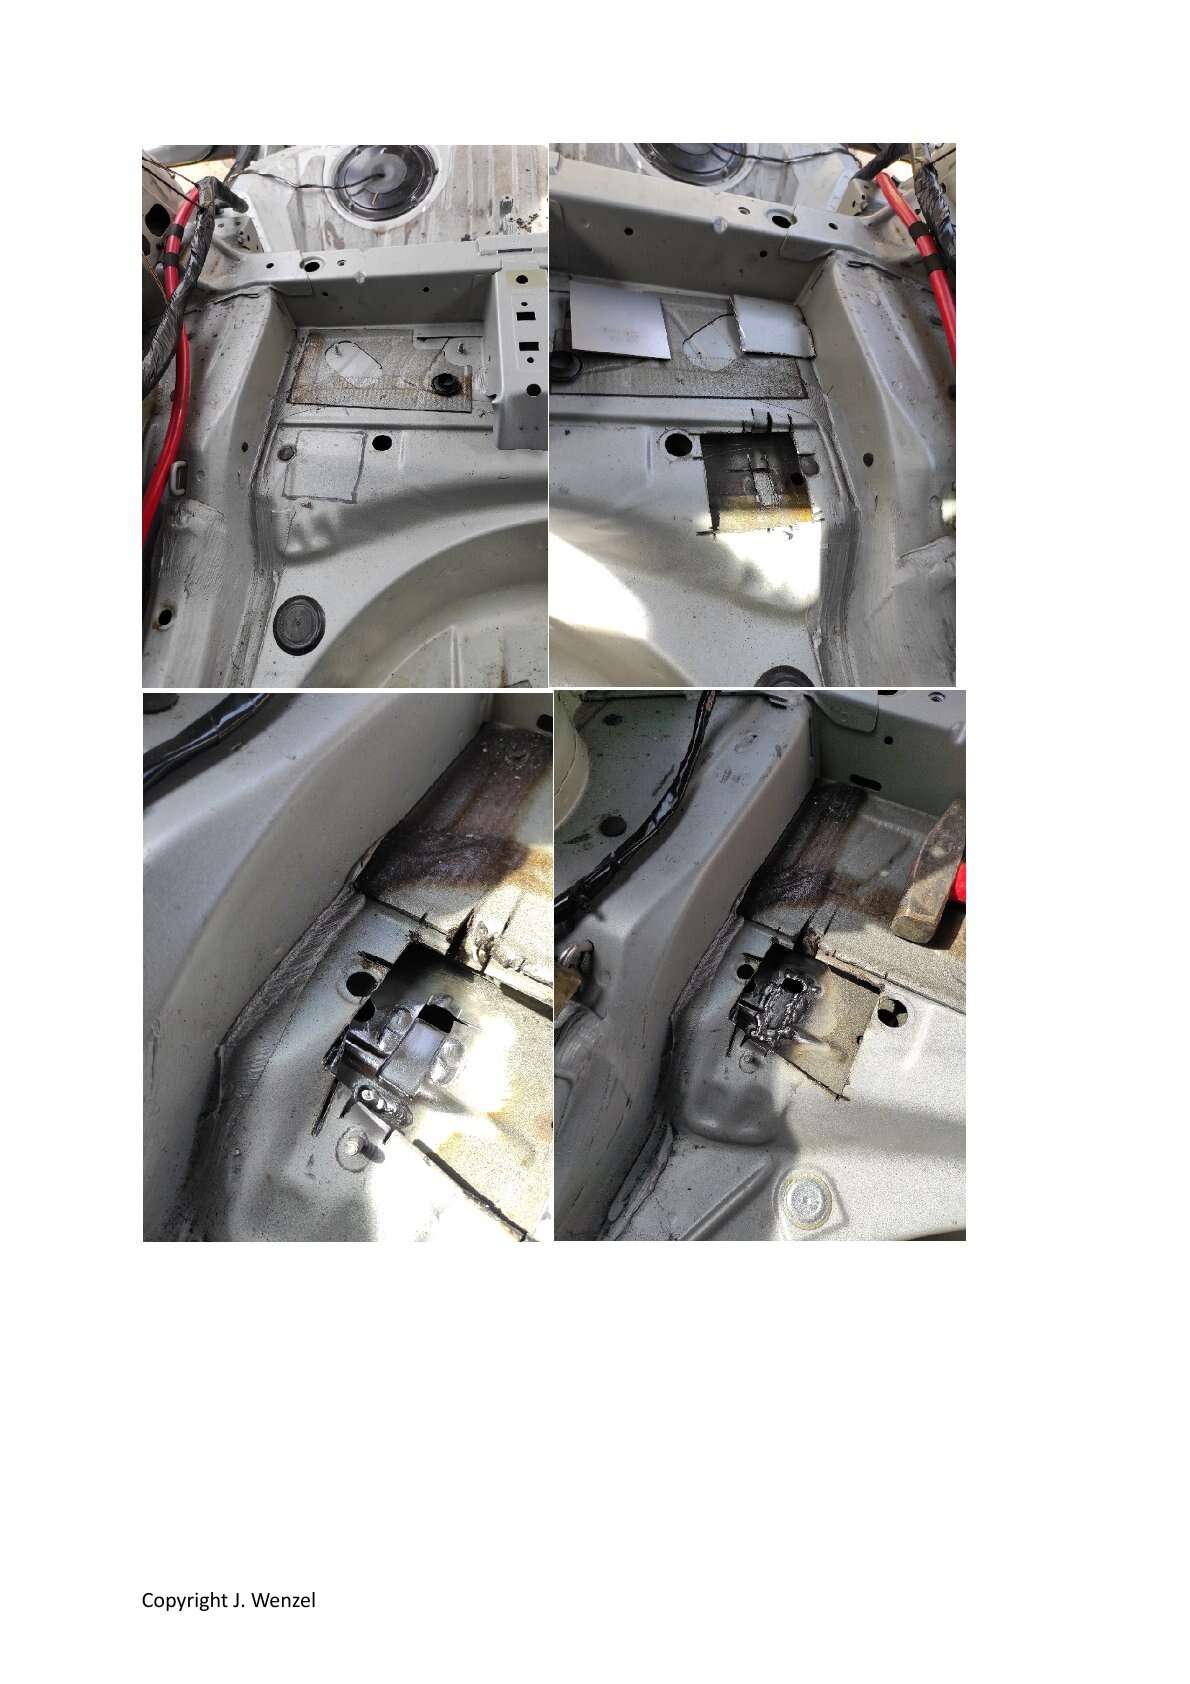
The set also includes 2 square plates. These are needed if the axle mount is also to be welded to the inside of the body. To do this, cut out 2 square pieces from the inside.
The 3 original welding points can then be seen underneath. The sheet metal in between is cut out and the welding points are extended. The whole thing should be generously sprayed with cavity protection or similar to prevent corrosion. .
The plates supplied are then welded back in to seal the holes. Do not apply too much heat, as the bearings underneath can be damaged if the axle has already been reinstalle
Copyright J. Wenzel
Here is the matching product for the installation instructions

- ✓ excellent fit
- ✓ rear axle BMW E46
- ✓ high stability