


662 Stufenlos einstellbarer Bremskraftregler – Perfekte Bremsbalance | Epytec
Installation instructions: Continuously adjustable brake force regulator - Universal for various vehicles
Introduction & Benefits
The continuously adjustable brake force regulator from Epytec enables precise adjustment of the brake pressure on the rear axle, which is particularly advantageous for conversions. It ensures optimum brake balance and improves driving stability under various conditions.
✅ Optimum Solution for brake system-conversion
✅ Infinitely adjustable for precise customisation
✅ Improved control & safety
Tools & materials
The following tools are required for installation:
🔧 Torque spanner with suitable attachments
🔧 Brake line tool for clean connections
🔧 11-mm- and 13-mm-key for the screw connections
🔧 Brake fluid DOT4 oder DOT5.1 (depending on the vehicle)
🔧 Bleeding device for brakes
Important note:
🔴 Wear safety goggles! When bleeding the brake system, brake fluid can escape, which can damage the paintwork and skin.
Step-by-step installation instructions
1. Preparation & draining brake fluid
Before starting installation, the brake fluid must be drained to prevent uncontrolled leakage when disconnecting the brake lines.
💡 Tipp: Place a collection container underneath and dispose of the liquid in an environmentally friendly manner!
2. Determine mounting position
The brake force regulator must be mounted at a stable point in the vehicle.
💡Make sure that the valve does not rub against other brake lines or come into contact with the bonnet.
3. Fastening the brake force regulator
The brake force regulator has two 0.25 mm housing holes for secure attachment to a bracket. Use high-strength bolts with lock nuts.
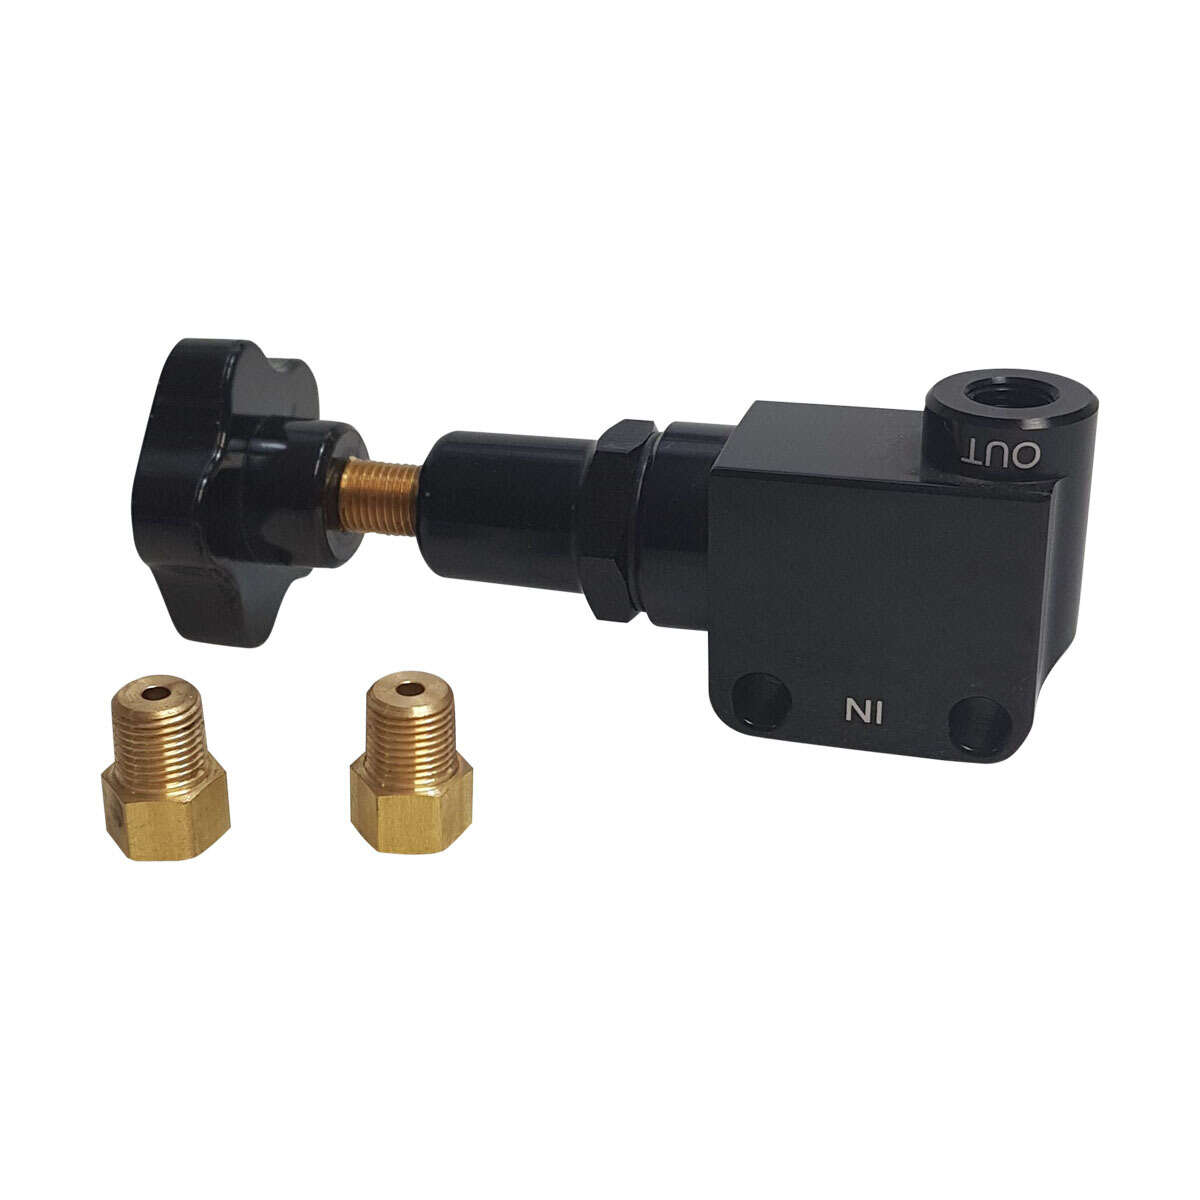
4. Connecting the brake lines
- IN-Connection (input): This line comes directly from the brake master cylinder..
- OUT-connection (output): This line leads to the brake callipers on the rear axle.
💡 Tipp: Make sure that the cables are laid without tension to avoid leaks!
5. Initial setting of the brake force regulator
Turn the adjustment knob clockwise until it is fully screwed in. This ensures maximum brake pressure on the rear axle.
6. Bleeding the brake system
Once all lines are securely connected, the entire brake system must be bled
👉 Start with the rear brake callipers before bleeding the front ones.
7. Test drive & fine adjustment
After installation, carry out a careful test ride on a dry surface.
- Maximum pressure reduction: Turn the knob fully anti-clockwise (reduction of up to 57%).
- Increasing the brake pressure: Turn the knob clockwise to gradually increase the pressure.
💡Fine adjustment: If the tail locks when braking hard, turn the regulator a little further.
Sources of error & Troubleshooting
🚨 Leaking brake lines?
🔍 Check all connections and tighten the screw connections. If necessary, seal with brake paste or Teflon tape.
🚨 Uneven brake force distribution?
🔍 Test different settings of the controller to find the optimum balance between the front and rear axles.
🚨 Grinding noises or vibrations?
🔍 Make sure that the brake lines do not rub against chassis parts or move when the steering is turned.
Safety & liability
⚠ Test the brake system thoroughly after every modification!
⚠ Do not carry out any manipulation while driving!
⚠ Only use in conjunction with approved brake components!
FAQ for the installation instructions
❓ Question 1: Which brake fluid should be used?
👉 DOT4 or DOT5.1, depending on the specification of your vehicle. DOT5 (Silicone-based) is not compatible!
❓ Question2: How often does the brake force regulator need to be readjusted?
👉 The setting should be checked again after the first 100 km. After that, it is sufficient to check it during brake maintenance.
Disclaimer
Please note that this installation is carried out at your own risk.Epytec accepts no liability for damage or injury caused by improper installation.
🛠 If you are unsure, have the installation carried out by a specialist workshop!
➡ Click here to go directly to the contact form.
About Epytec
Epytec specialises in brake & tuning adapters with over 15 years of experience. Our products, manufactured in Germany, stand for the highest quality and are TÜV-compliant.
Click here for more products:
👉 Epytec brake systems
✅ Installation successfully completed! Have fun with your new, adjustable brake force control! 🚗💨
Here is the matching product for the installation instructions

- ✓ Brake force regulator Infinitely variable
- ✓ Perfectly adjustable braking effect
- ✓ suitable for all vehicles